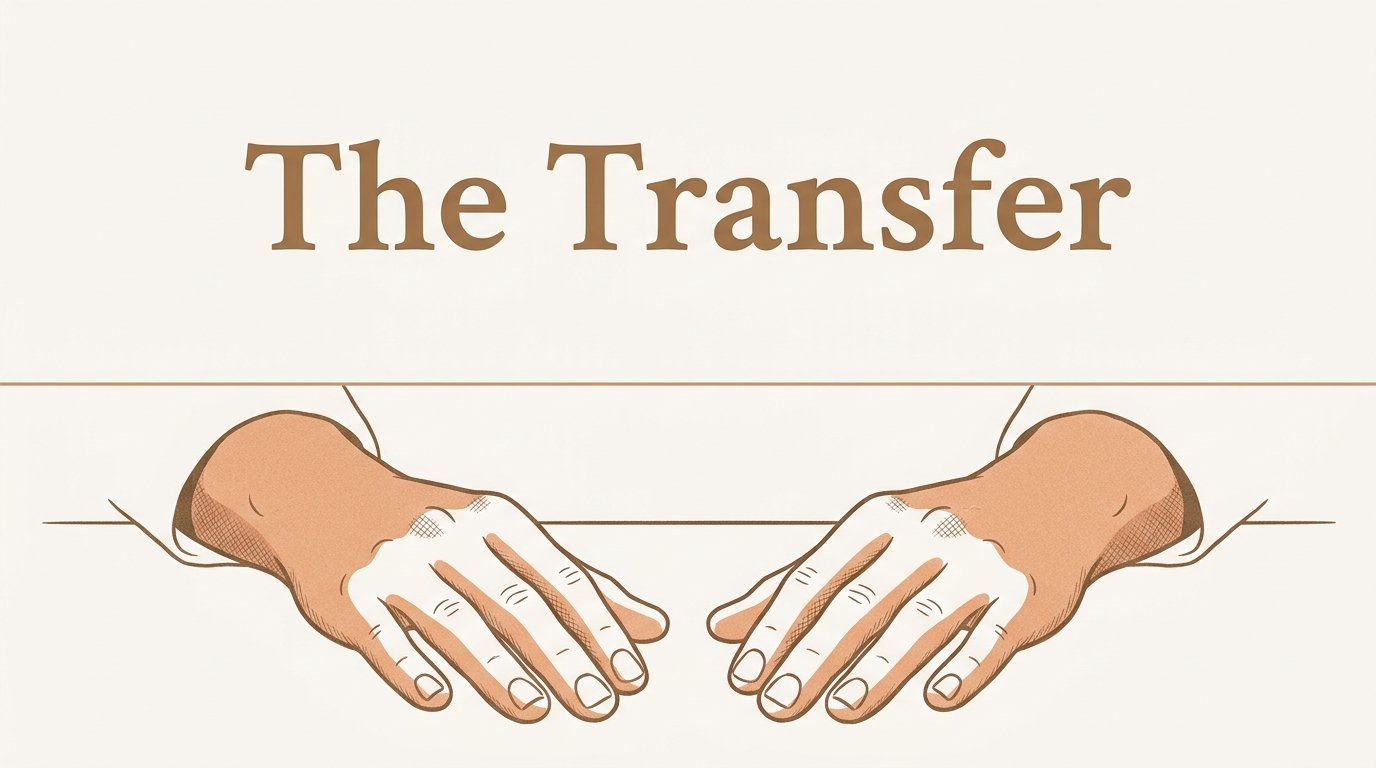
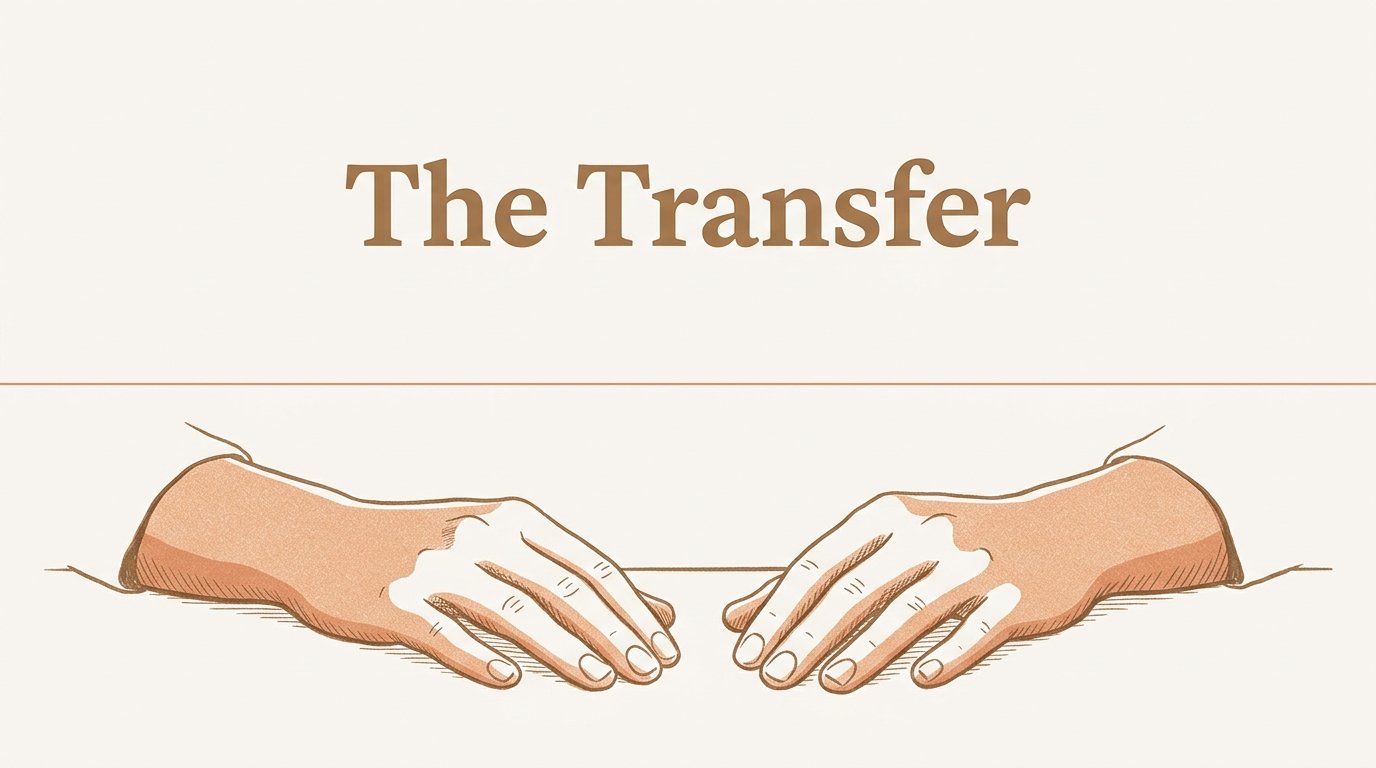
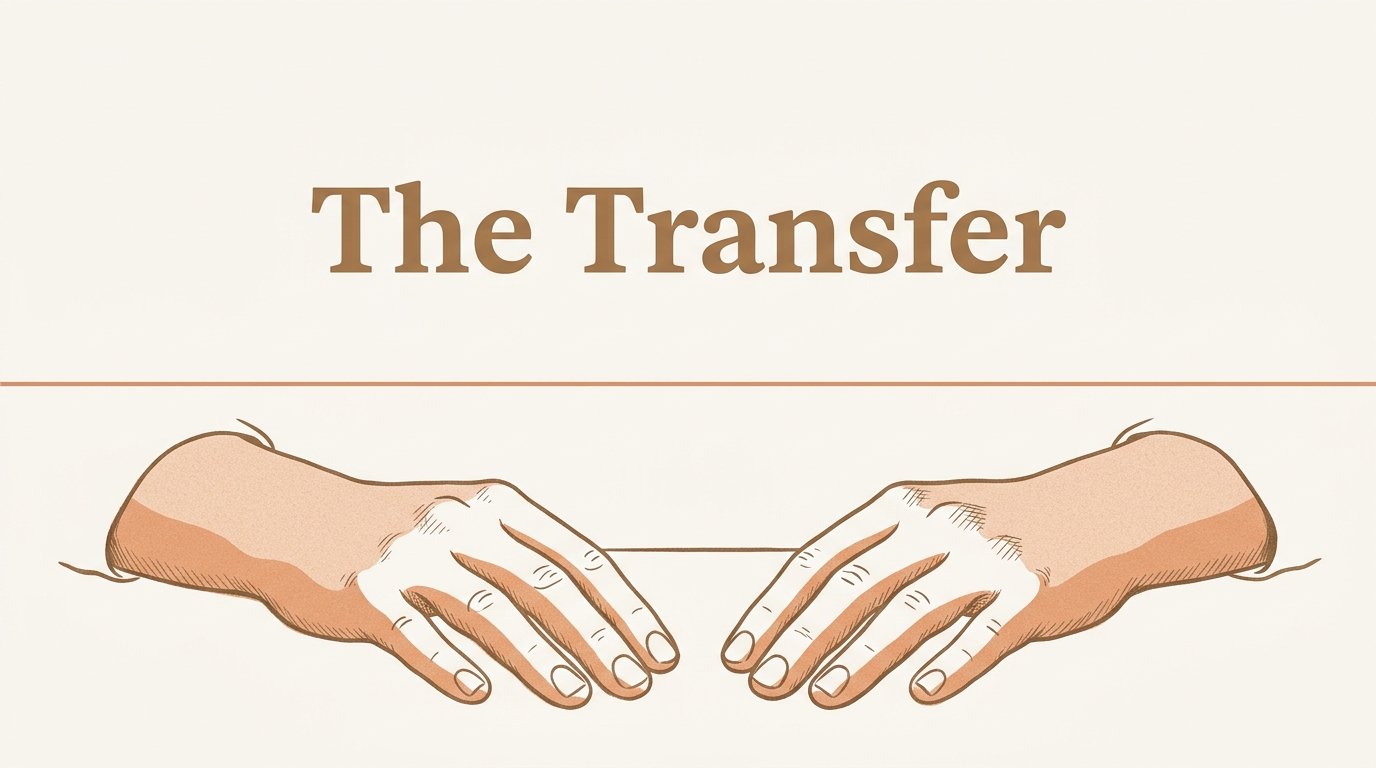
Warm Anatomical
Contemporary editorial medical illustration — anatomically honest, human-present, emotionally held — every form carries the confidence of a knowledgeable hand and the warmth of genuine care.
NPR-quiet, ~12% slower than clinical baseline. Mid-register chest voice; calm without sedation, warm without performance. Reference: Krista Tippett × reproductive endocrinologist on a follow-up call.
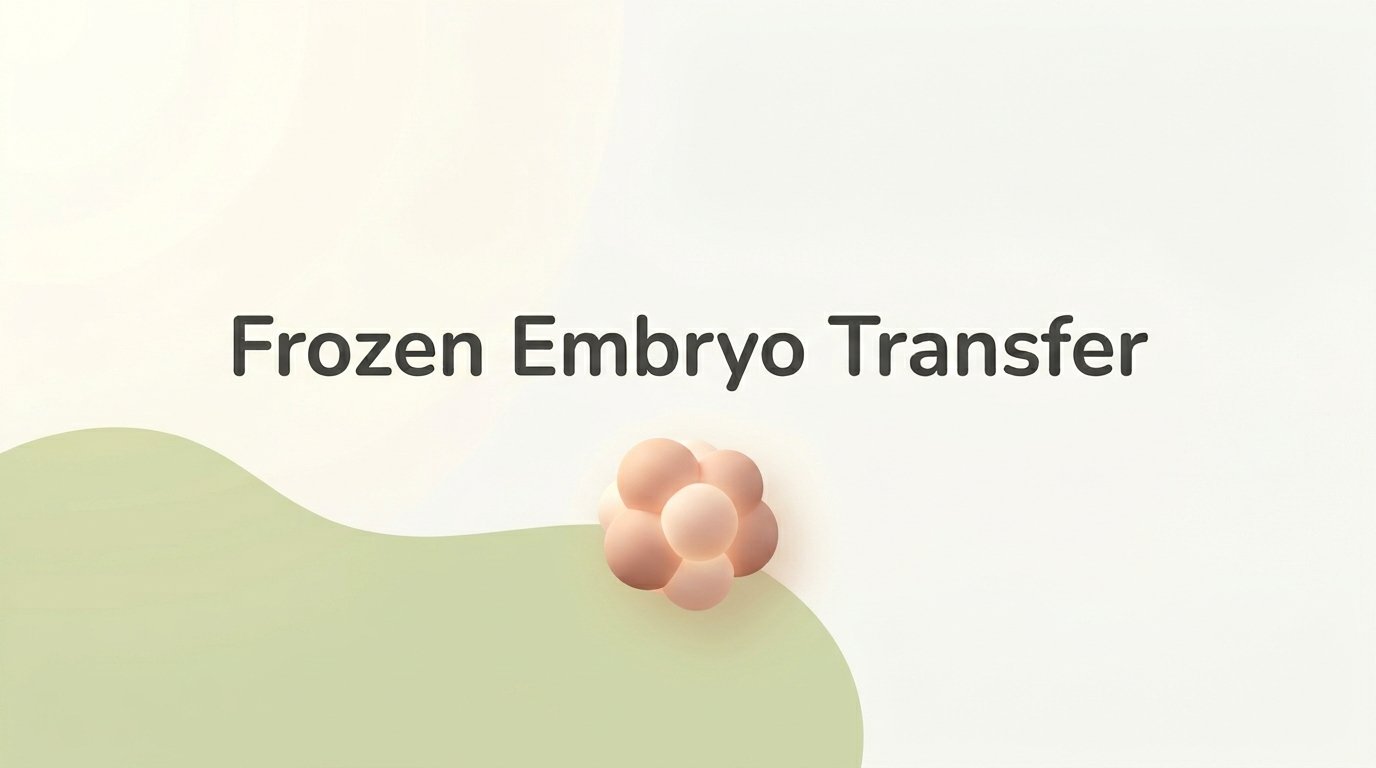
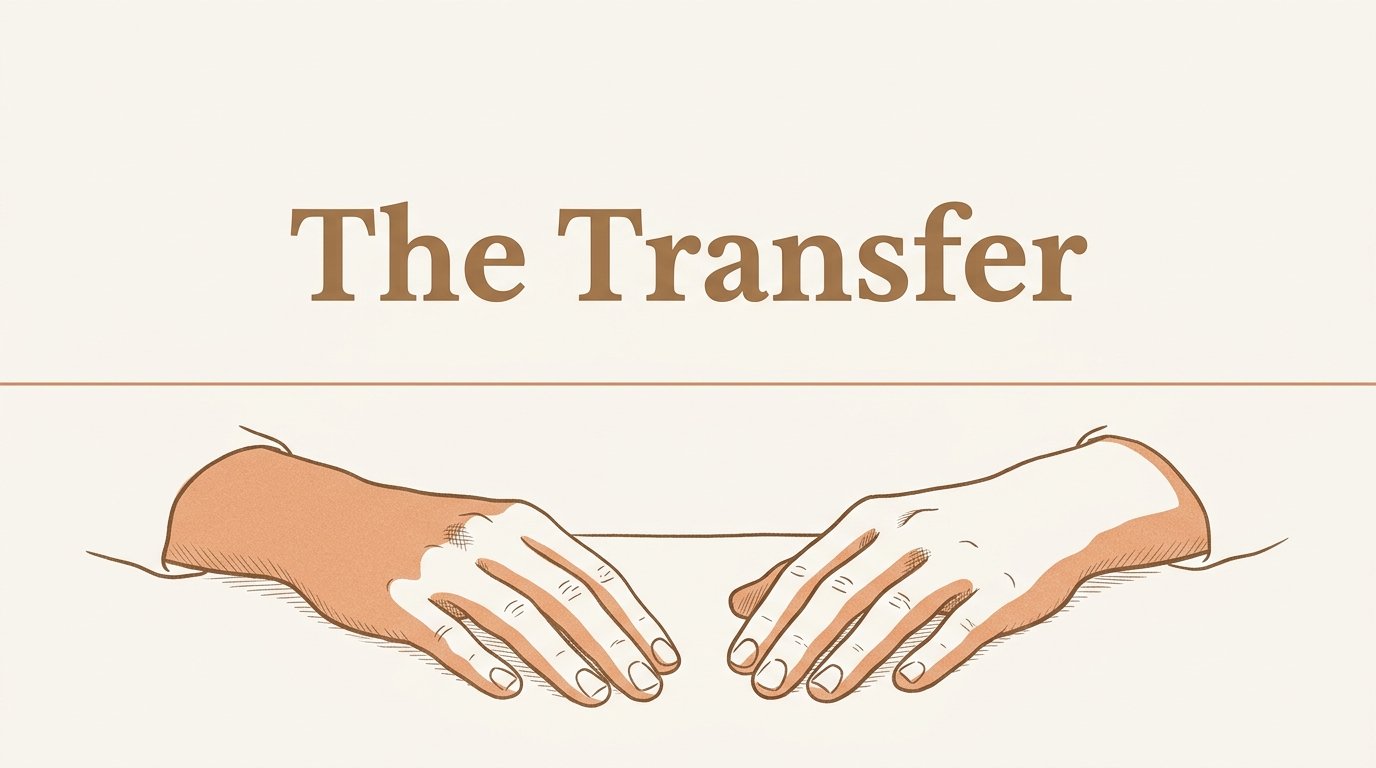
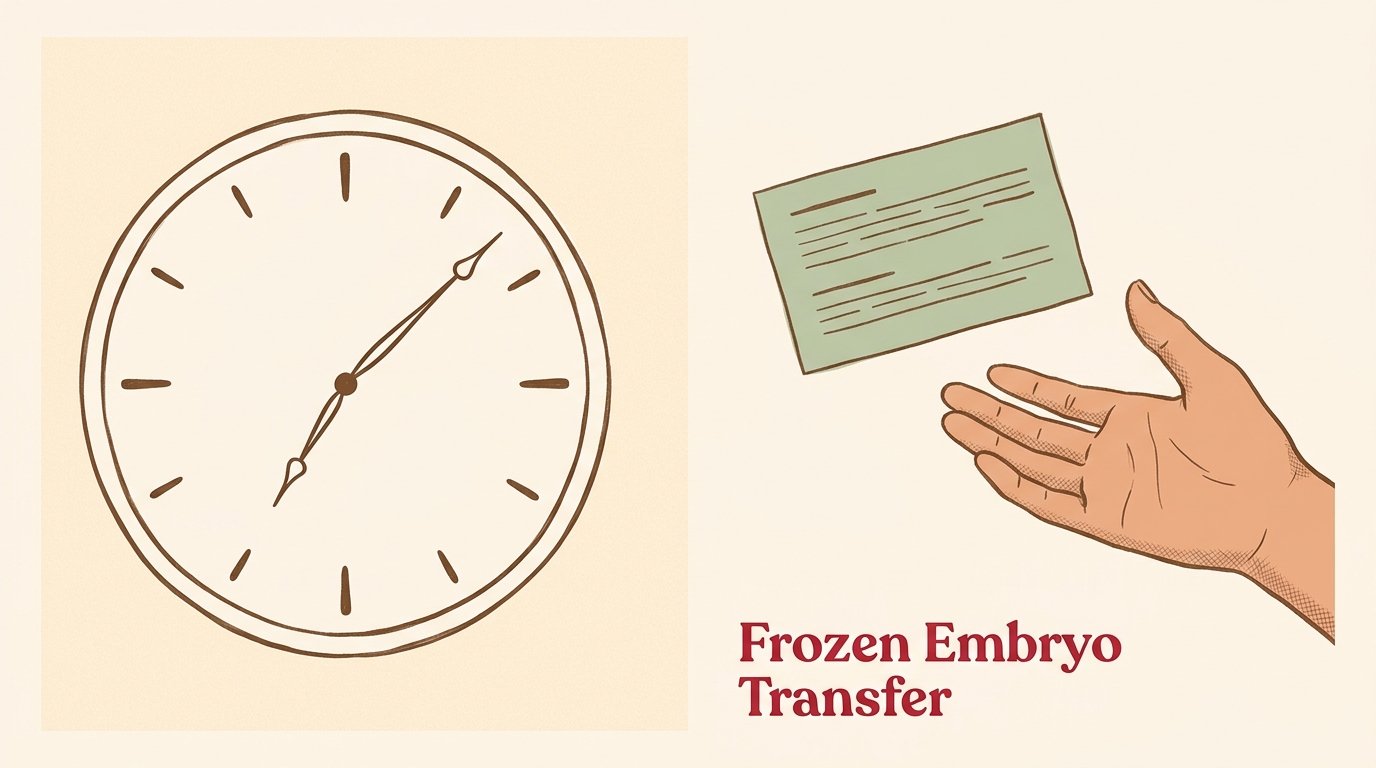
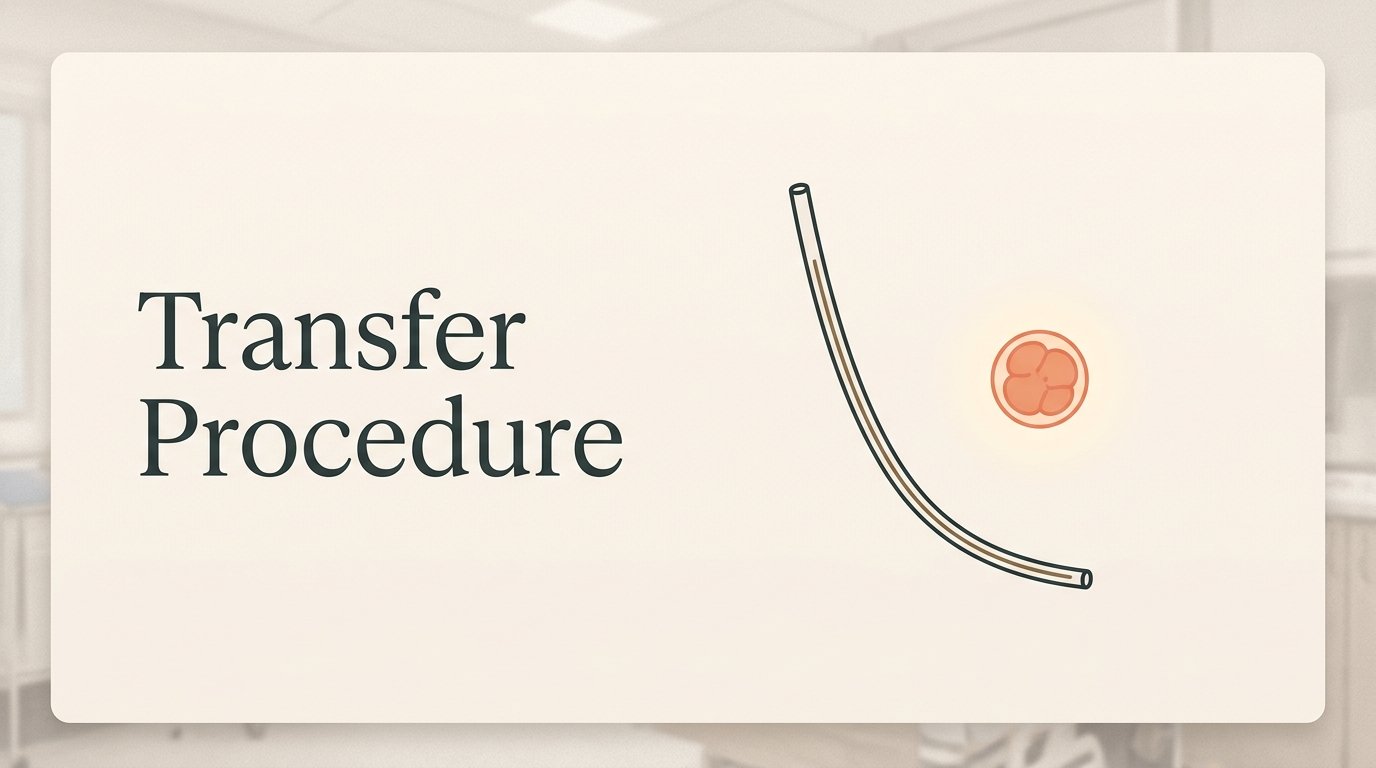
Read full voice prompt →The frozen embryo transfer.
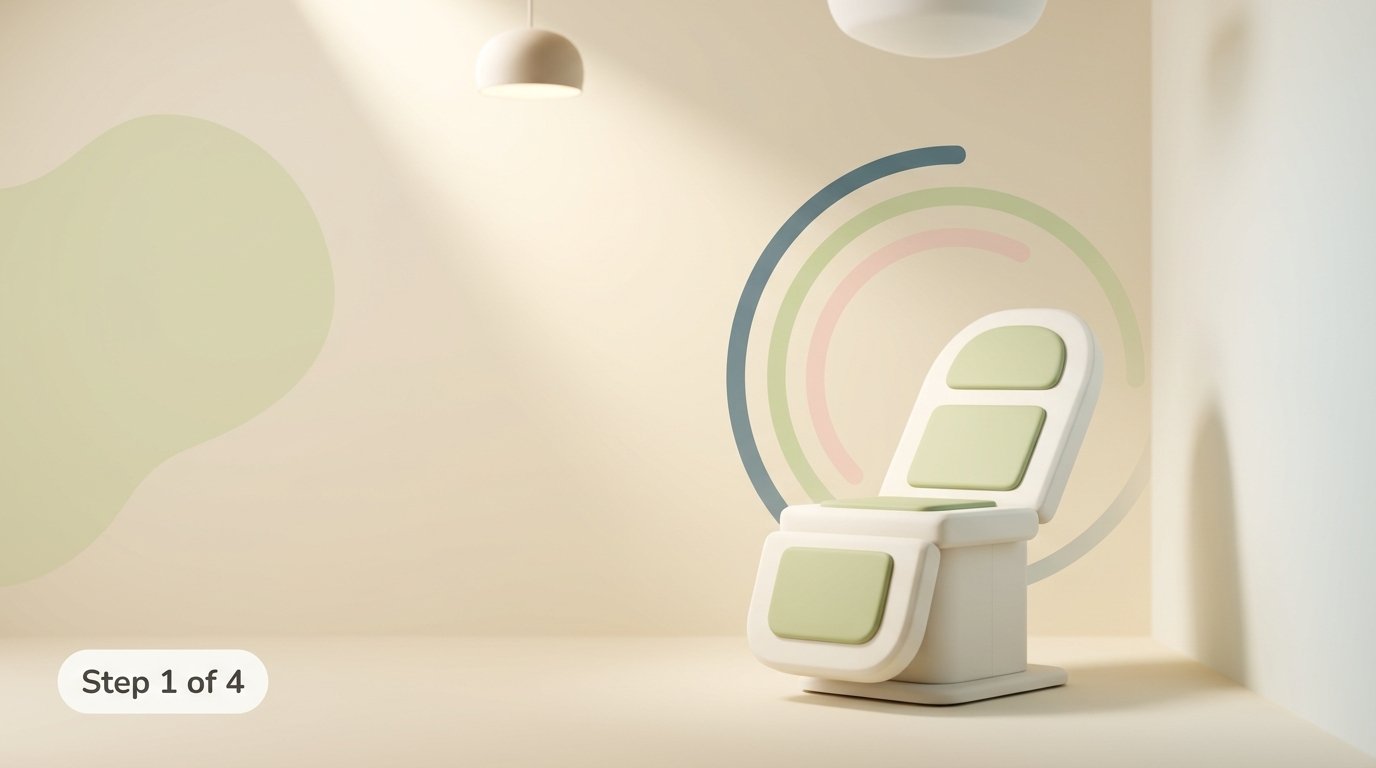
Dead-center title opener on bare Warm Parchment — the embryo asset and a refined serif heading, nothing else, maximum breathing room.

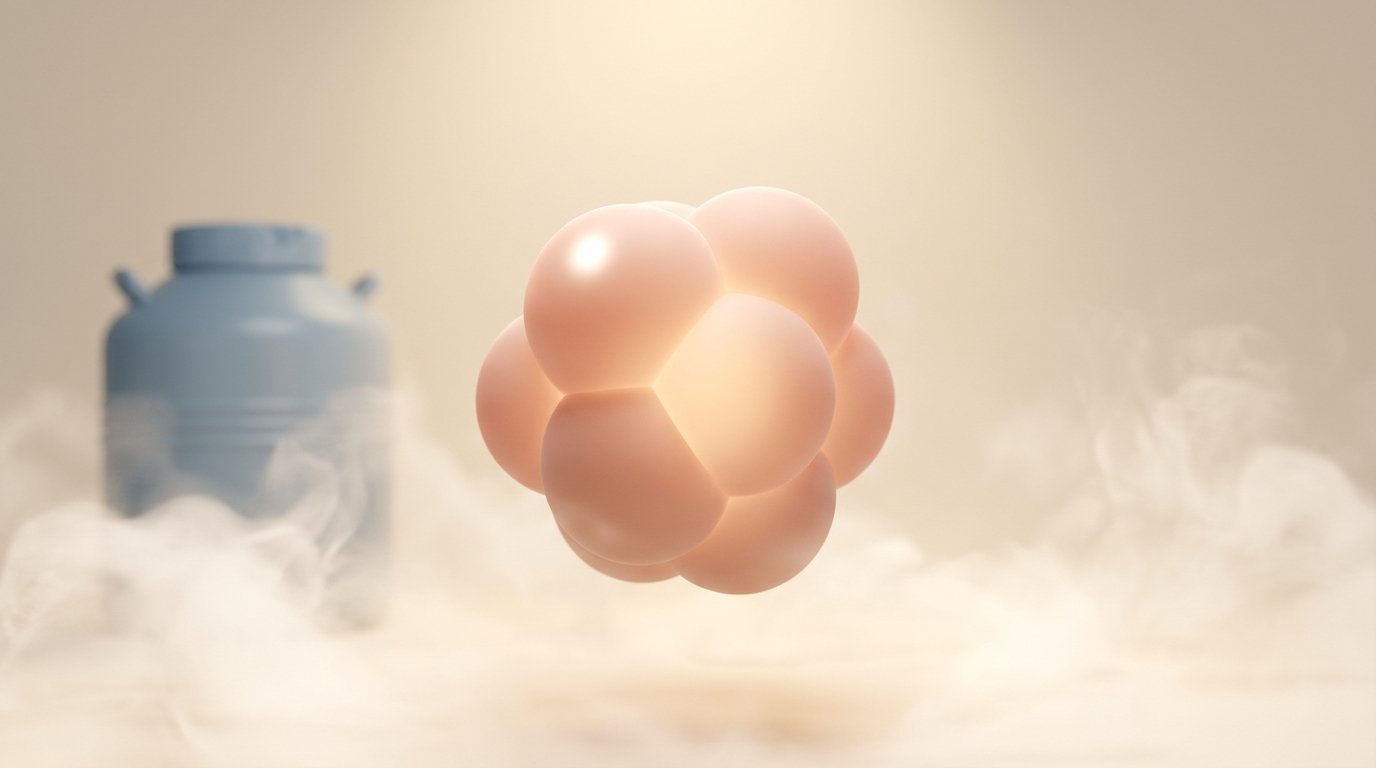
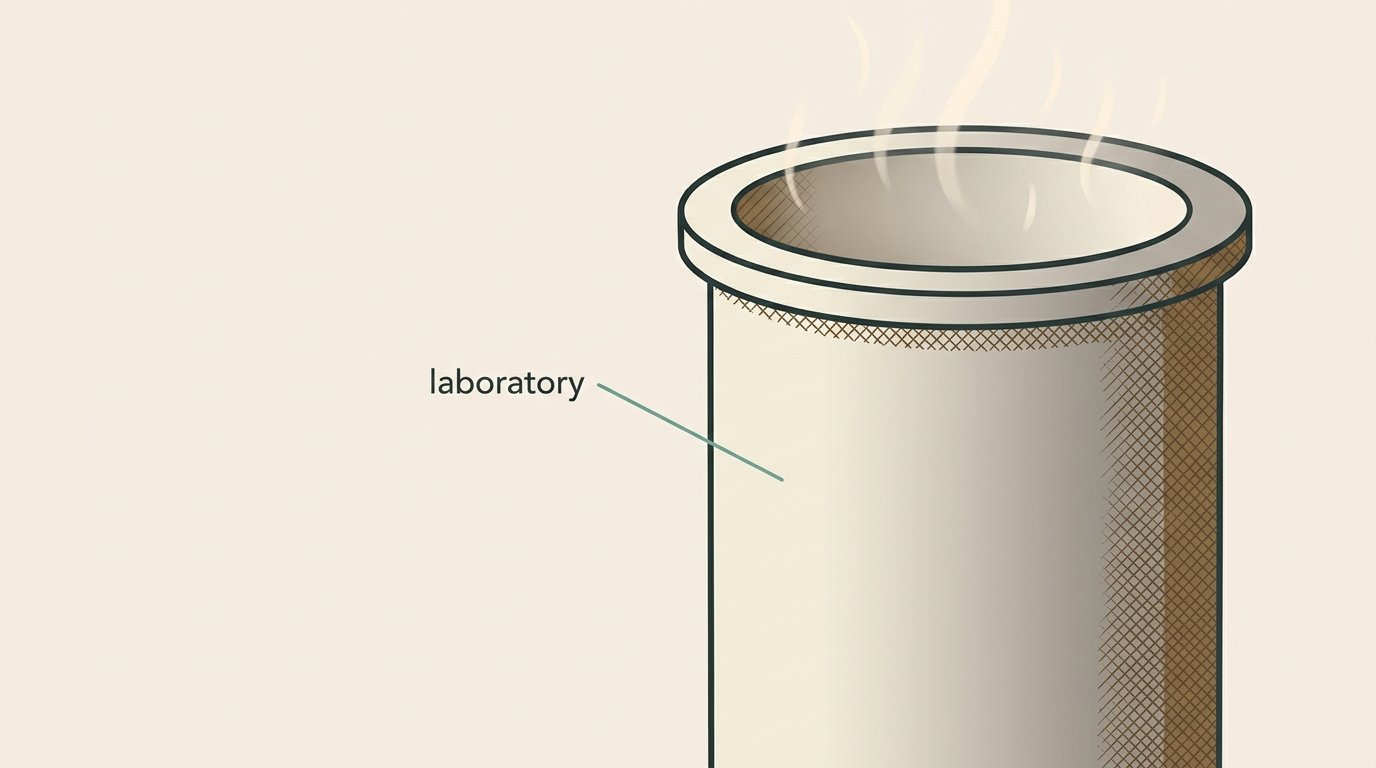
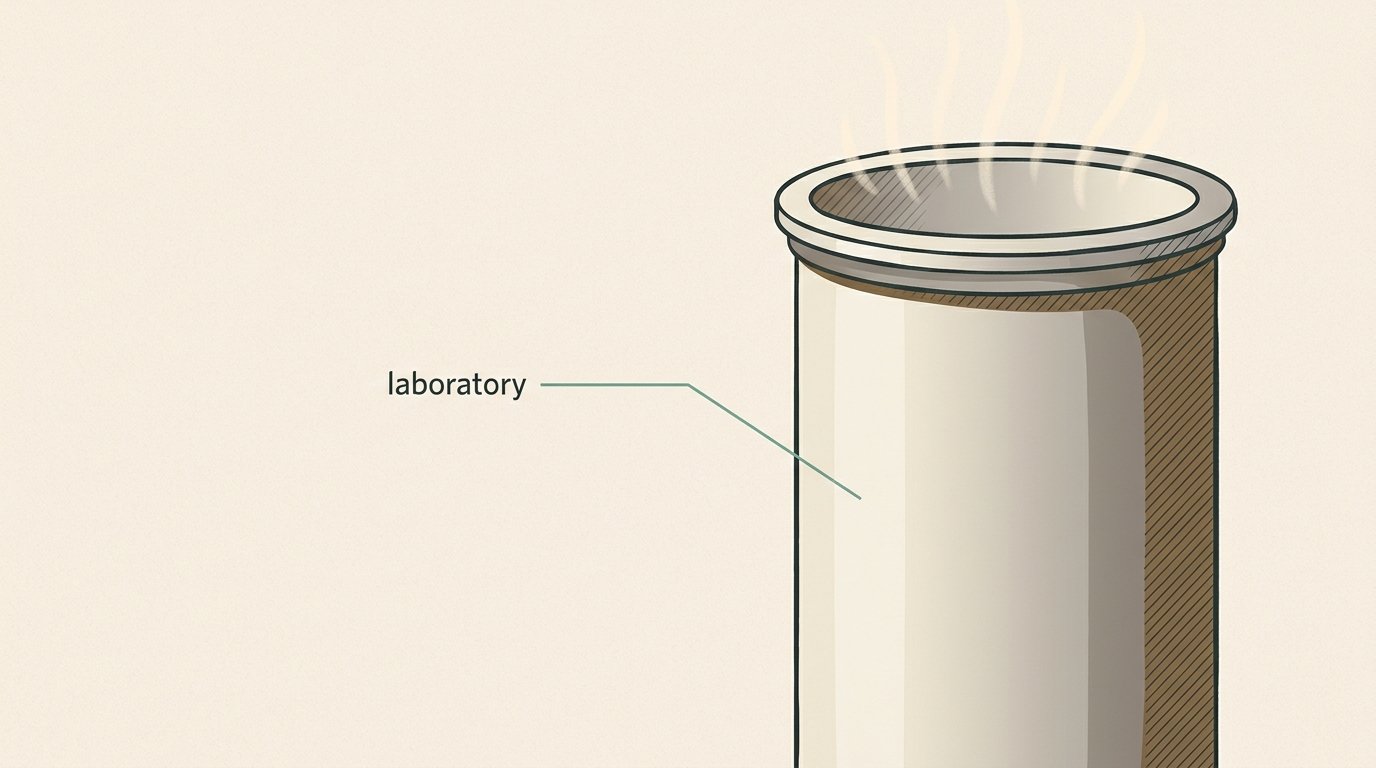
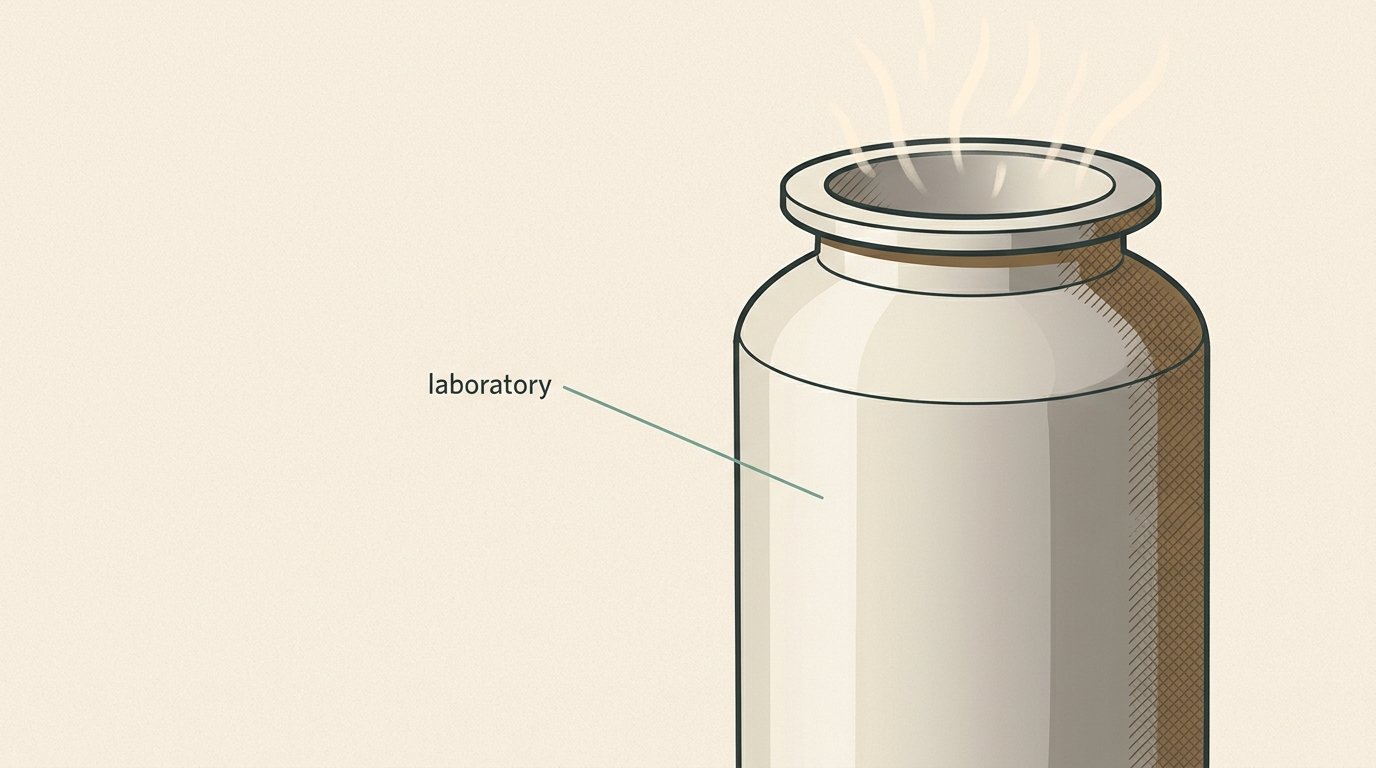
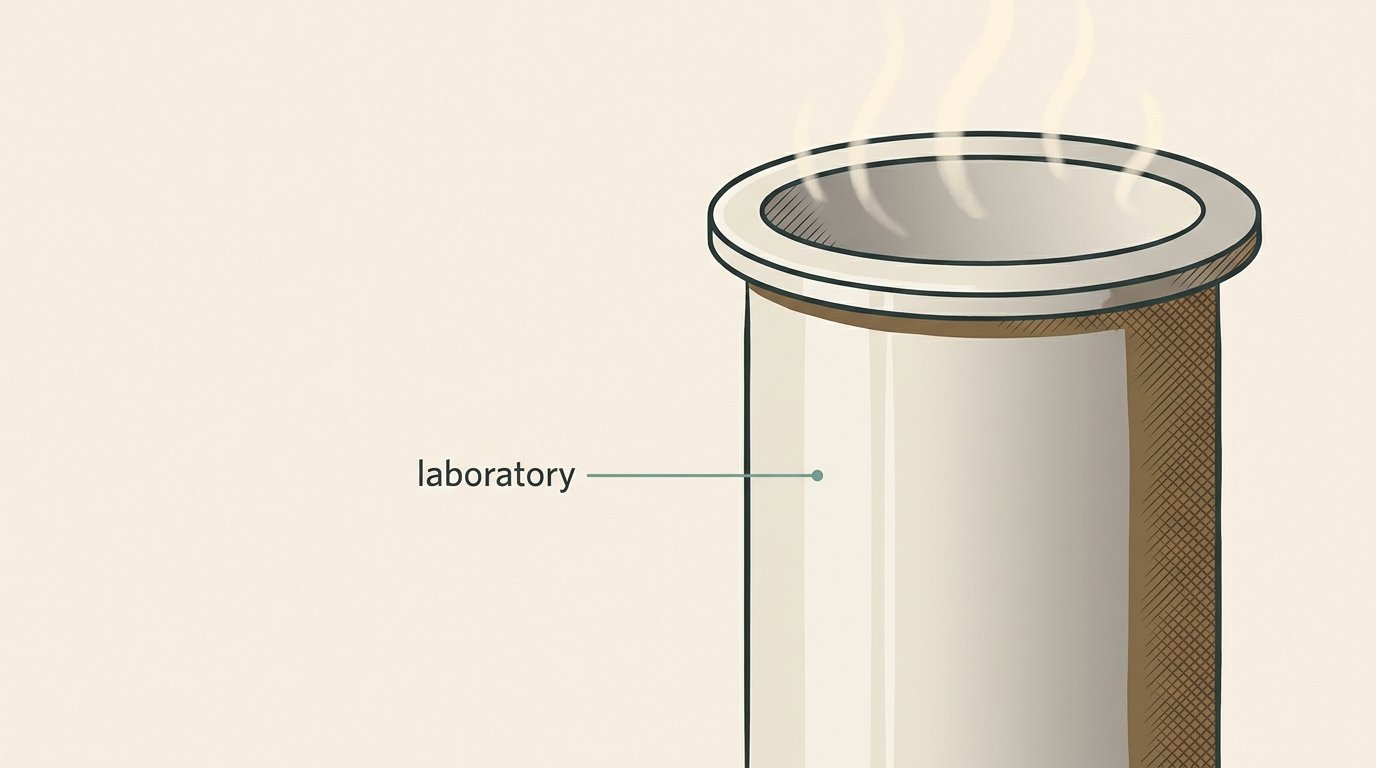
On the day of your transfer, your frozen embryo or embryos will be thawed in the laboratory.
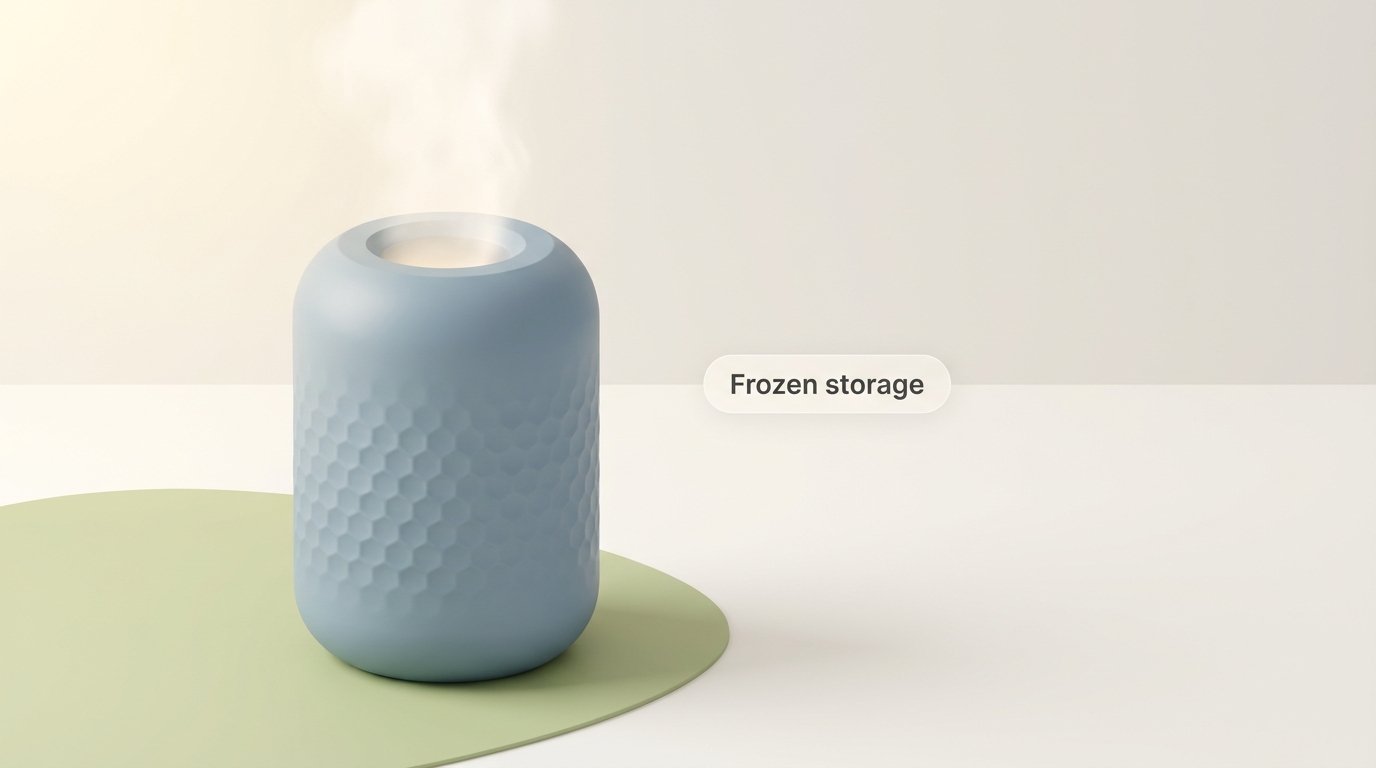
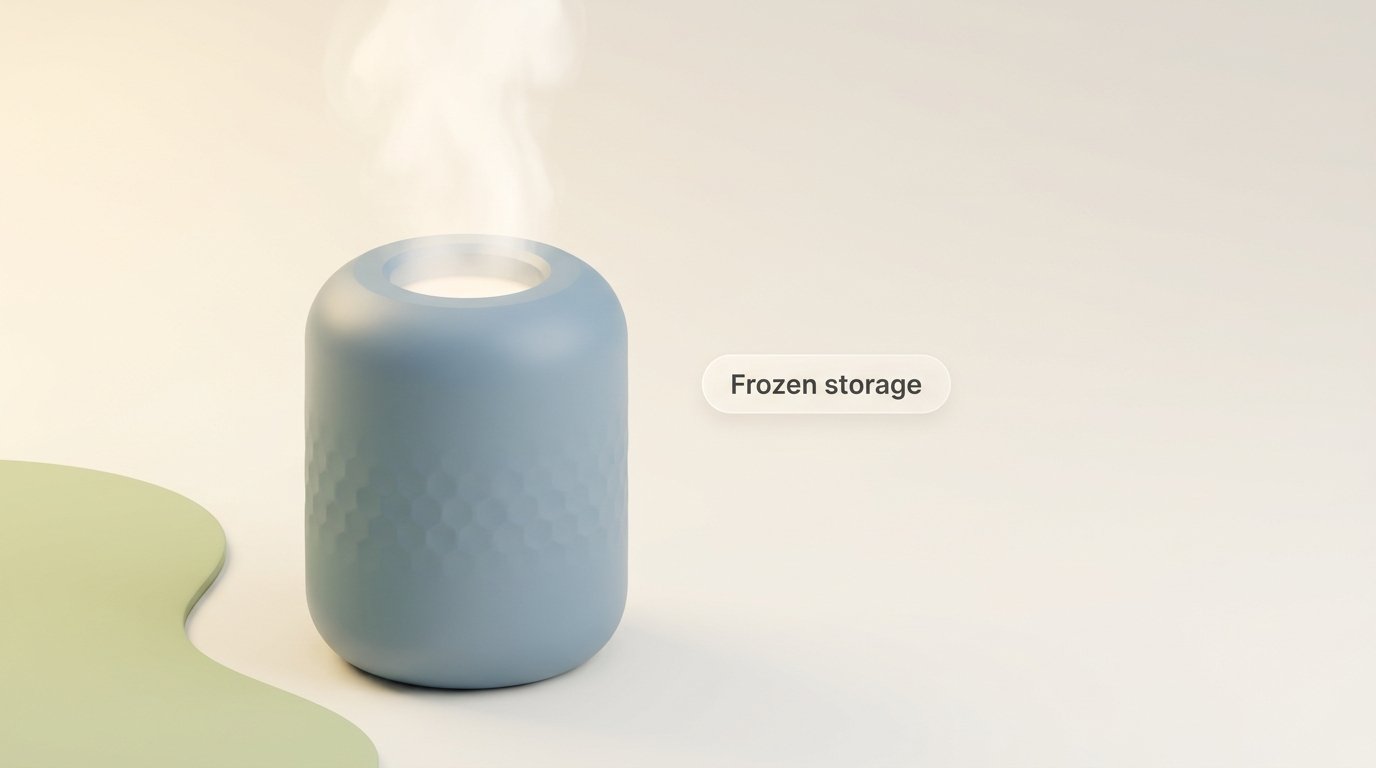
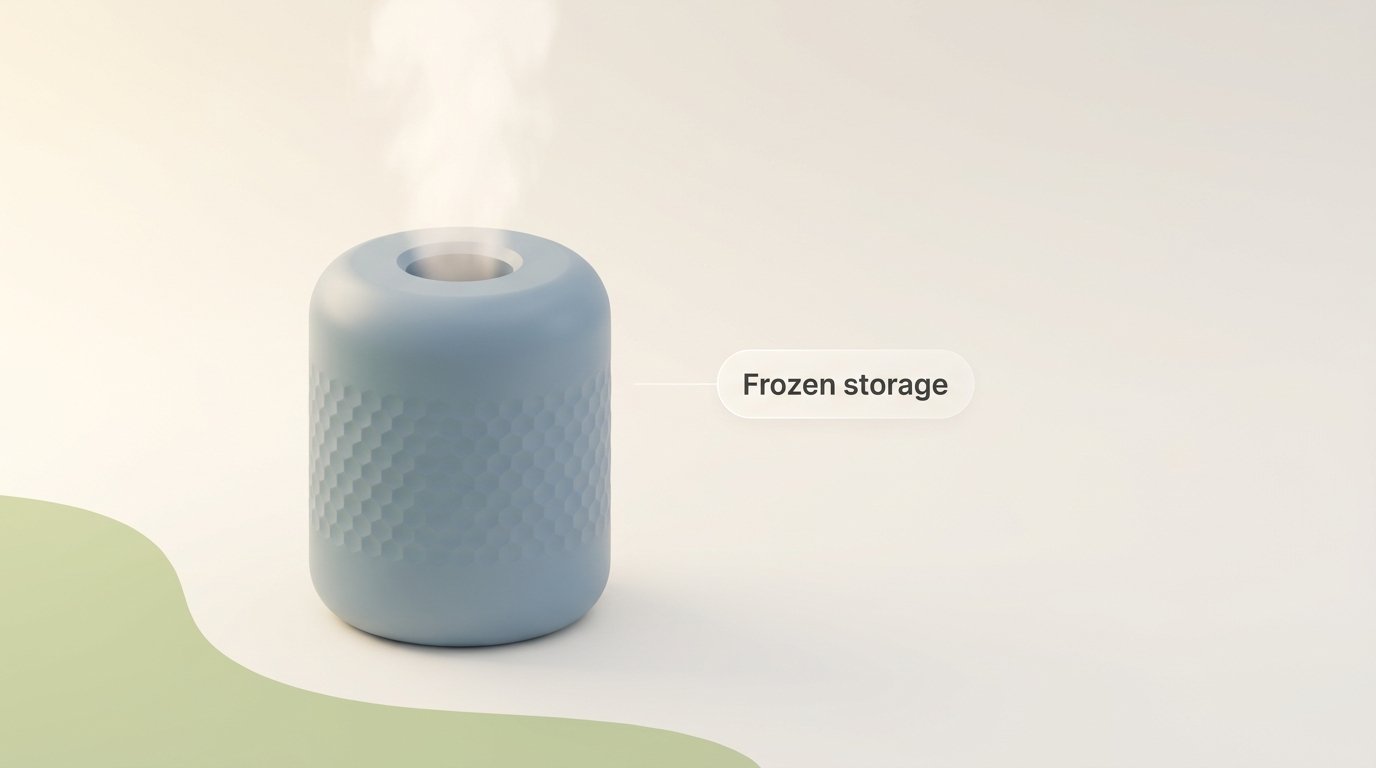
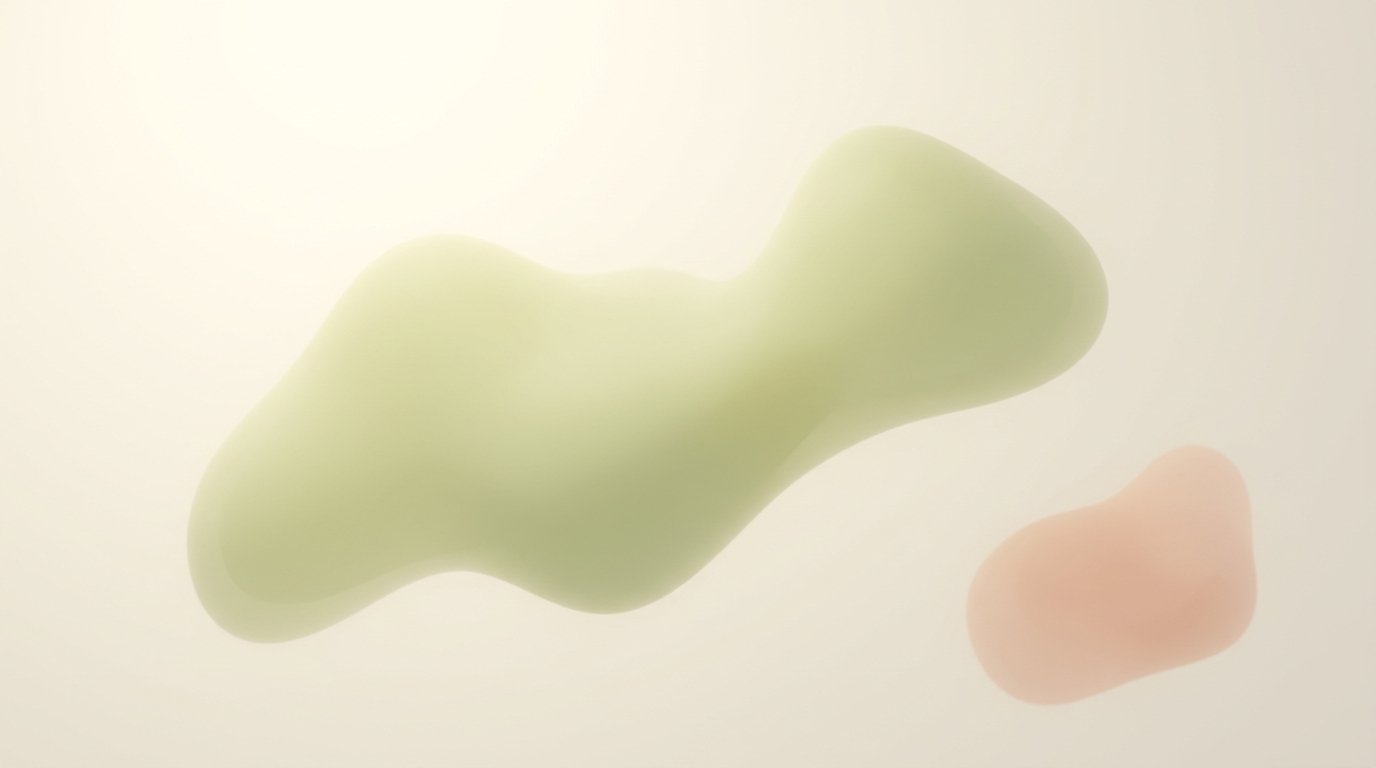
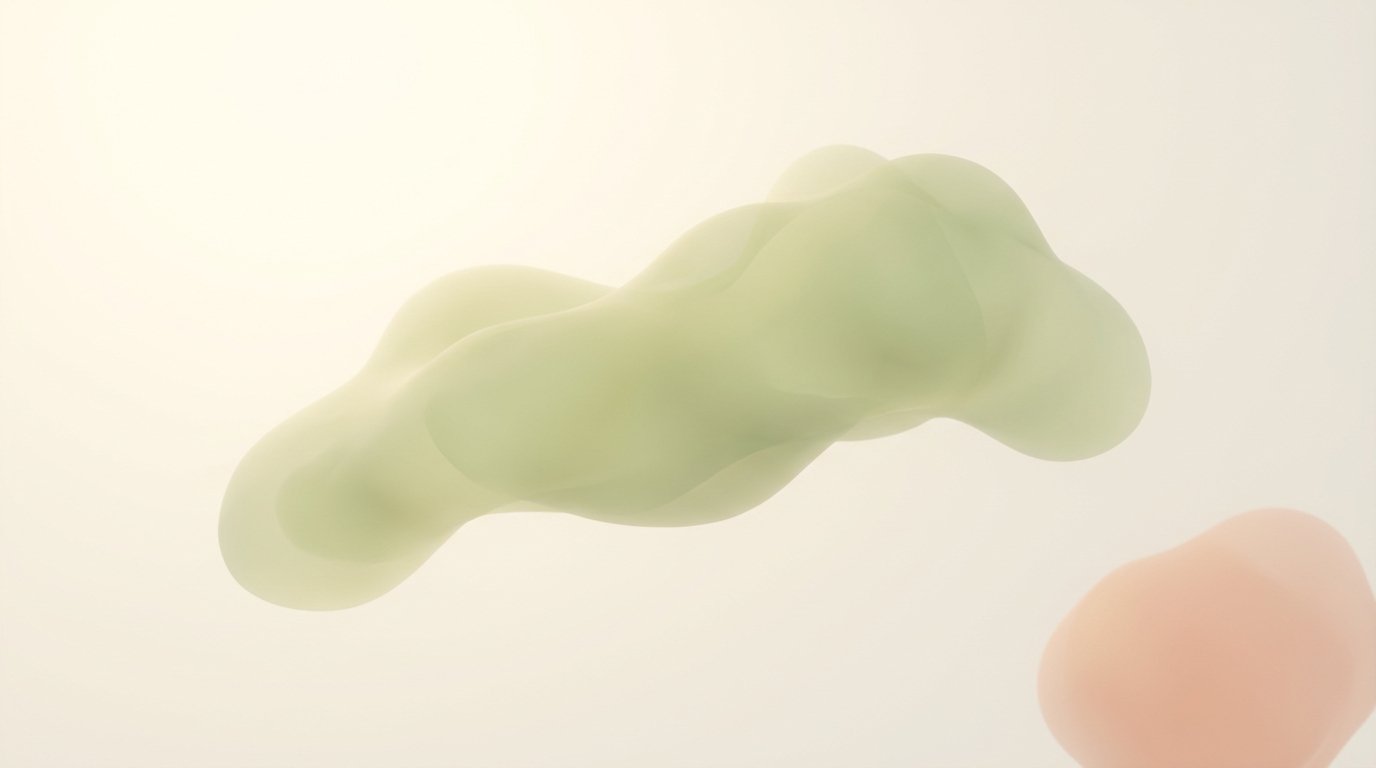
Cryogenic dewar at right two-thirds, intentionally cool-gray against warm background, vapor wisps, single callout label at left.
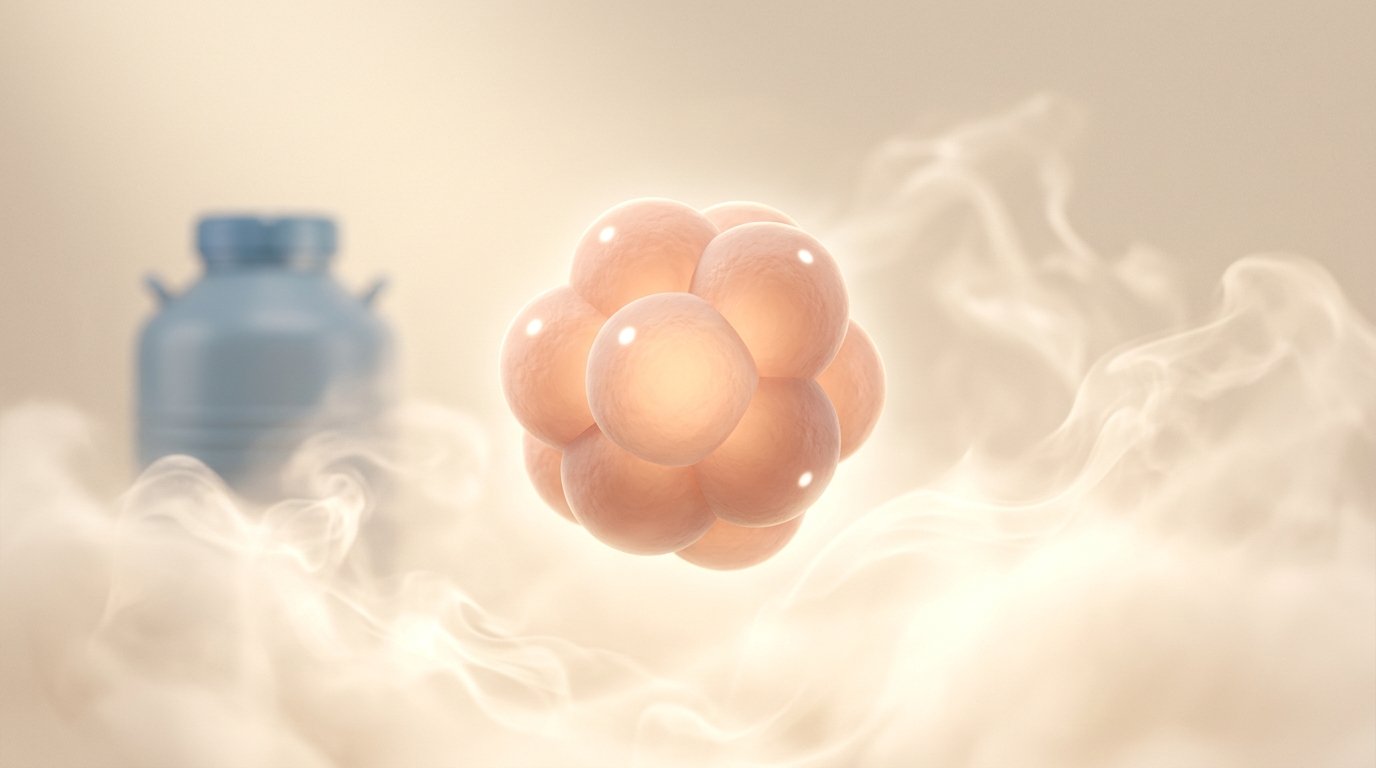
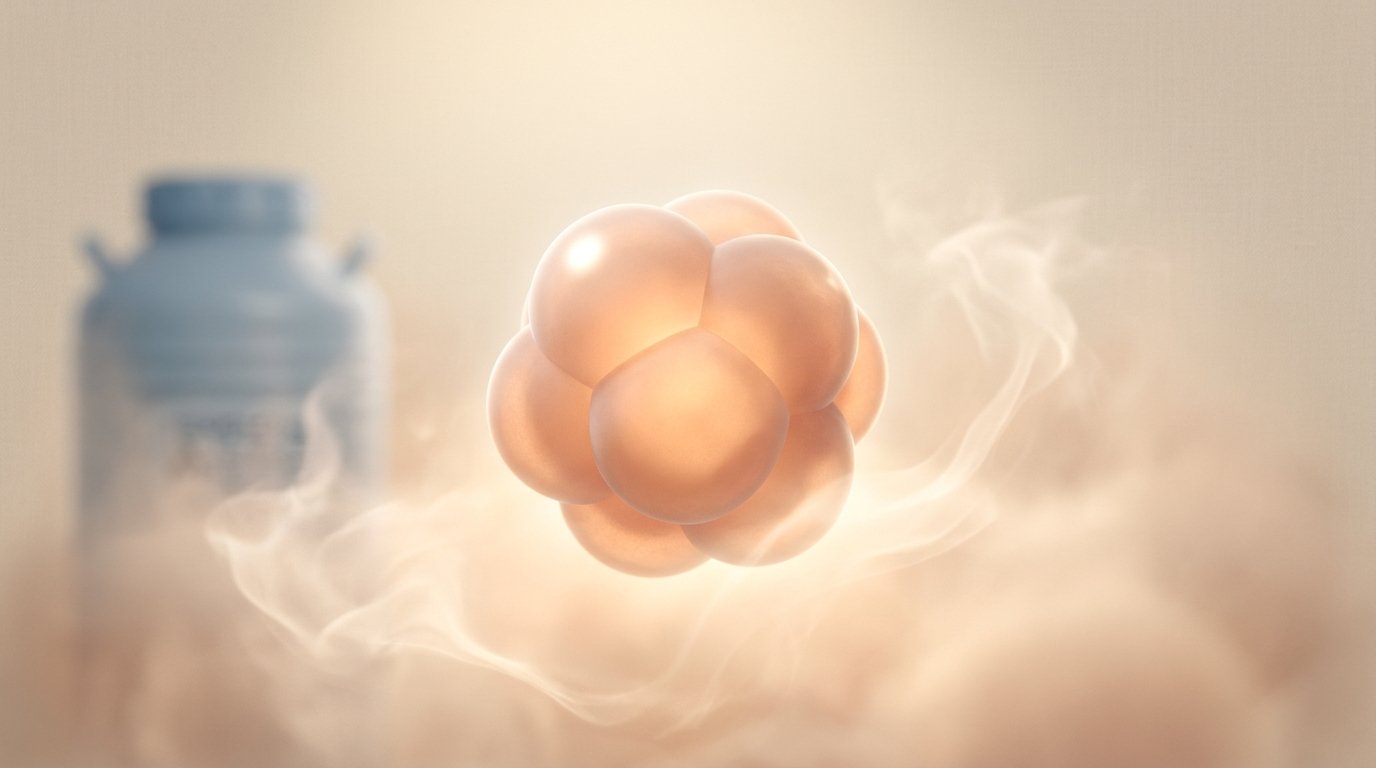
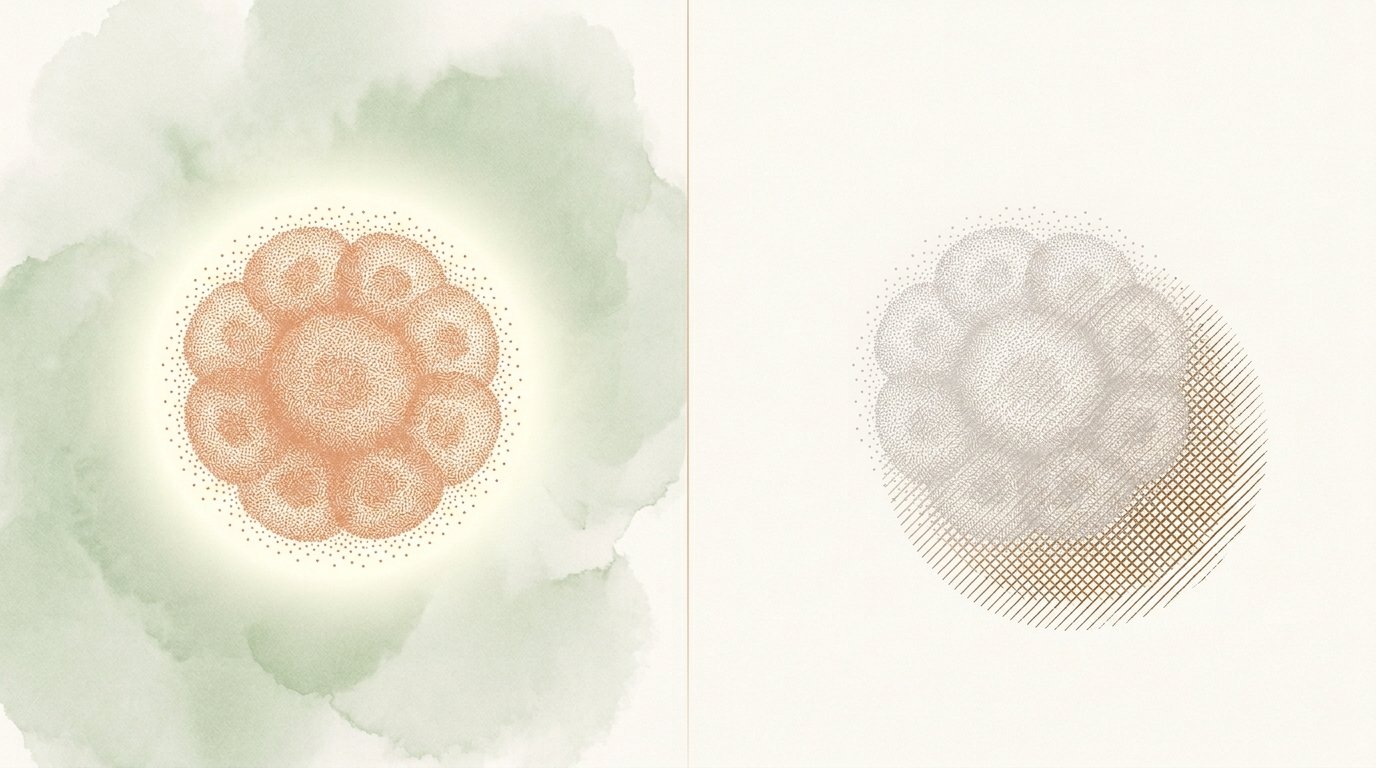
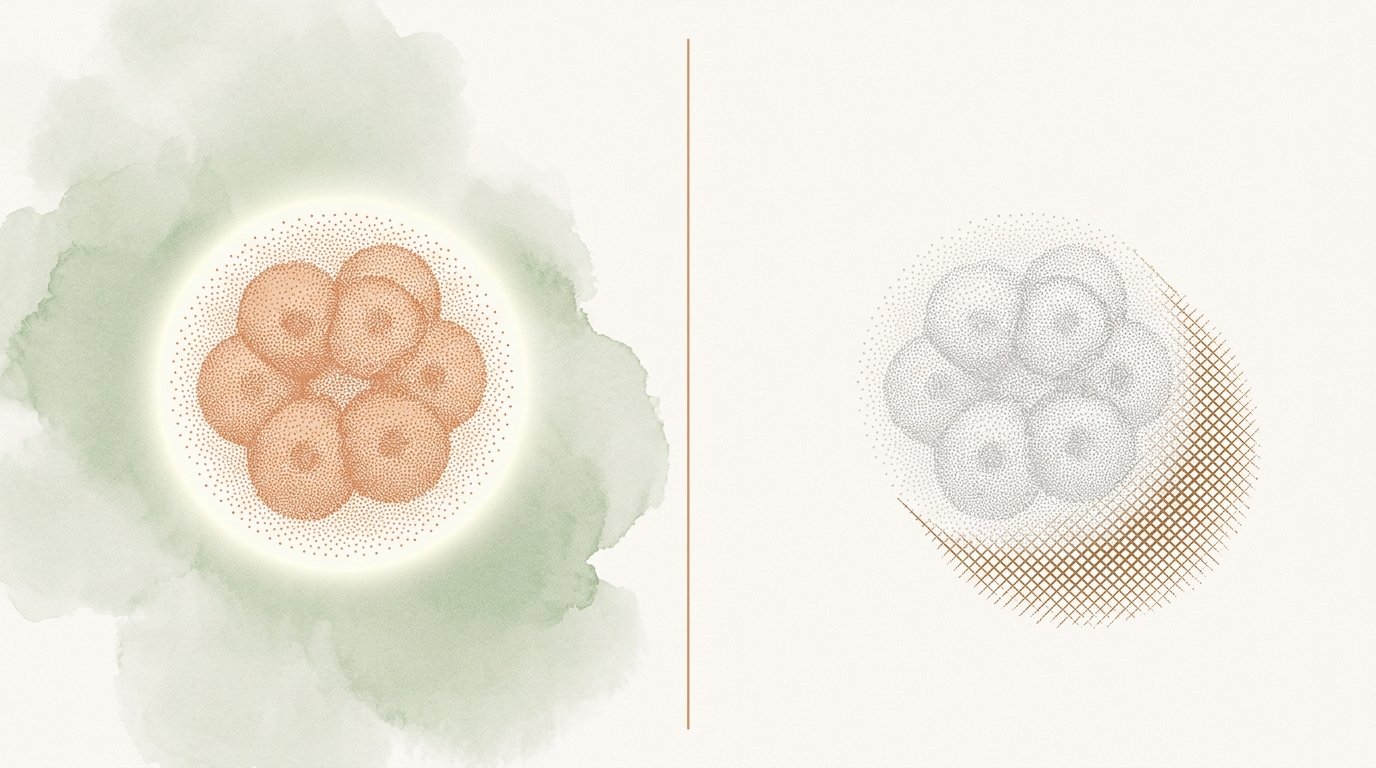
Freezing and thawing technology has improved significantly, but there's still a risk that the embryo will not survive the thaw.
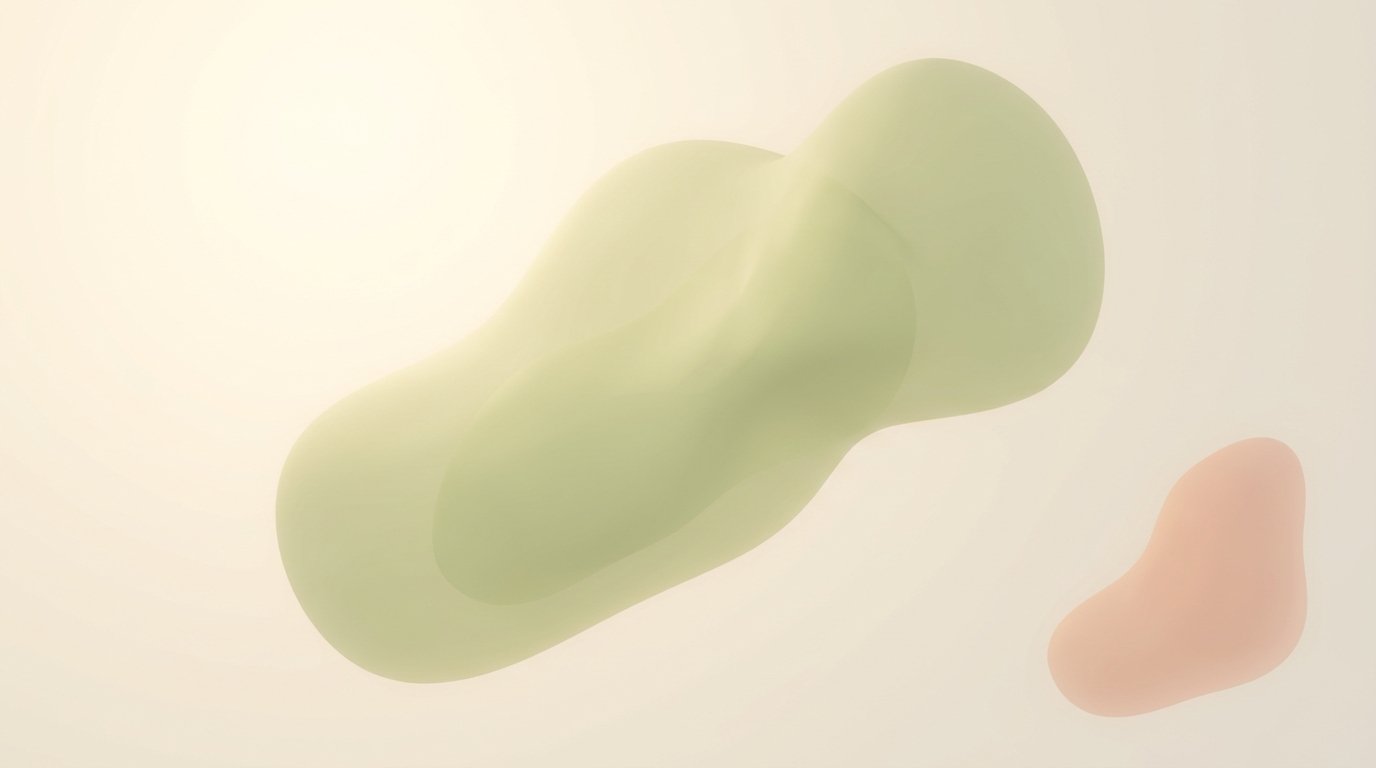
Risk disclosure — primary embryo emerging from vapor at left-center, secondary ghost embryo at lower-right acknowledging risk without drama; dewar recedes to background.
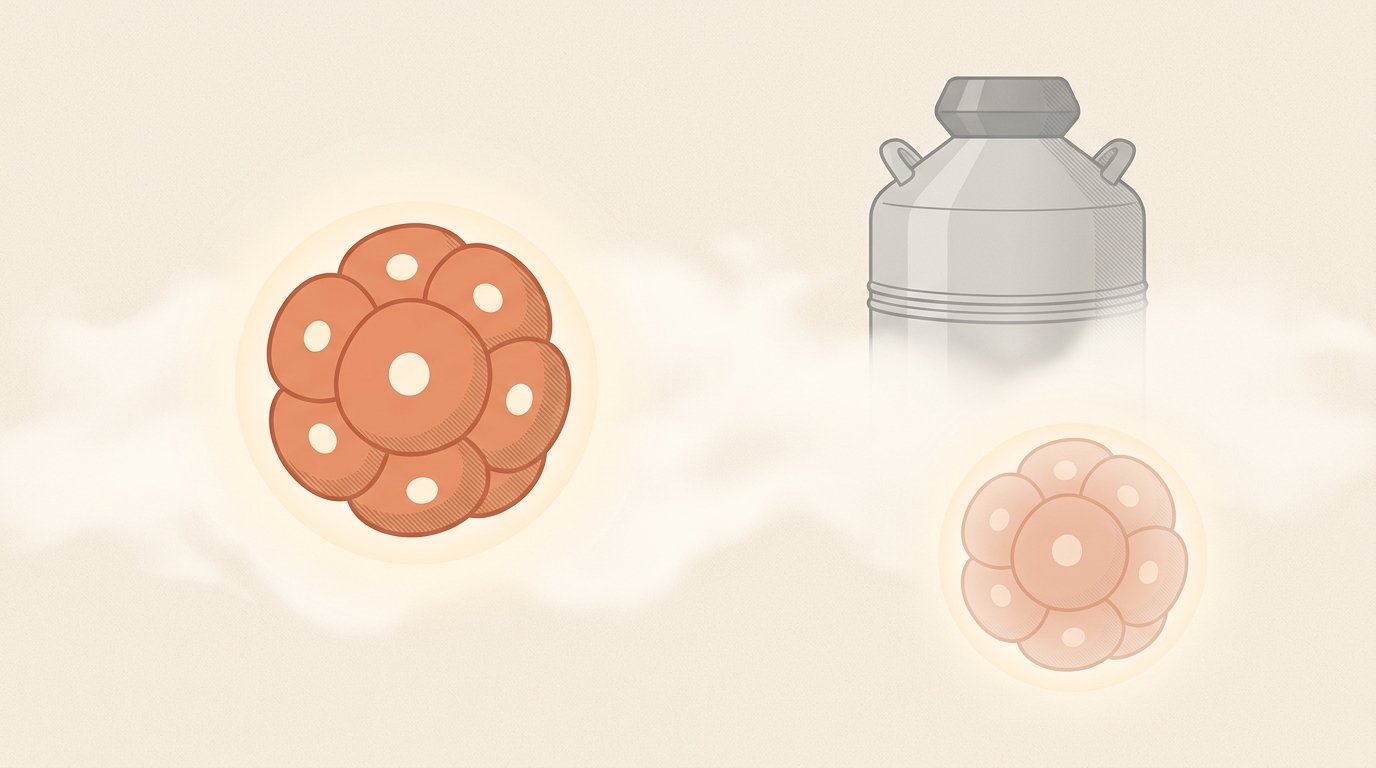
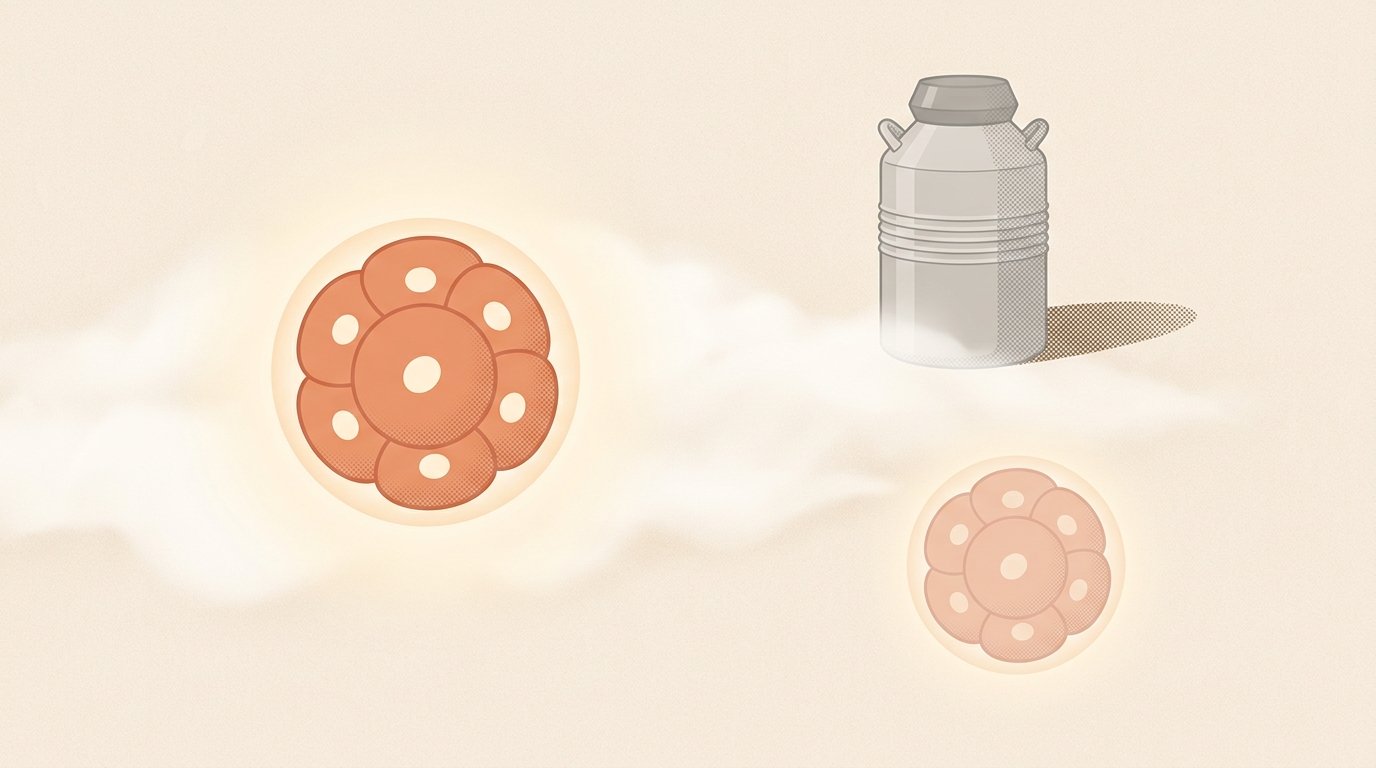
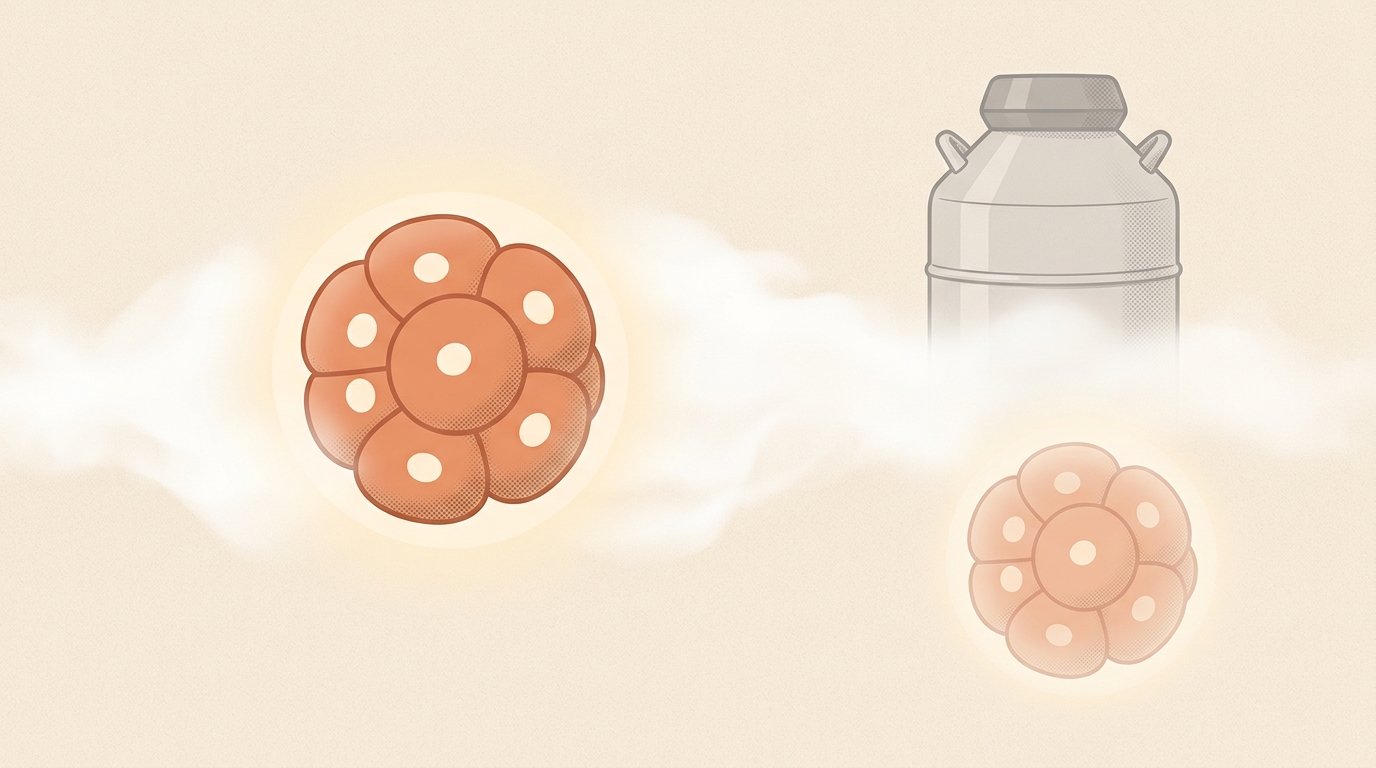
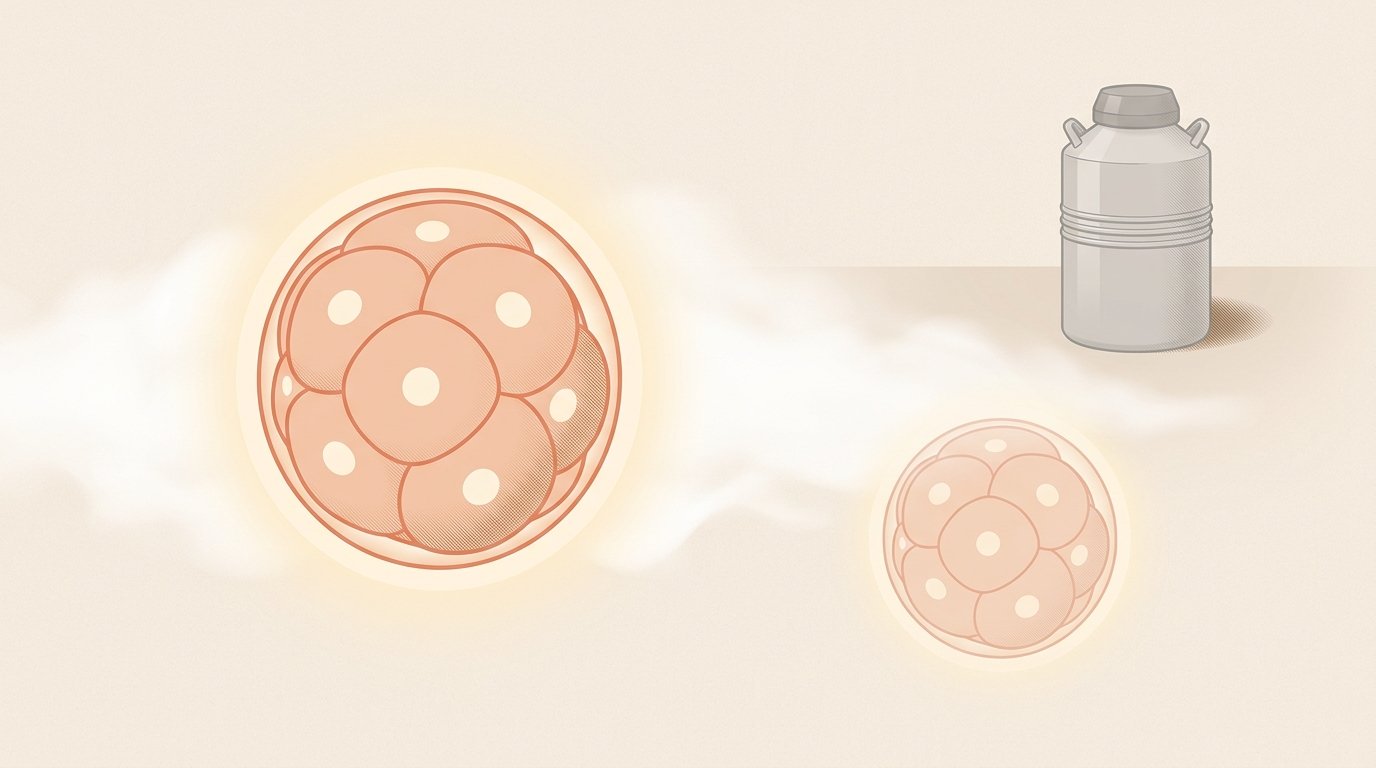
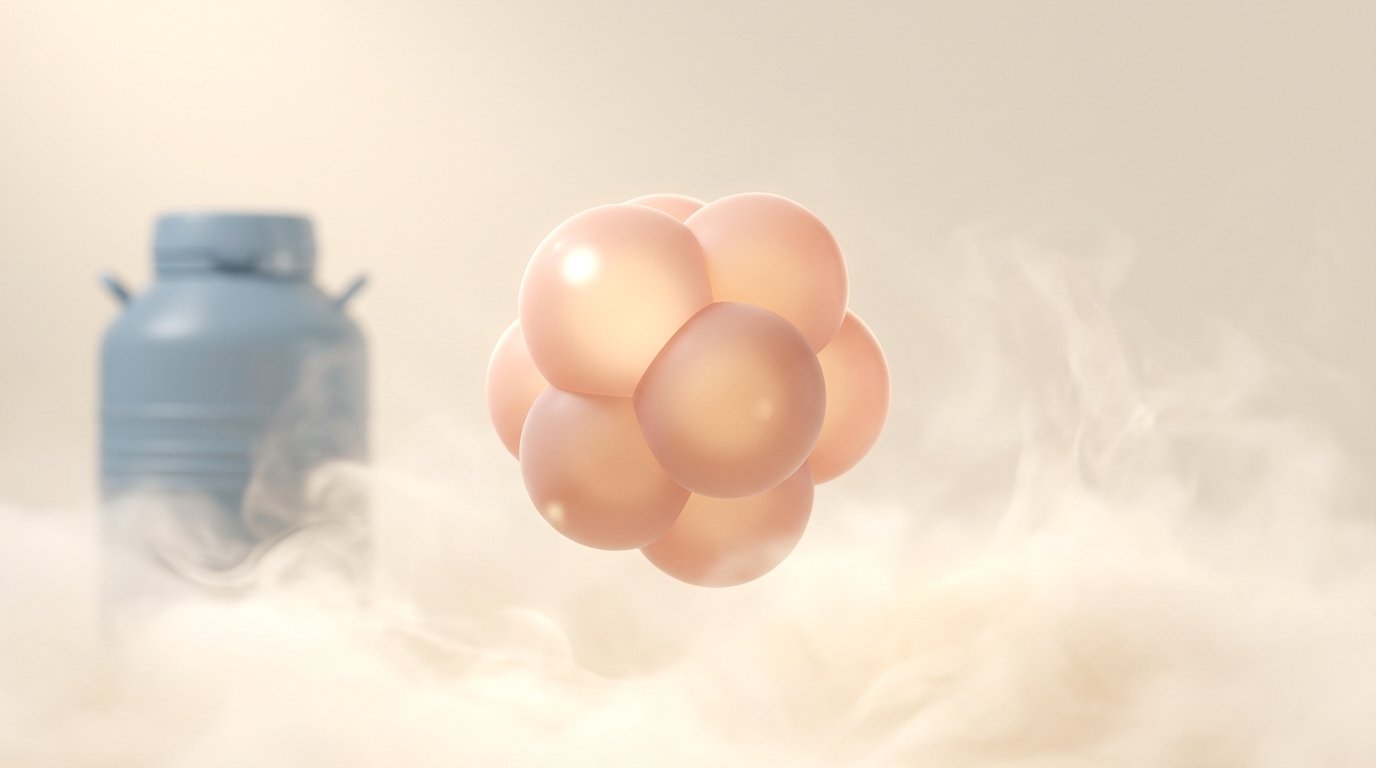
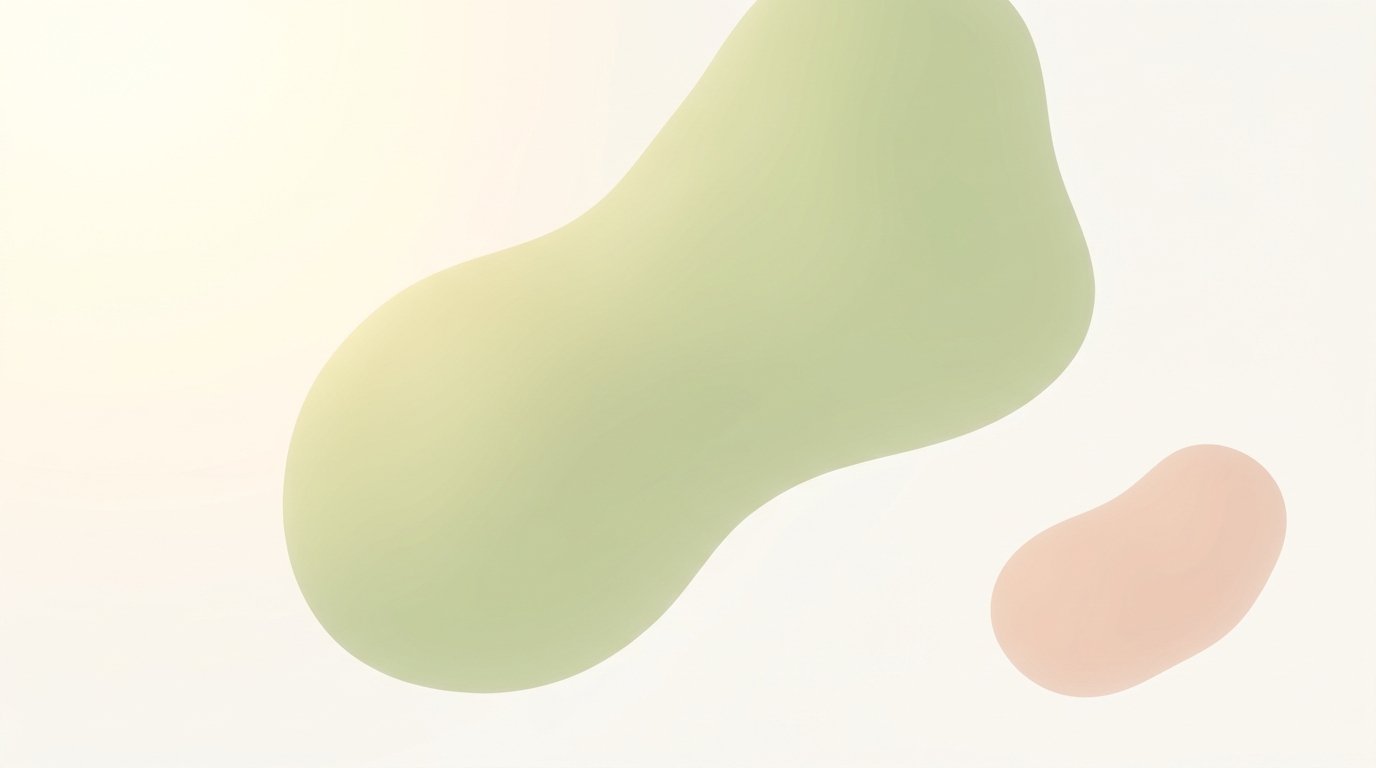
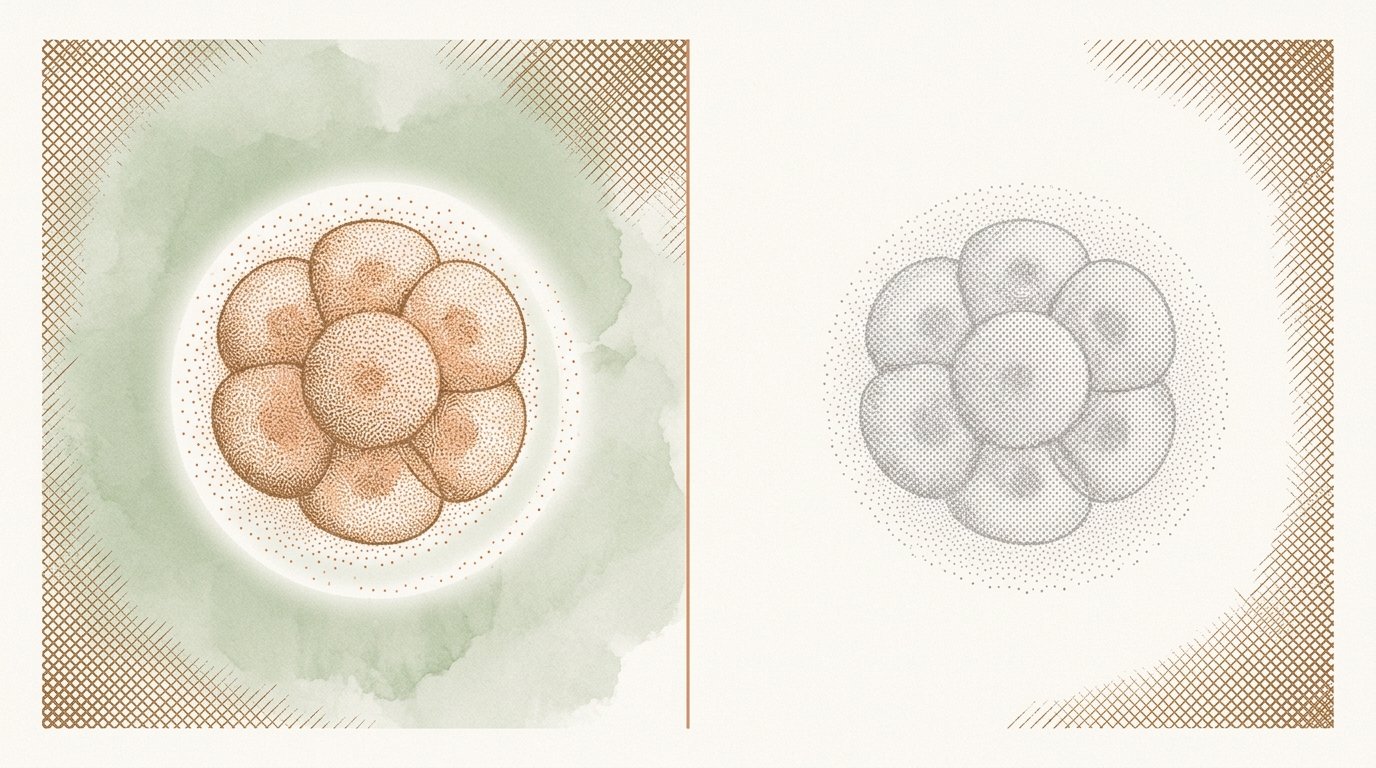
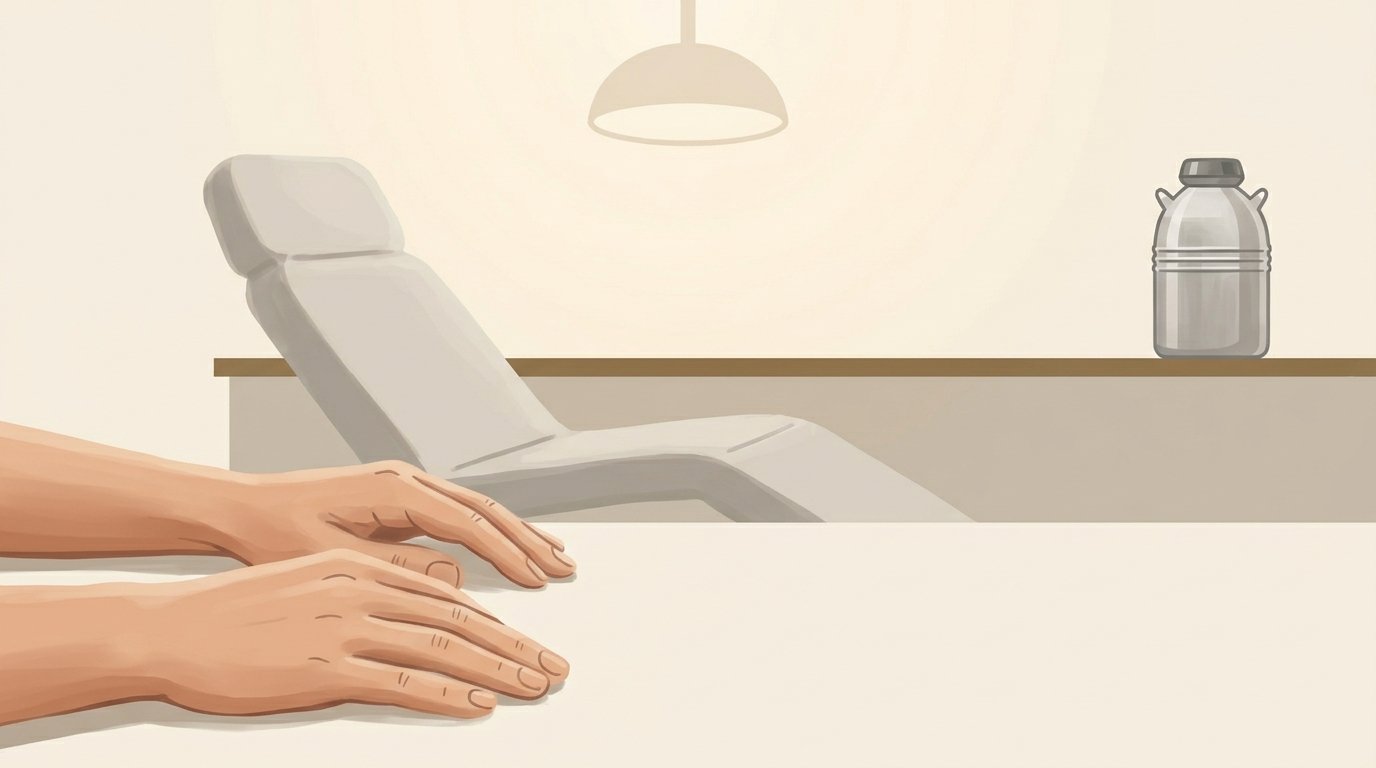
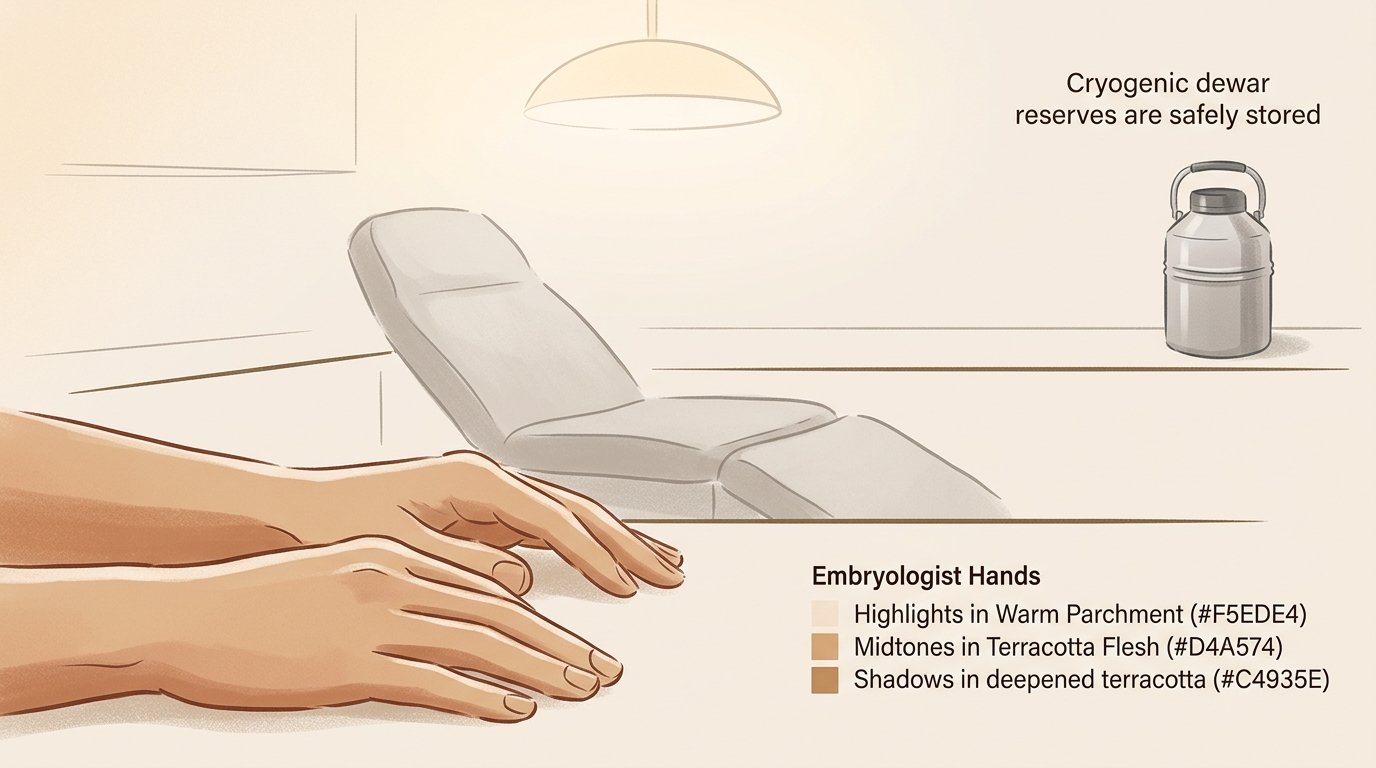
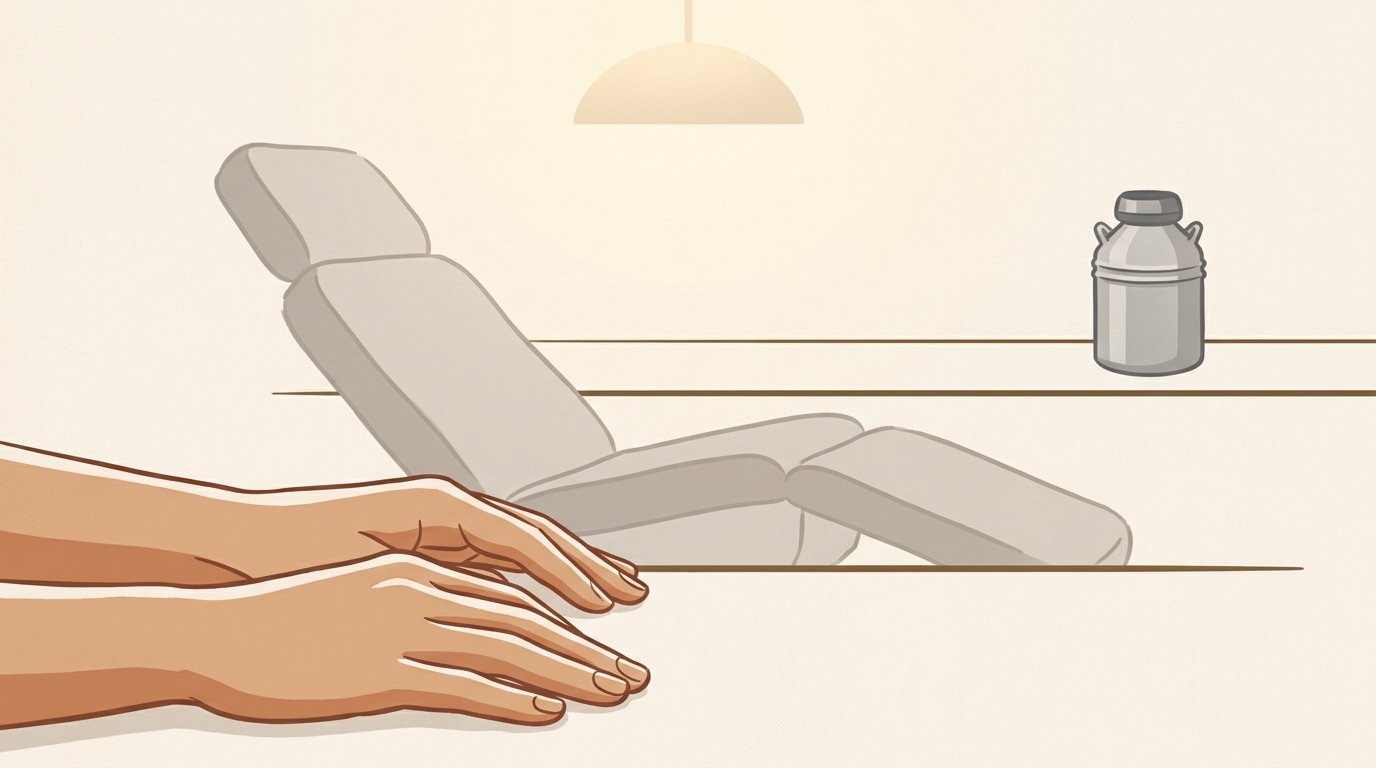
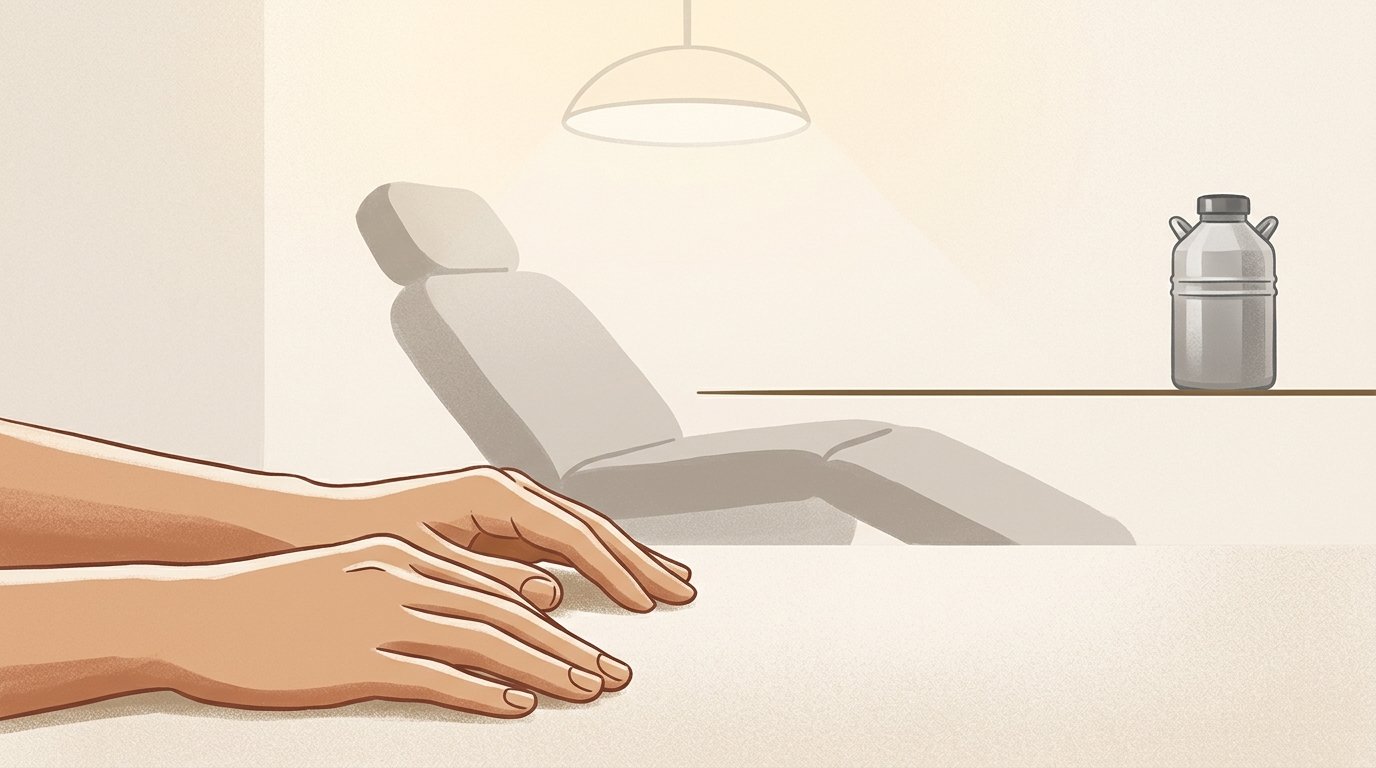
If this occurs and you have extra embryos in storage, there will still be time to thaw an additional embryo.
Clinical room environment as reassuring backdrop; embryologist hands resting calmly at foreground left; small dewar in background reinforcing reserves exist.
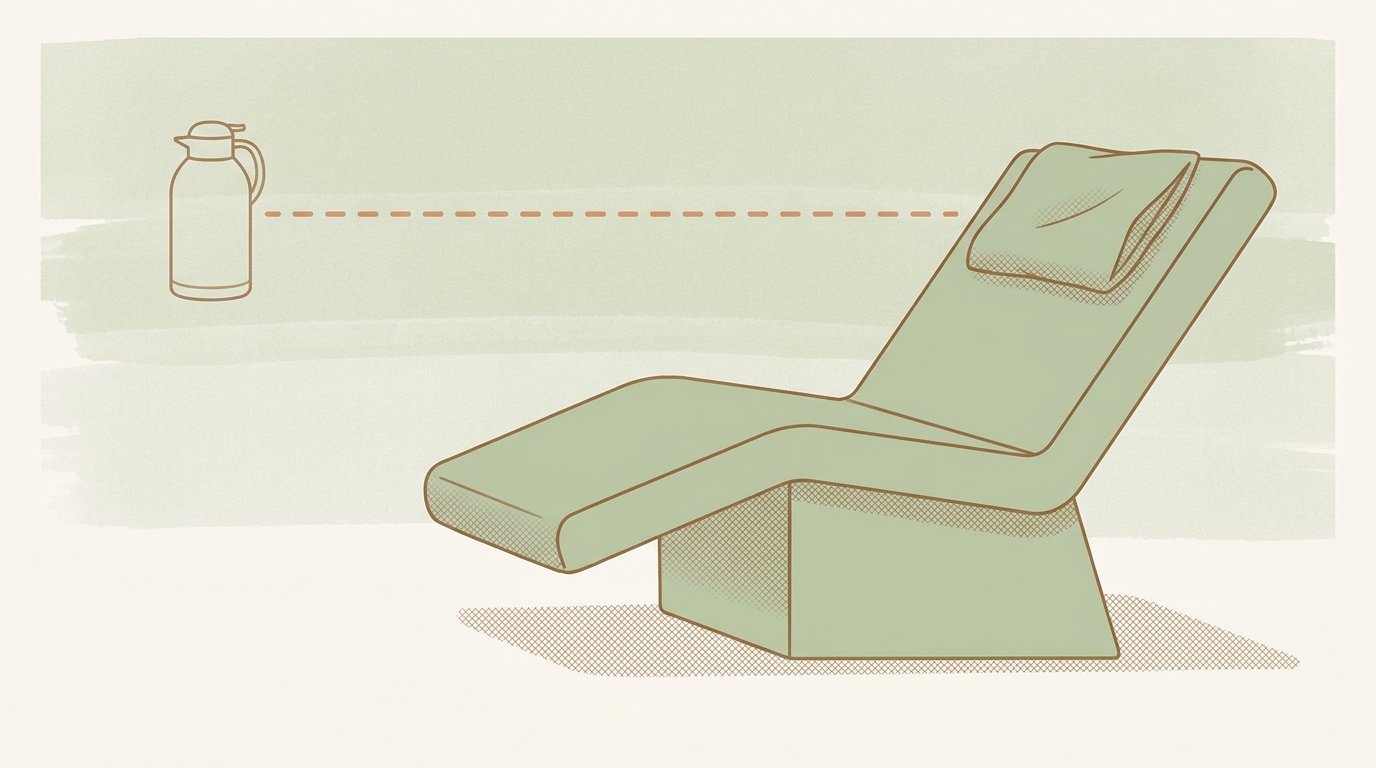
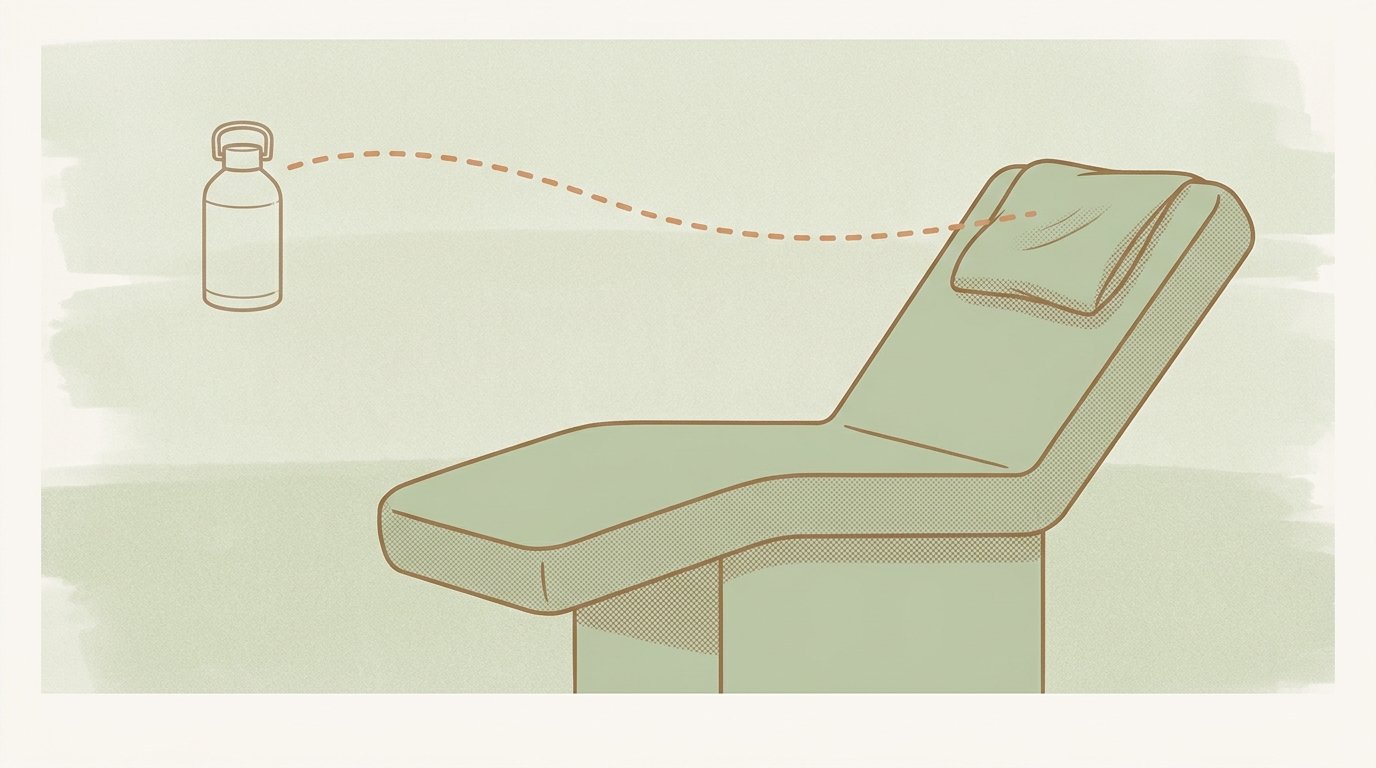
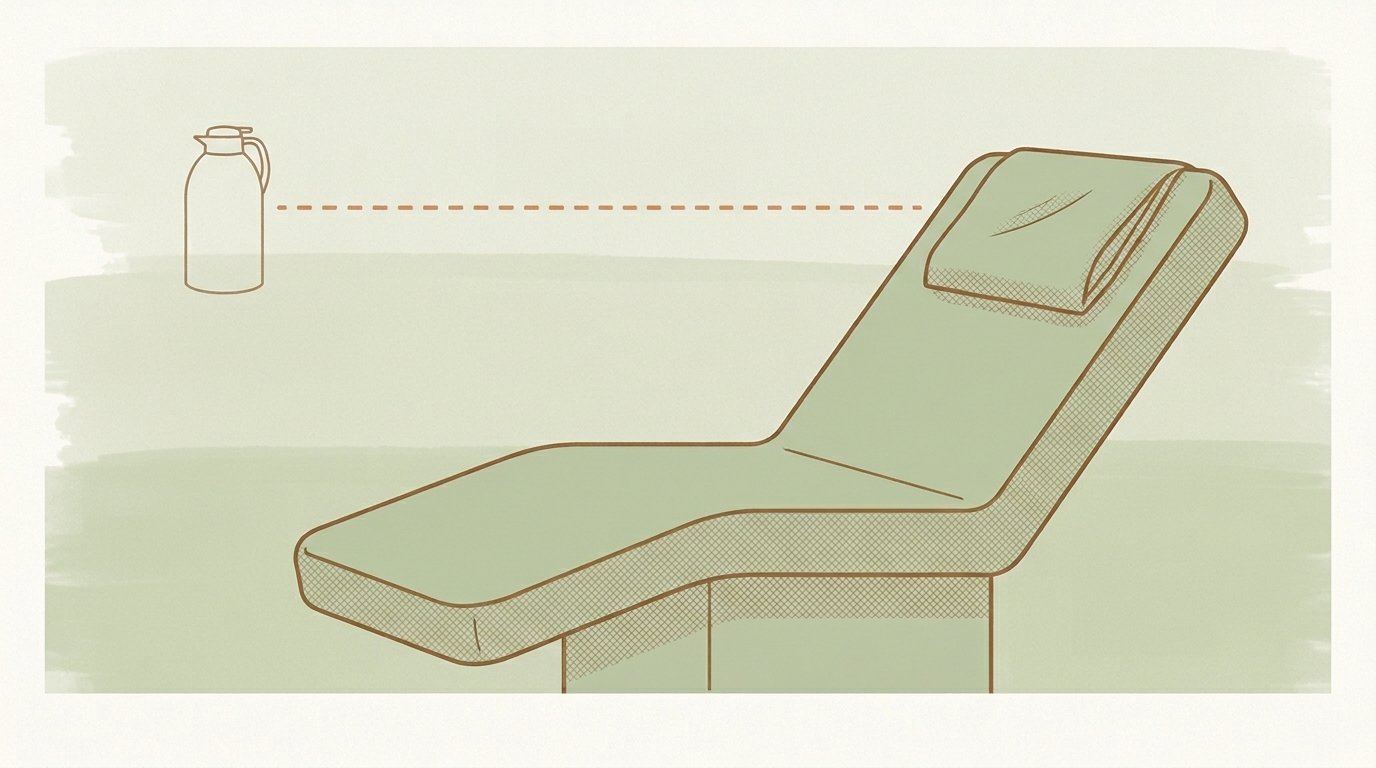
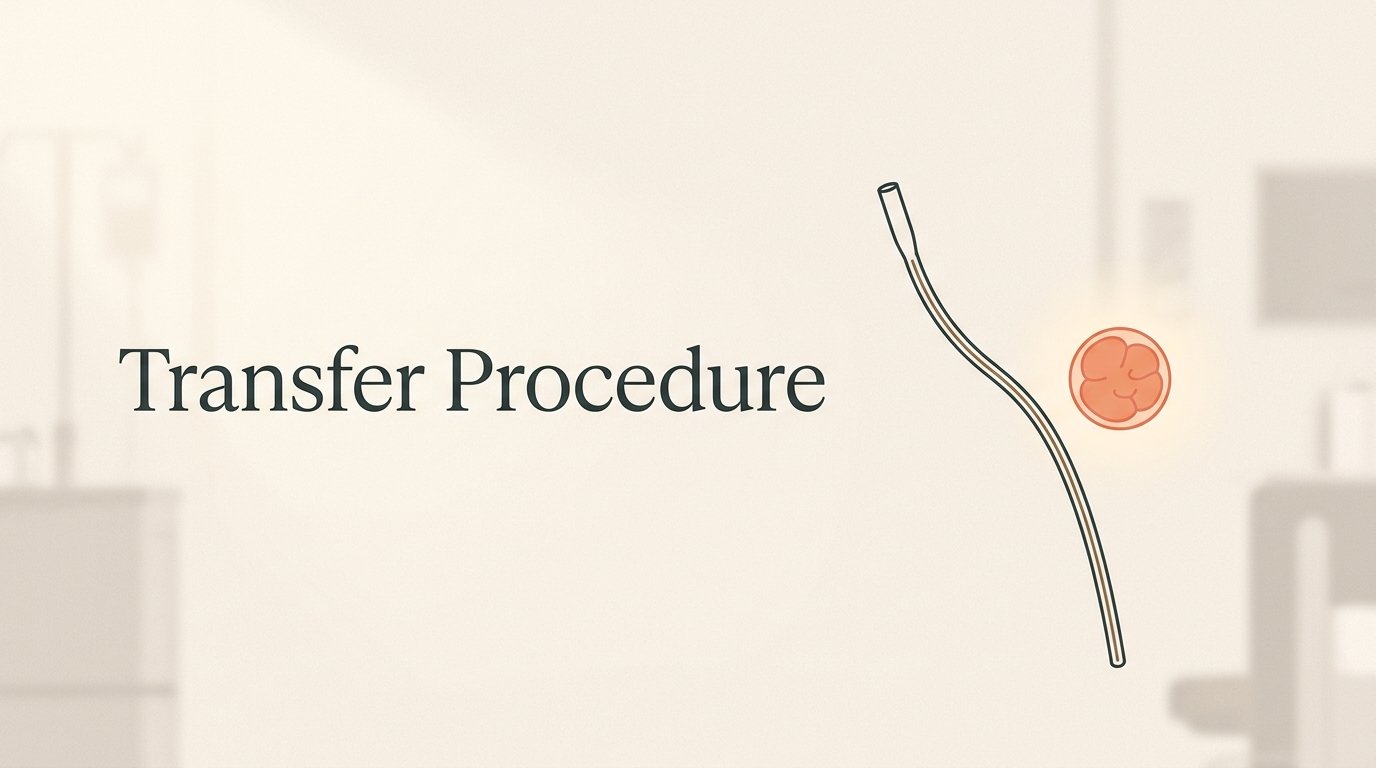
The transfer procedure is simple and nearly painless, and in the vast majority of cases, sedation is not required.
Stage-marker typography at left with catheter and embryo floating in generous negative space at right — composition embodies the narration's message of simplicity.
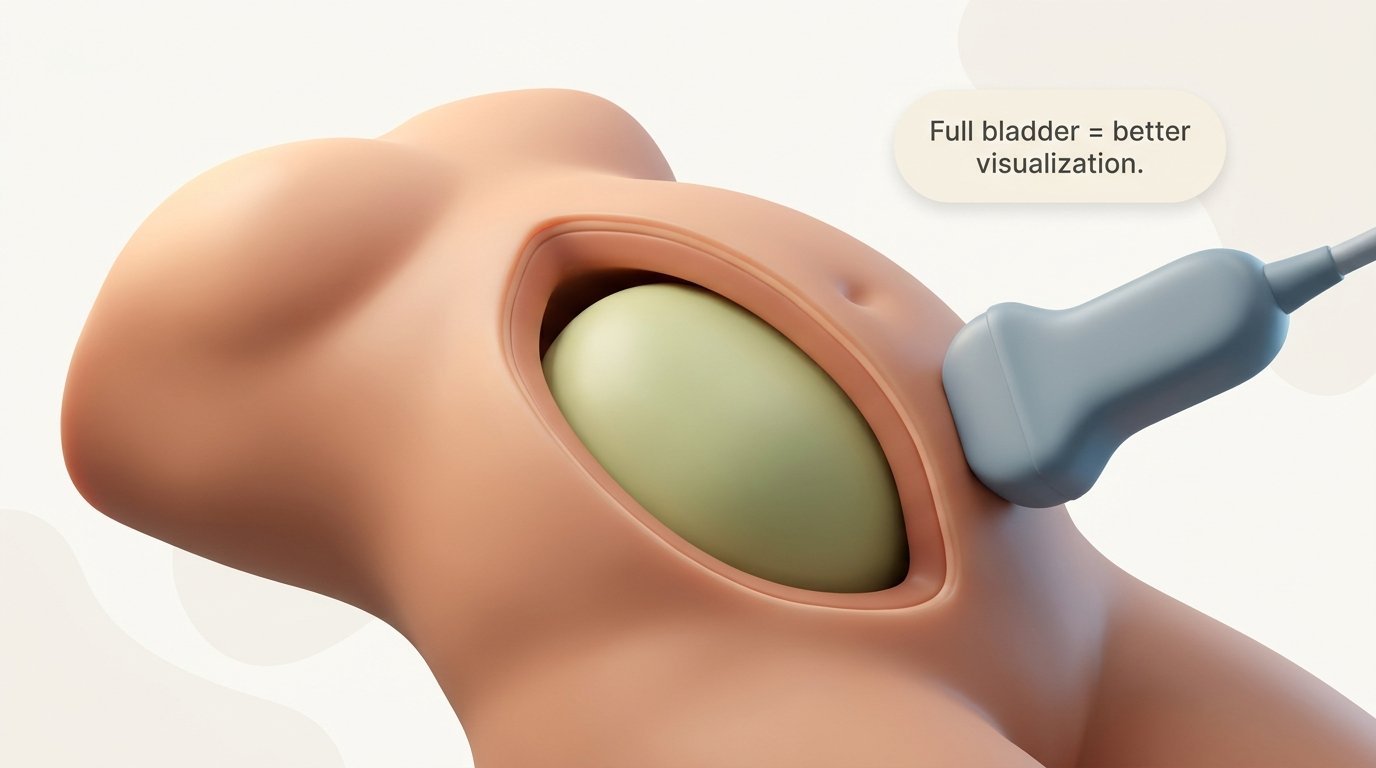
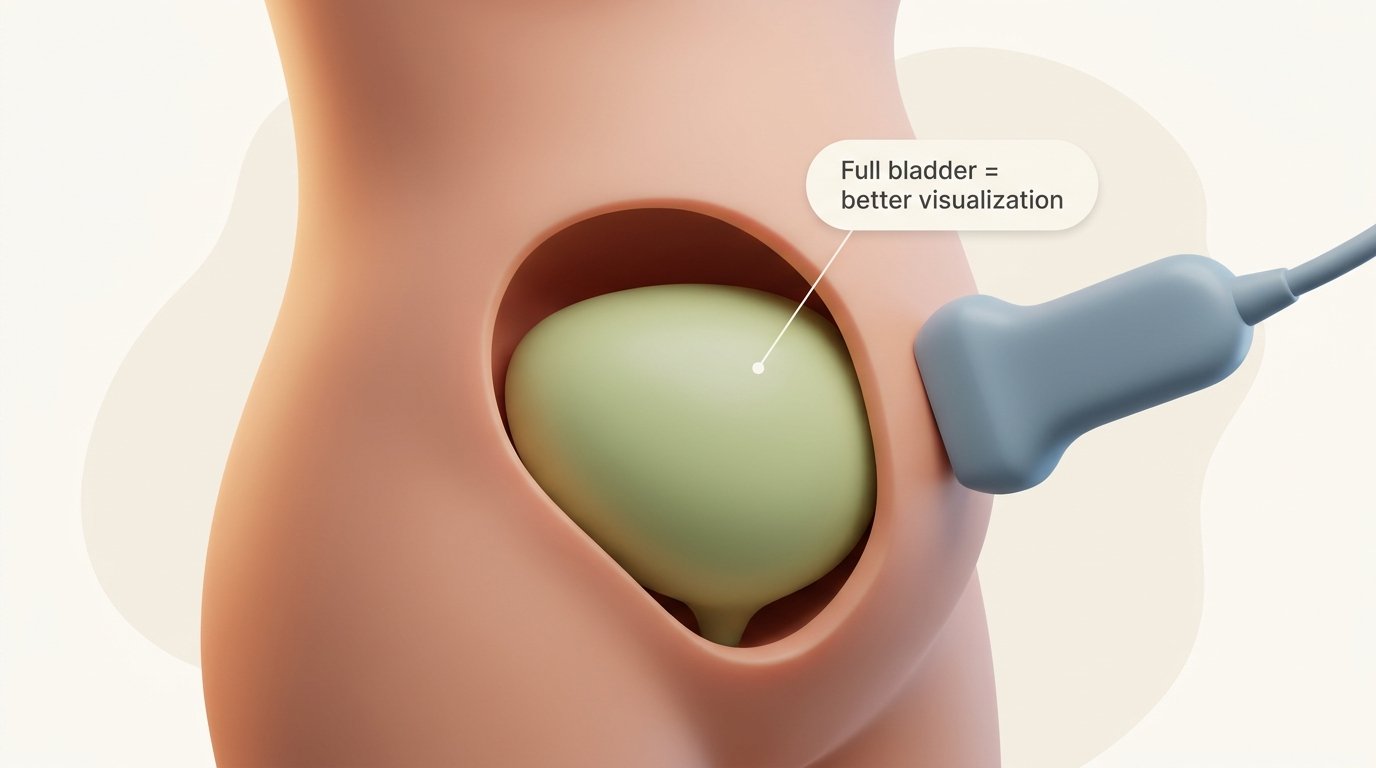
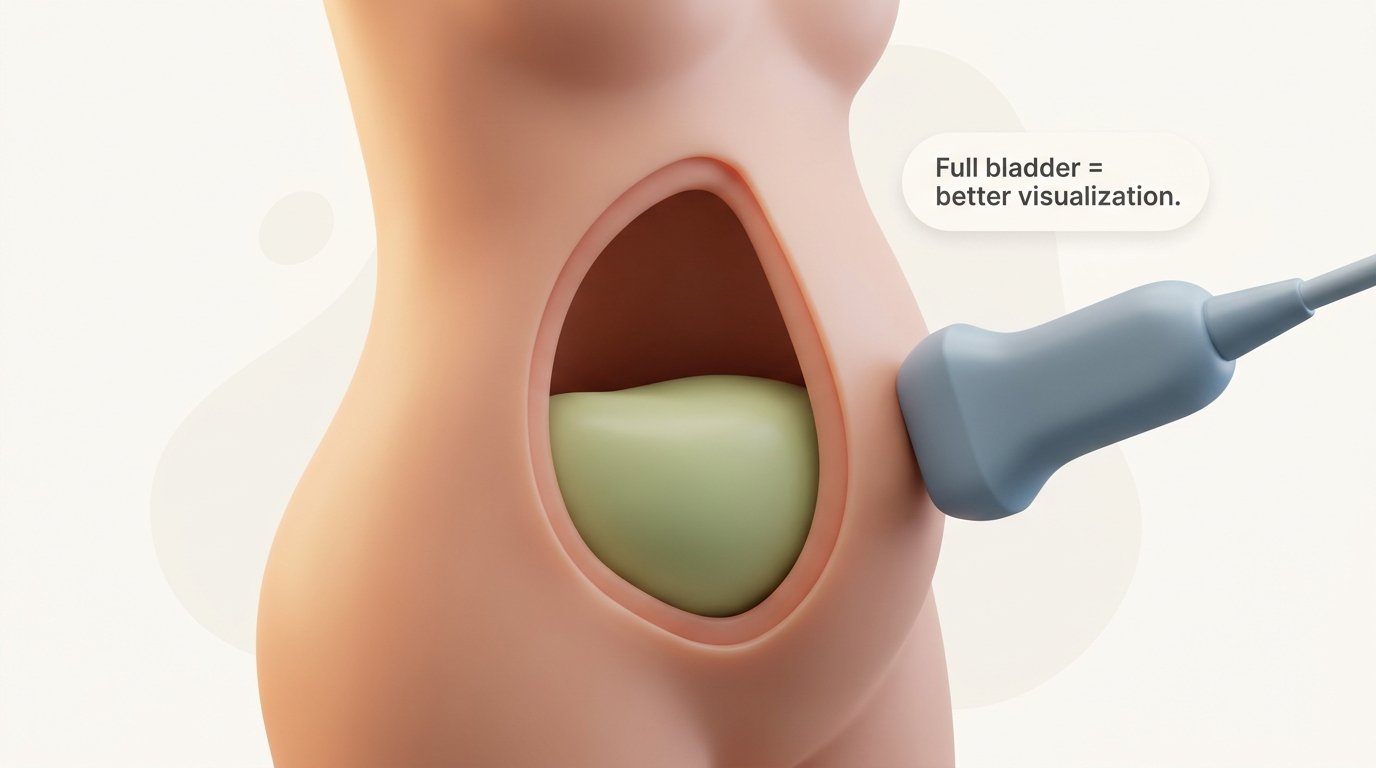
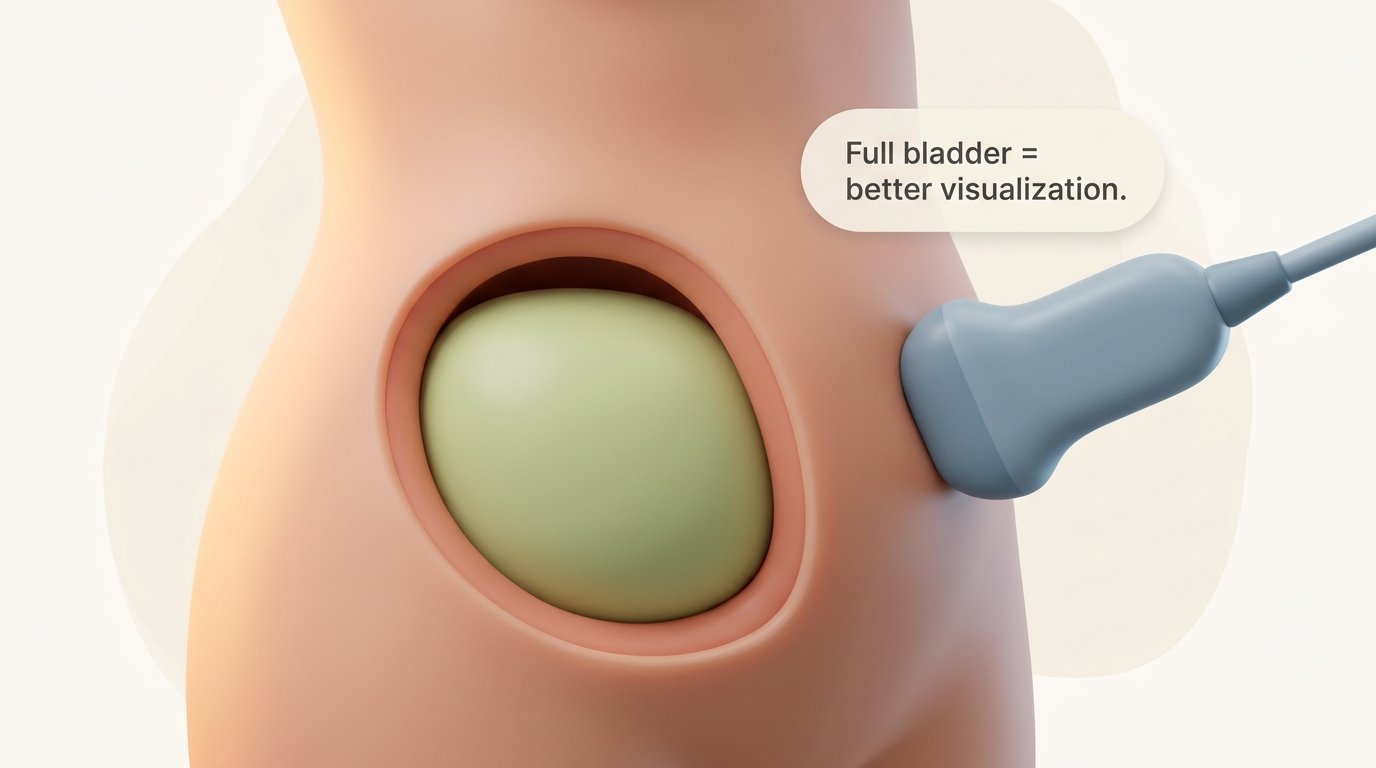
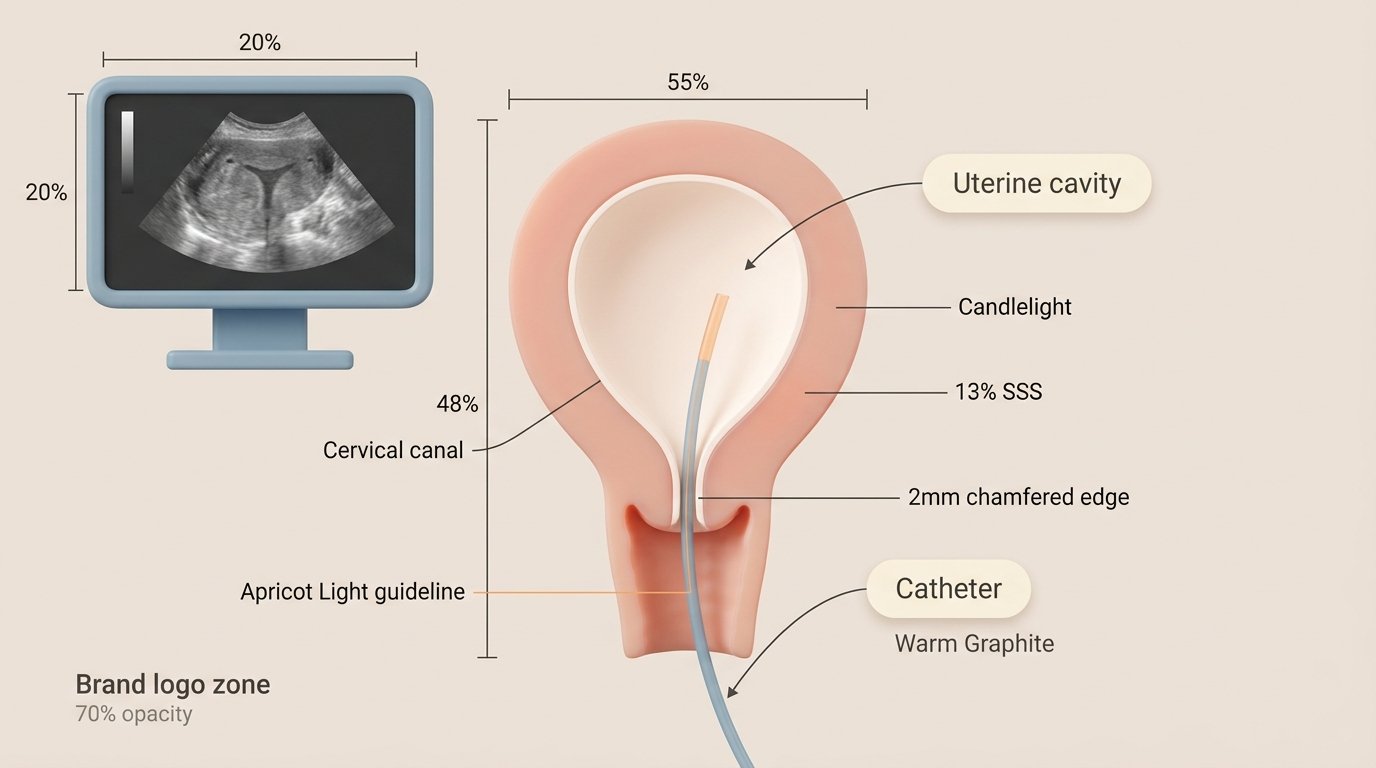
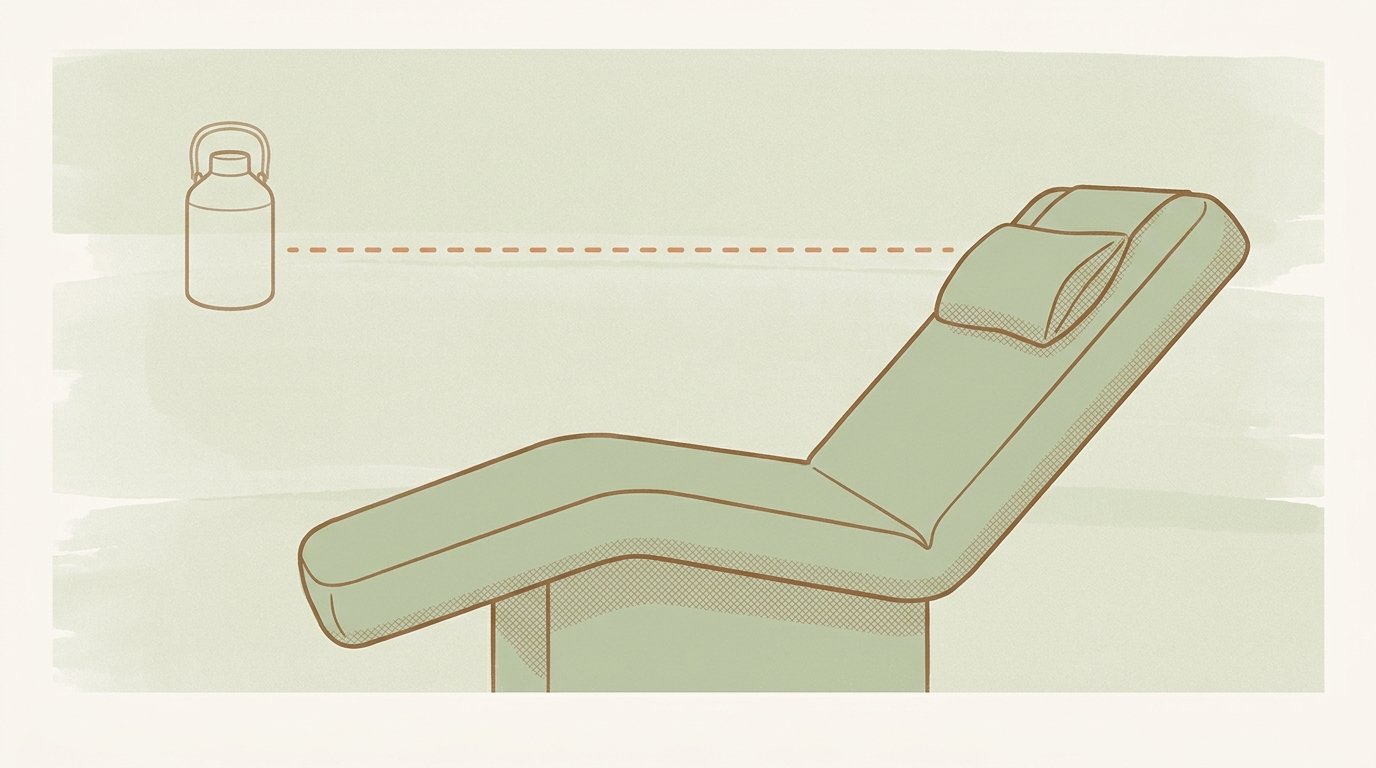
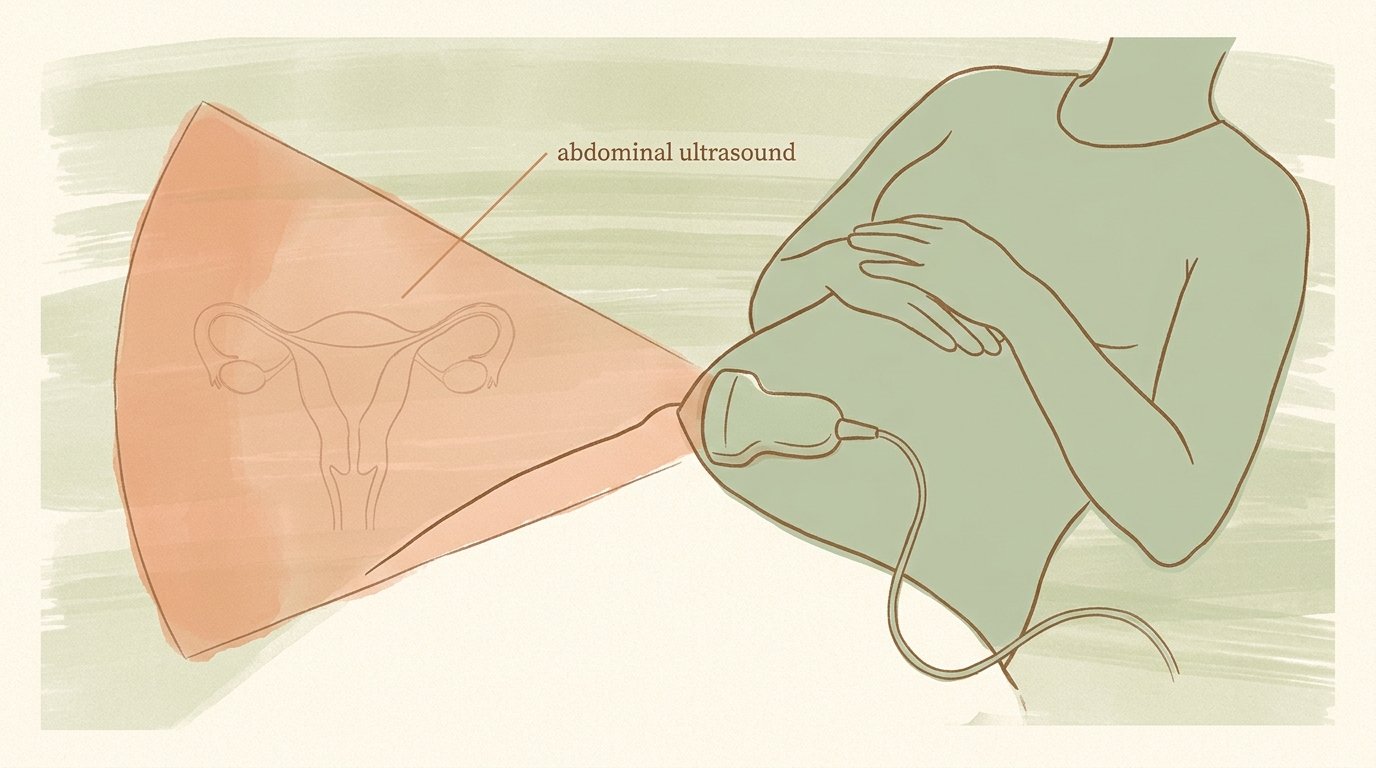
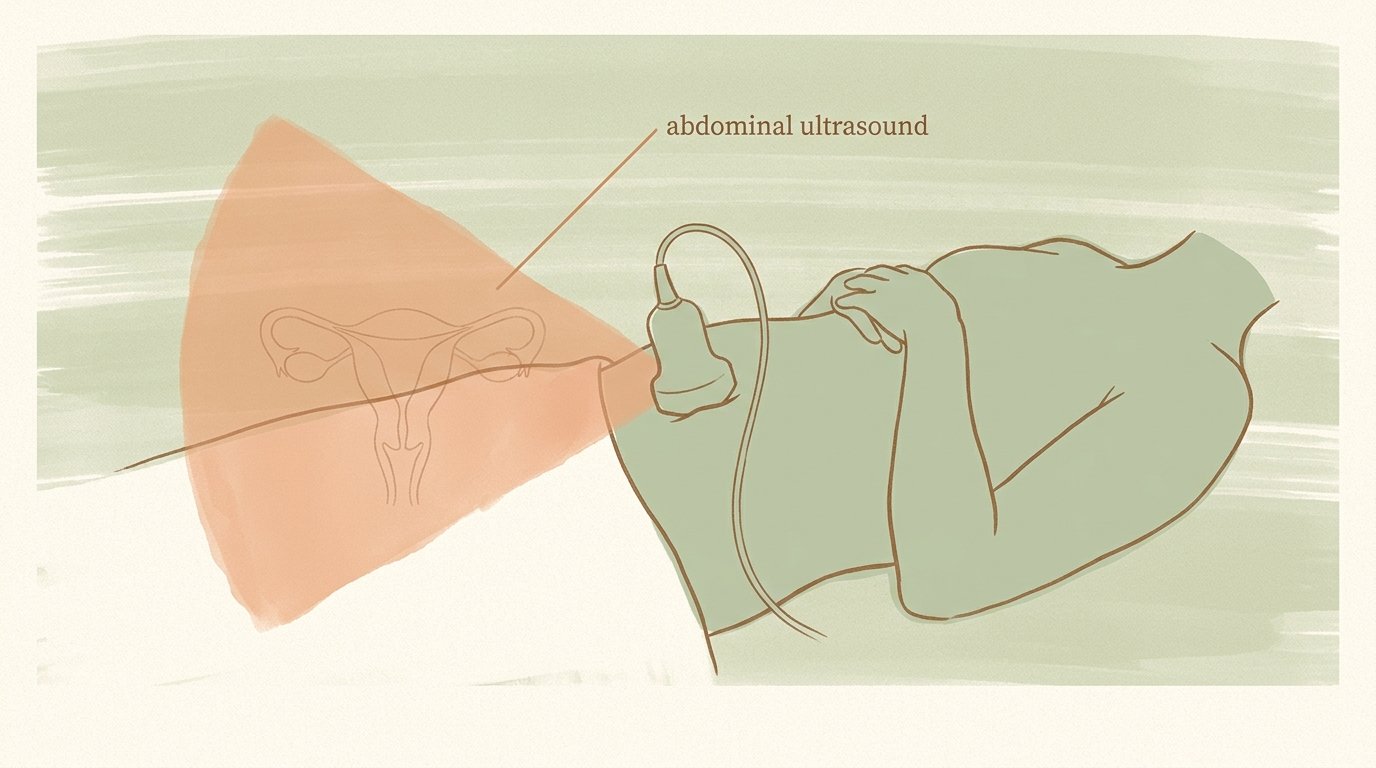
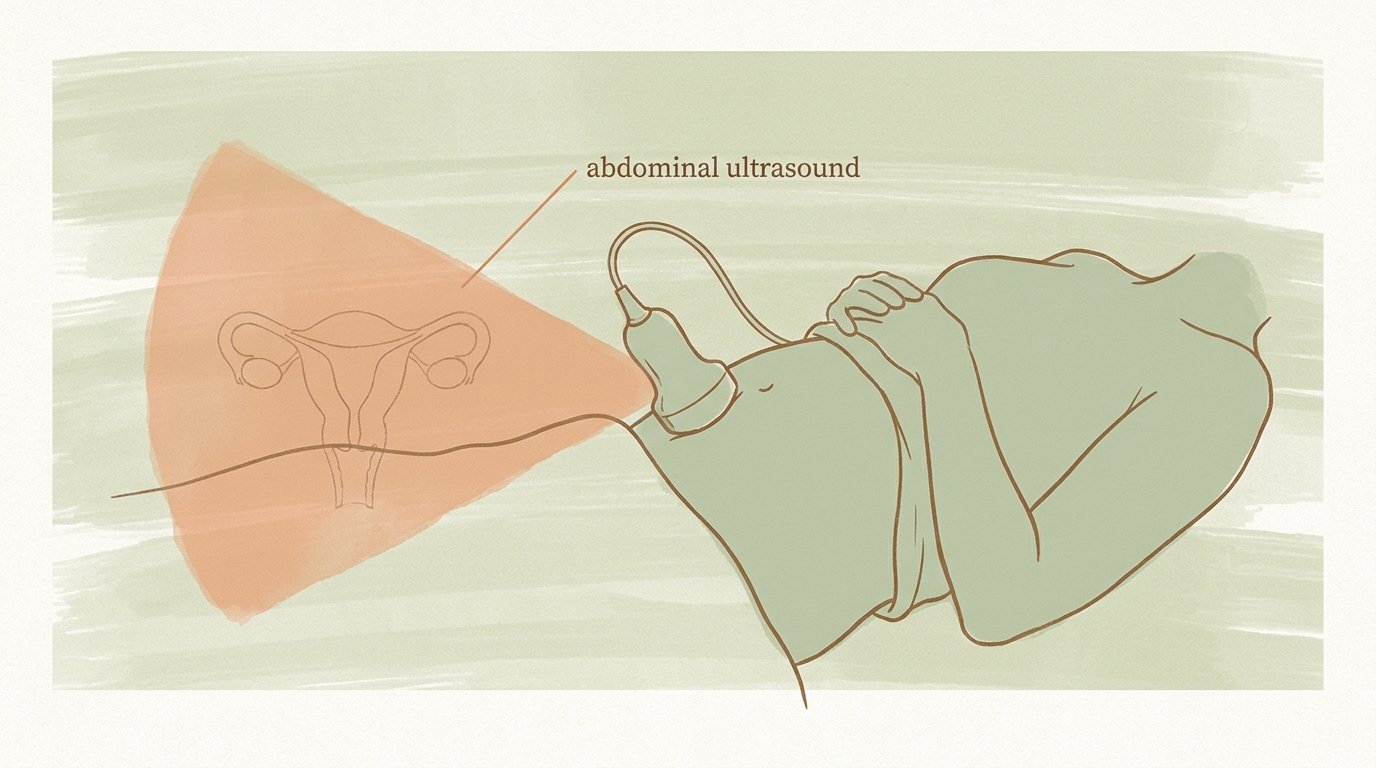
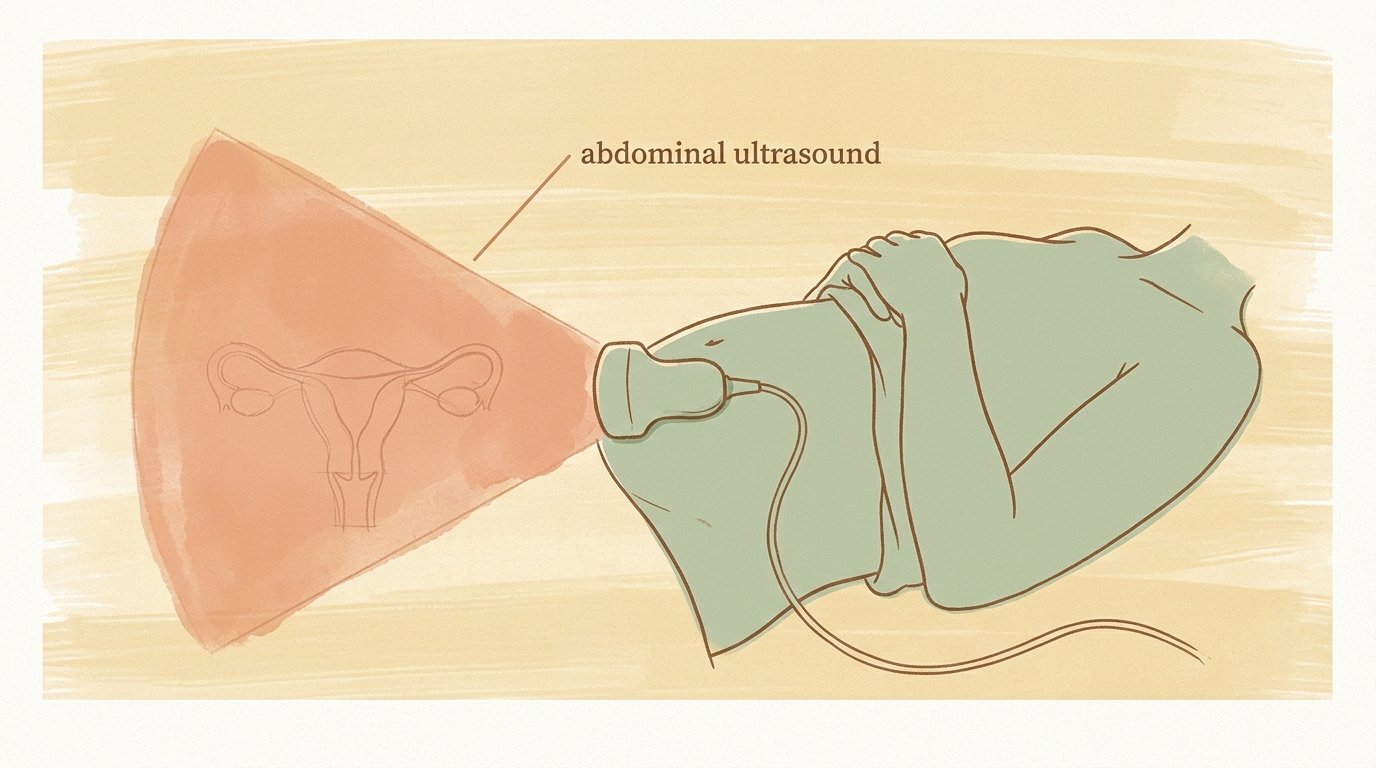
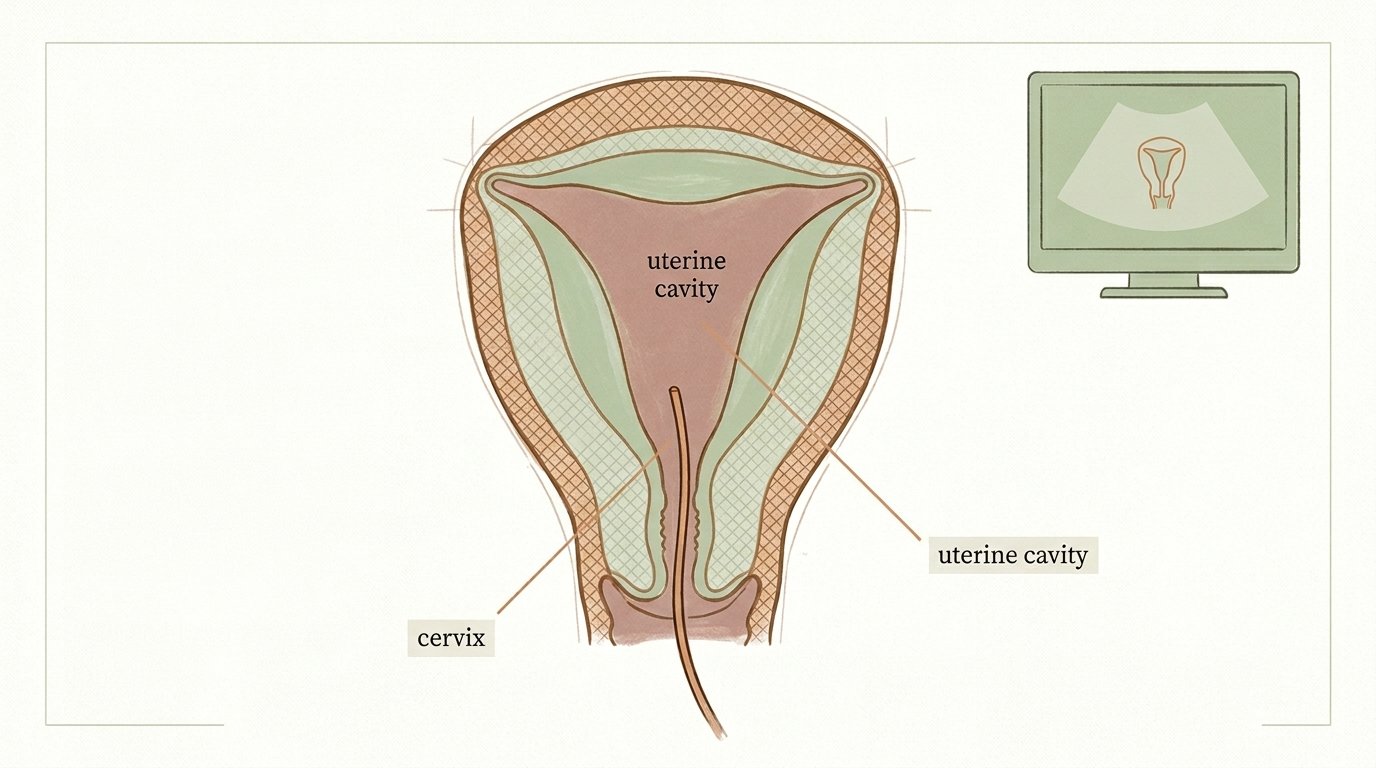
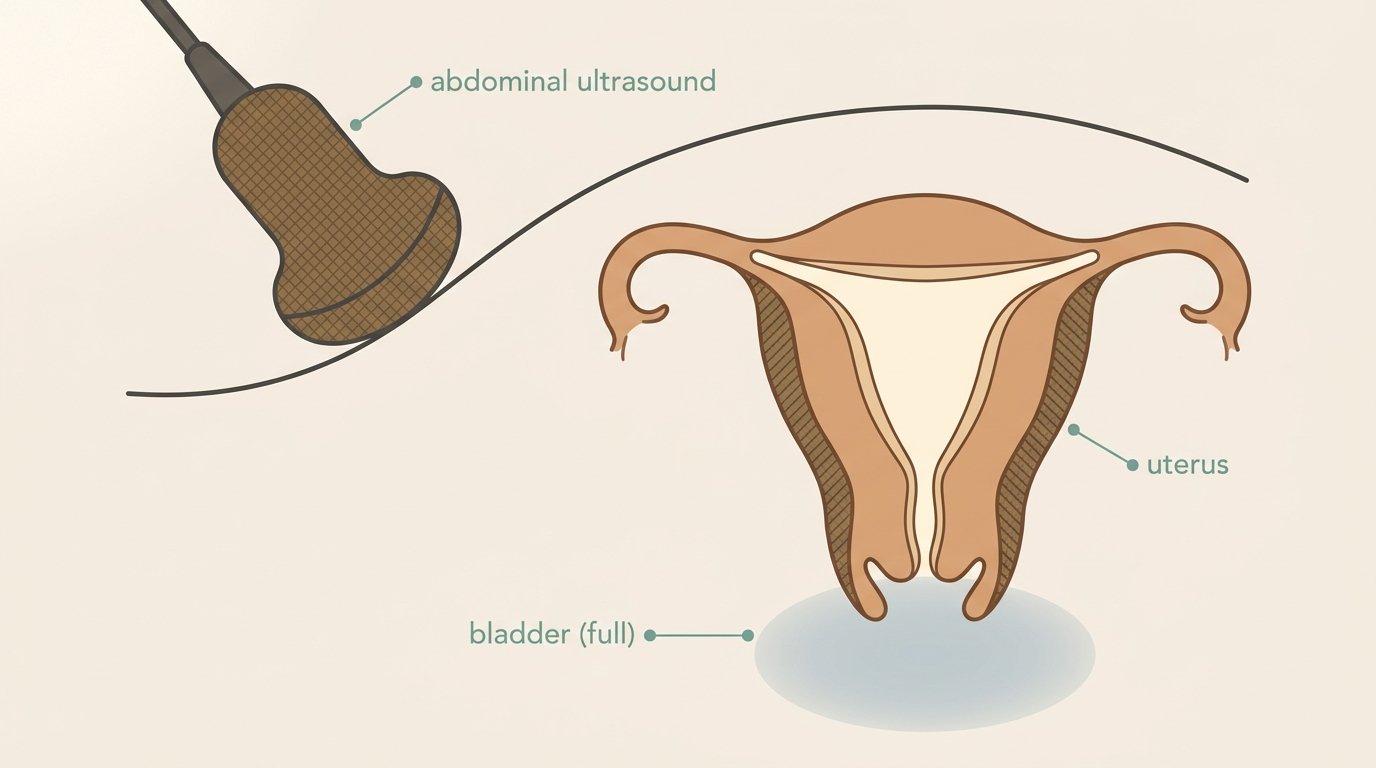
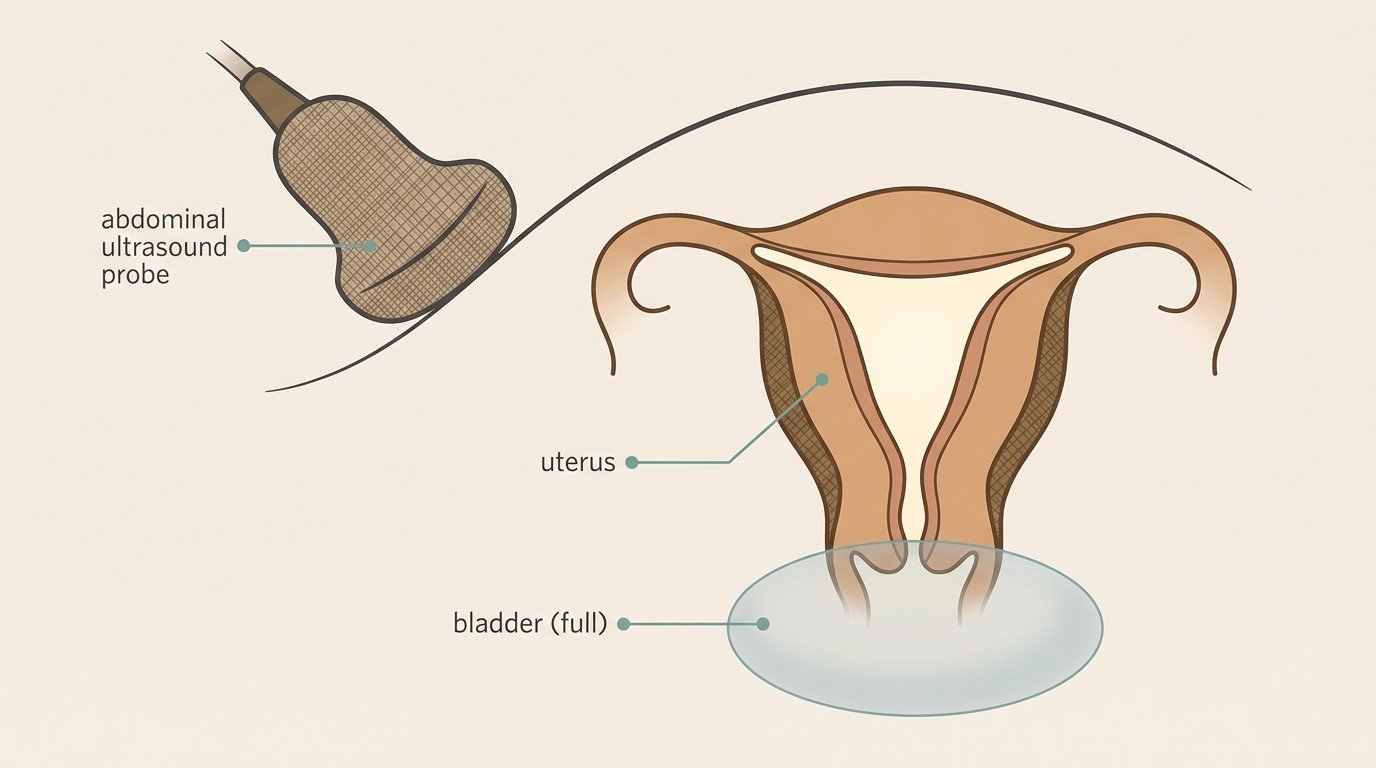
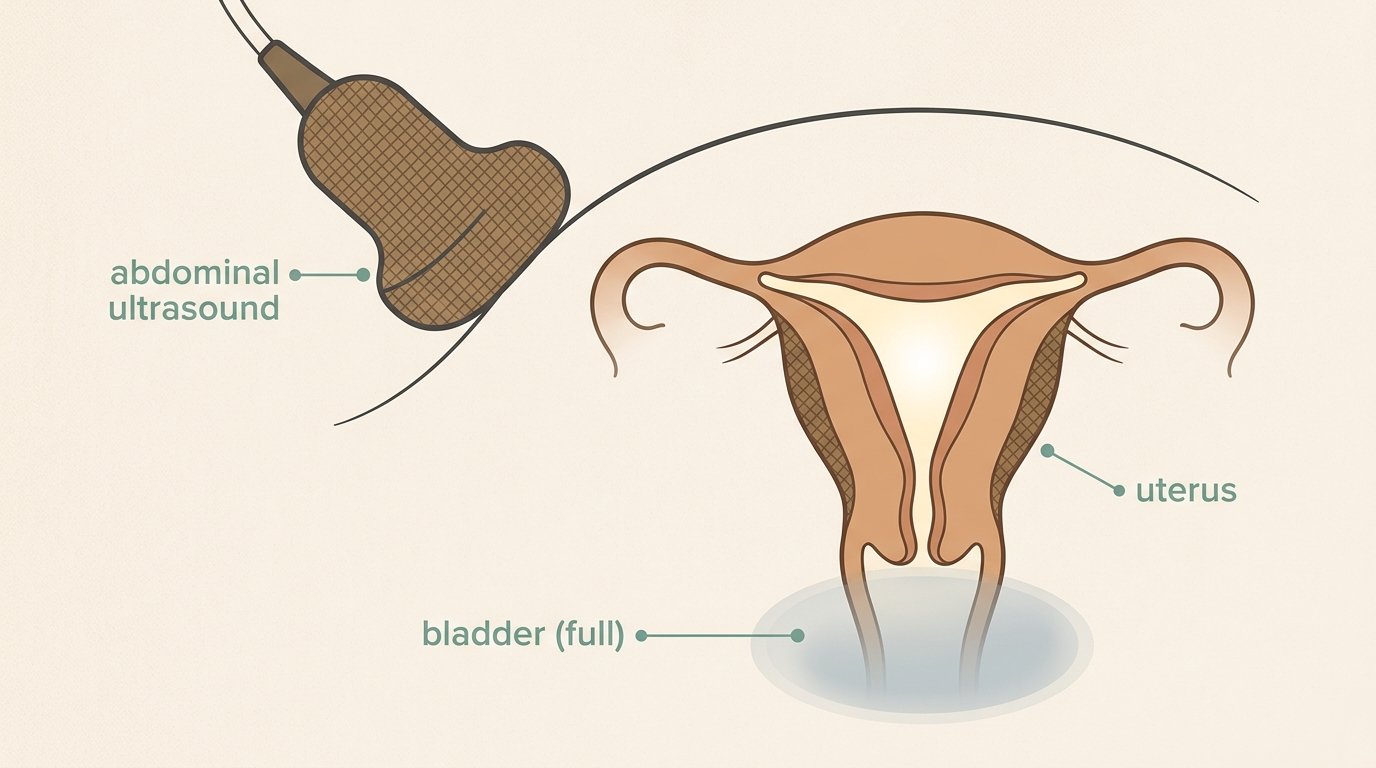
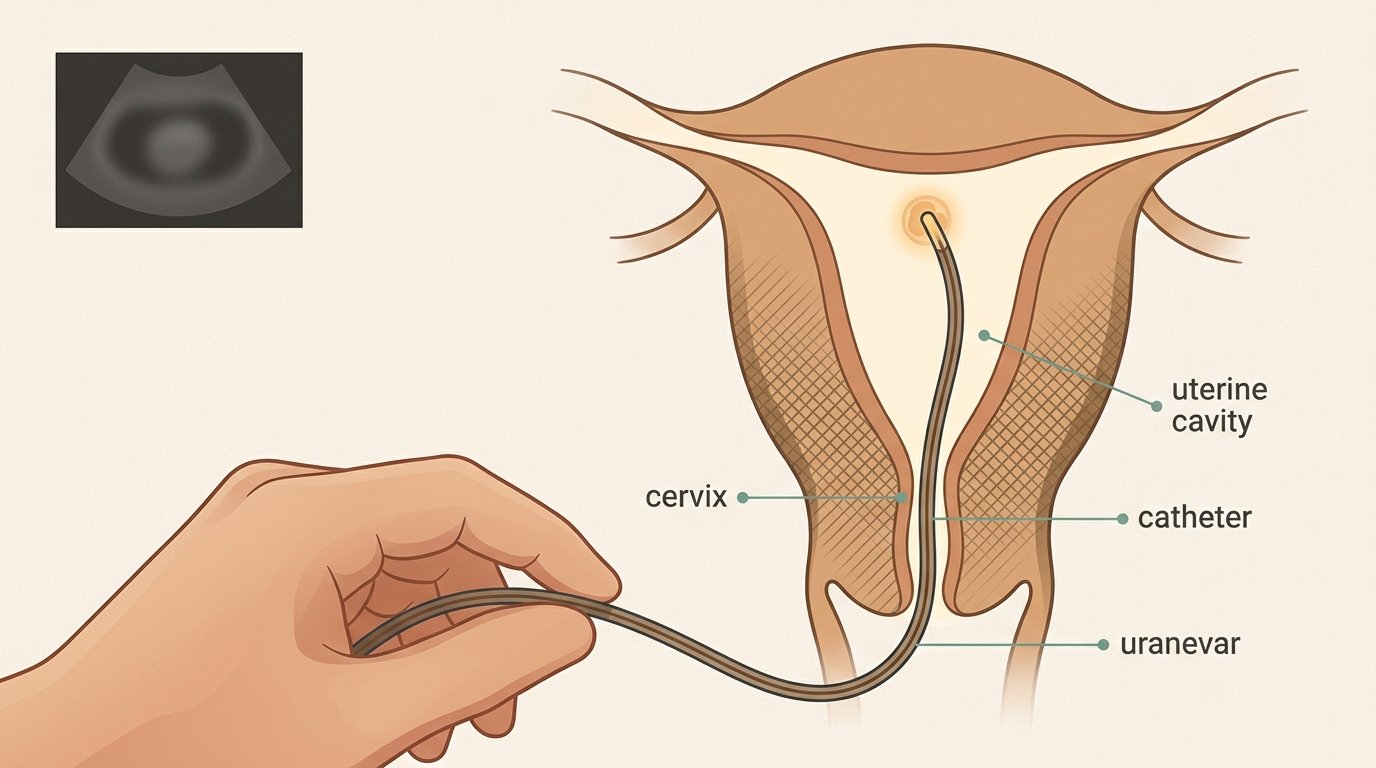
You must come in with a moderately full bladder, which will allow your medical team to better visualize the uterus using abdominal ultrasound.
First appearance of the uterus cross-section at right; ultrasound probe at upper-left; bladder indicator below uterus; three Muted Sage callout labels.

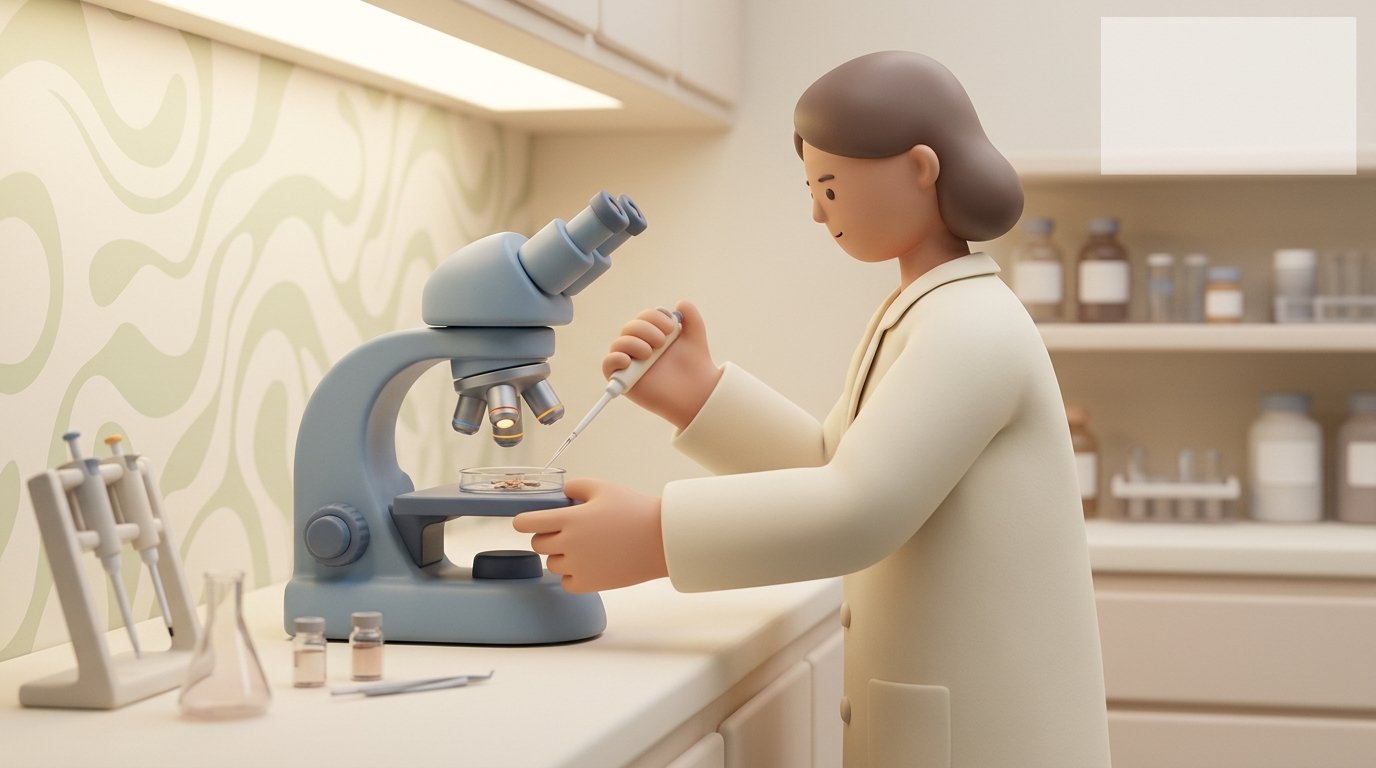
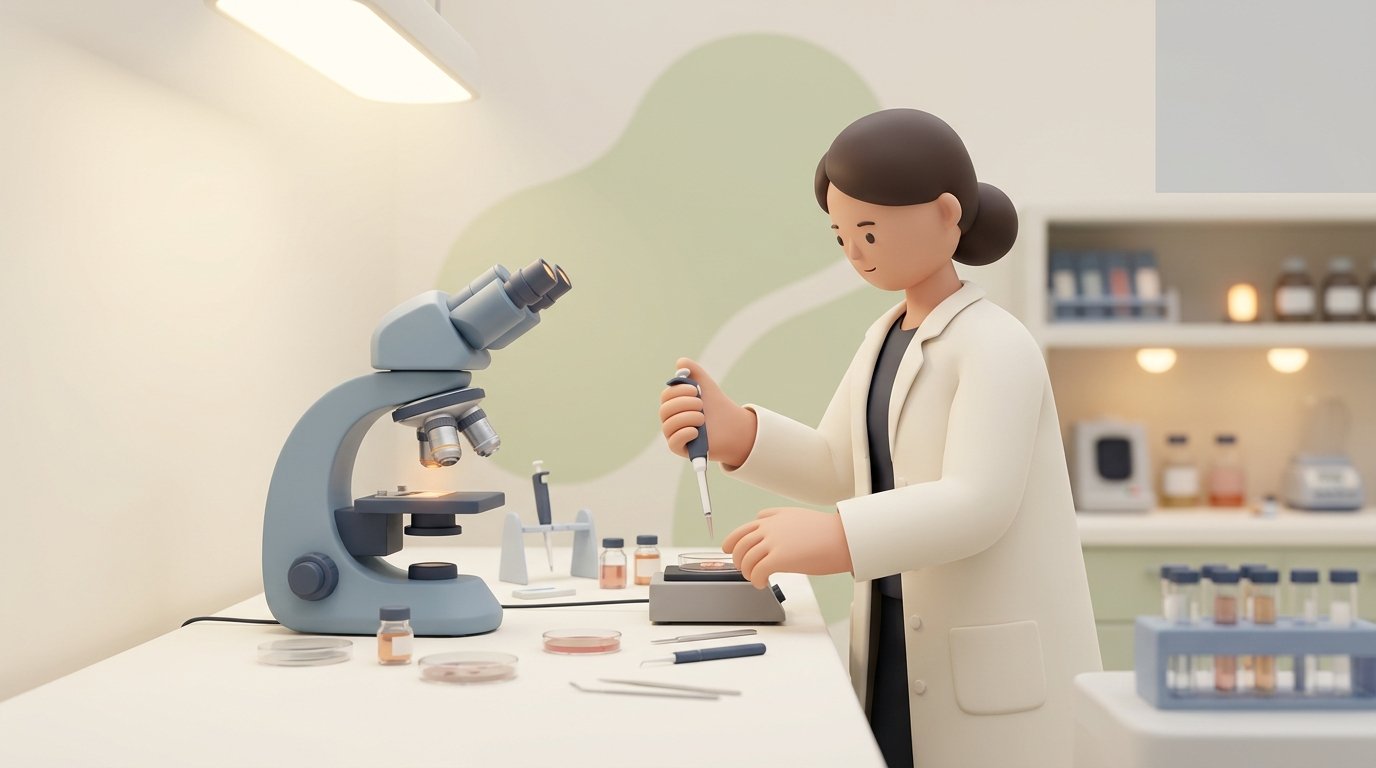
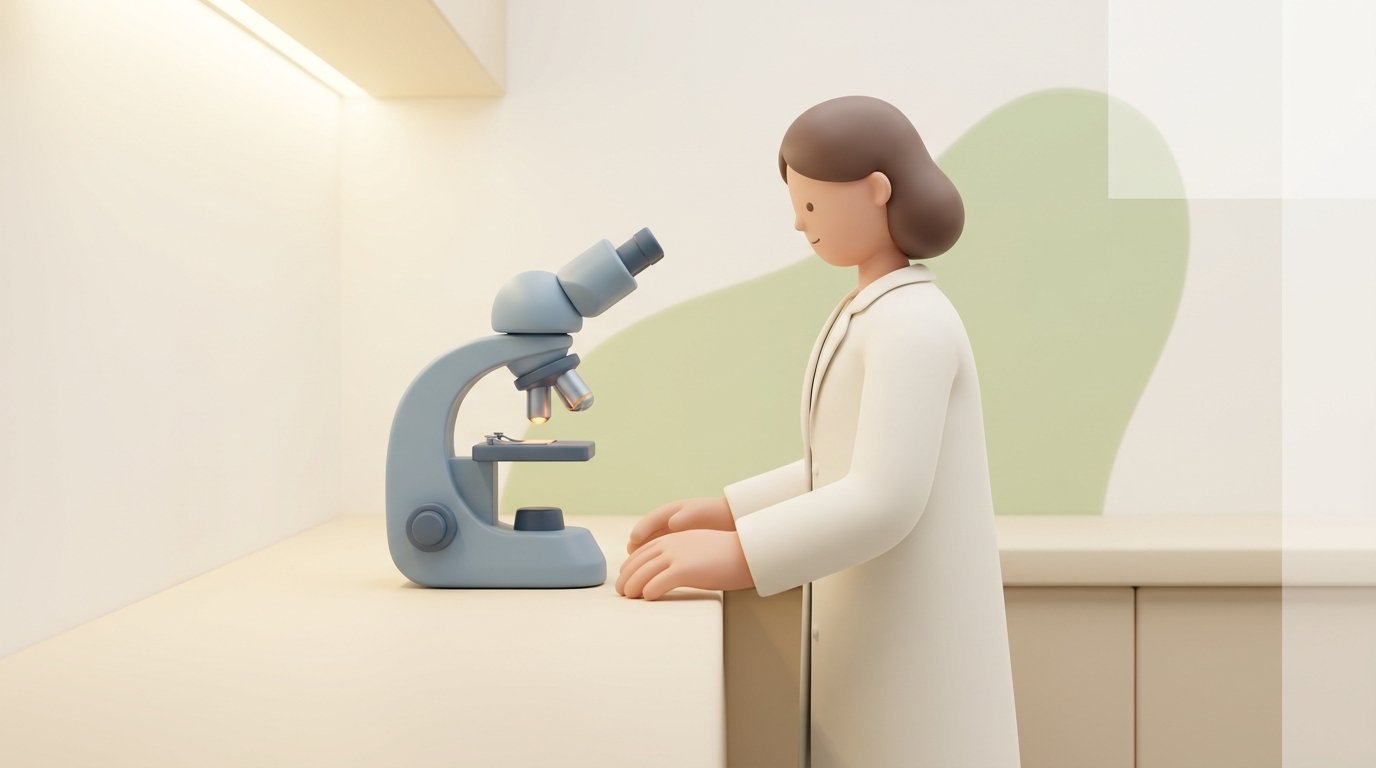
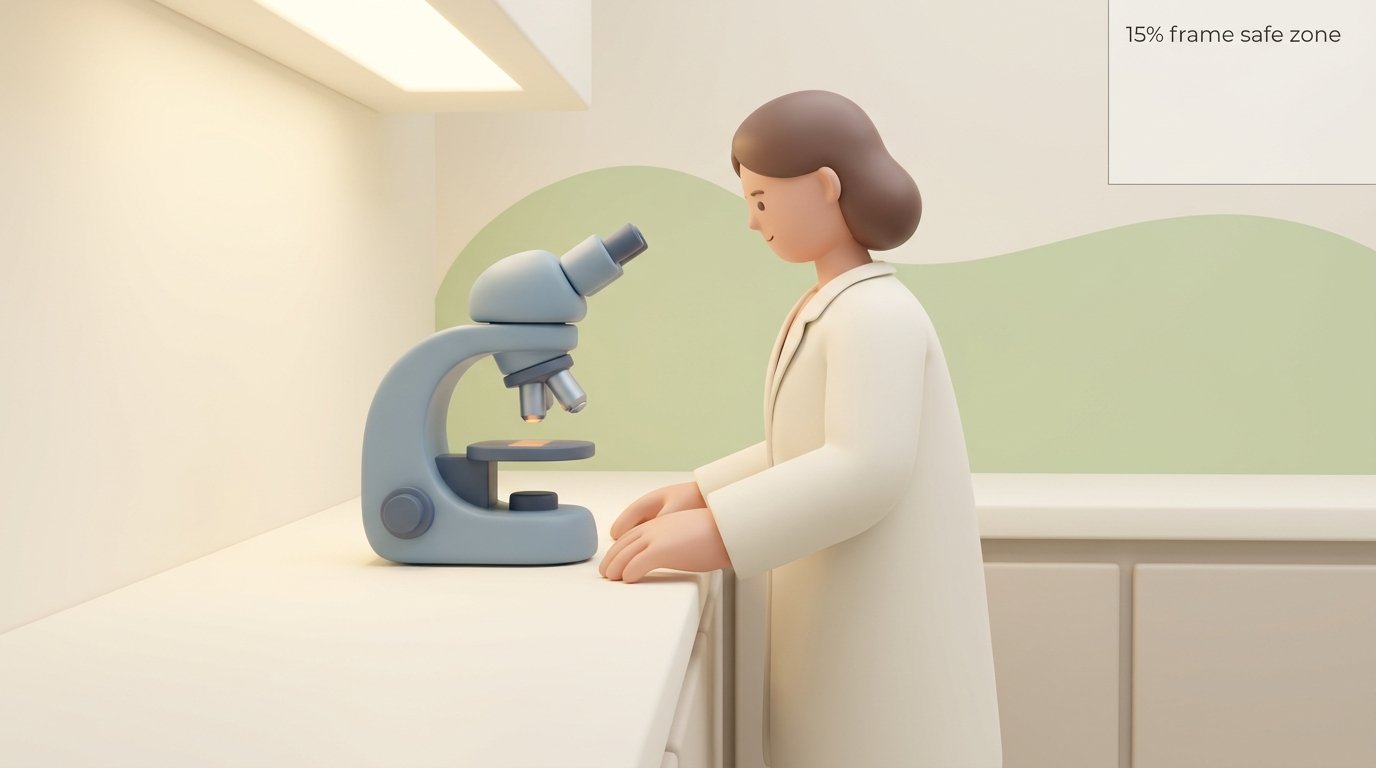
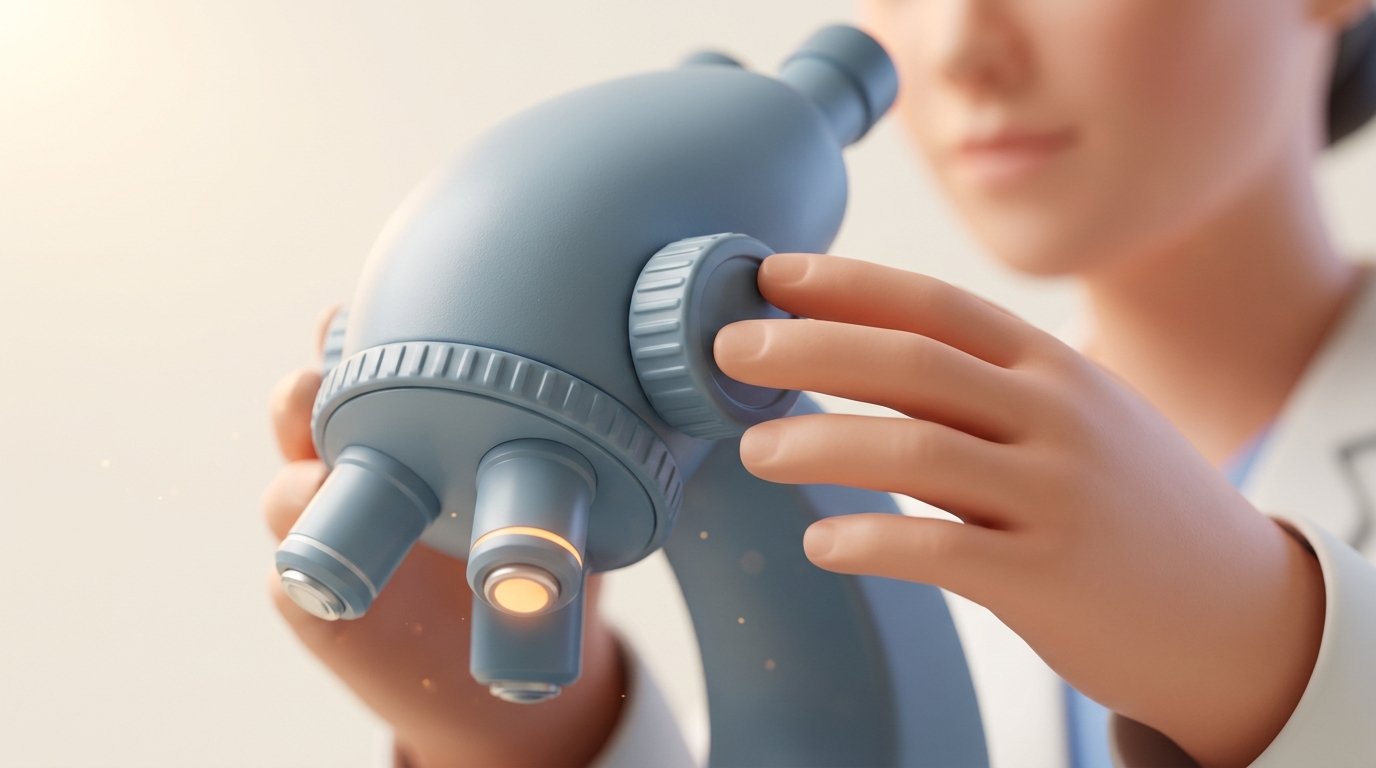
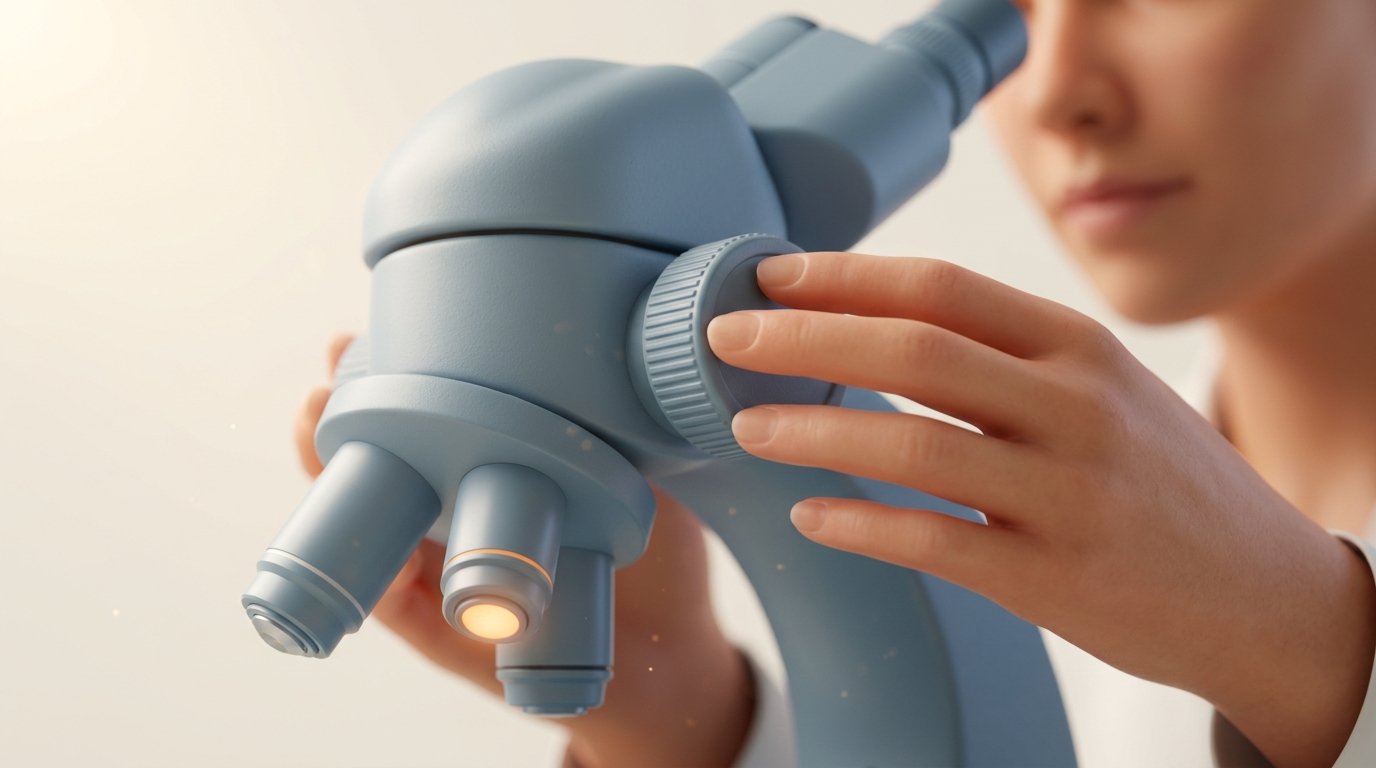
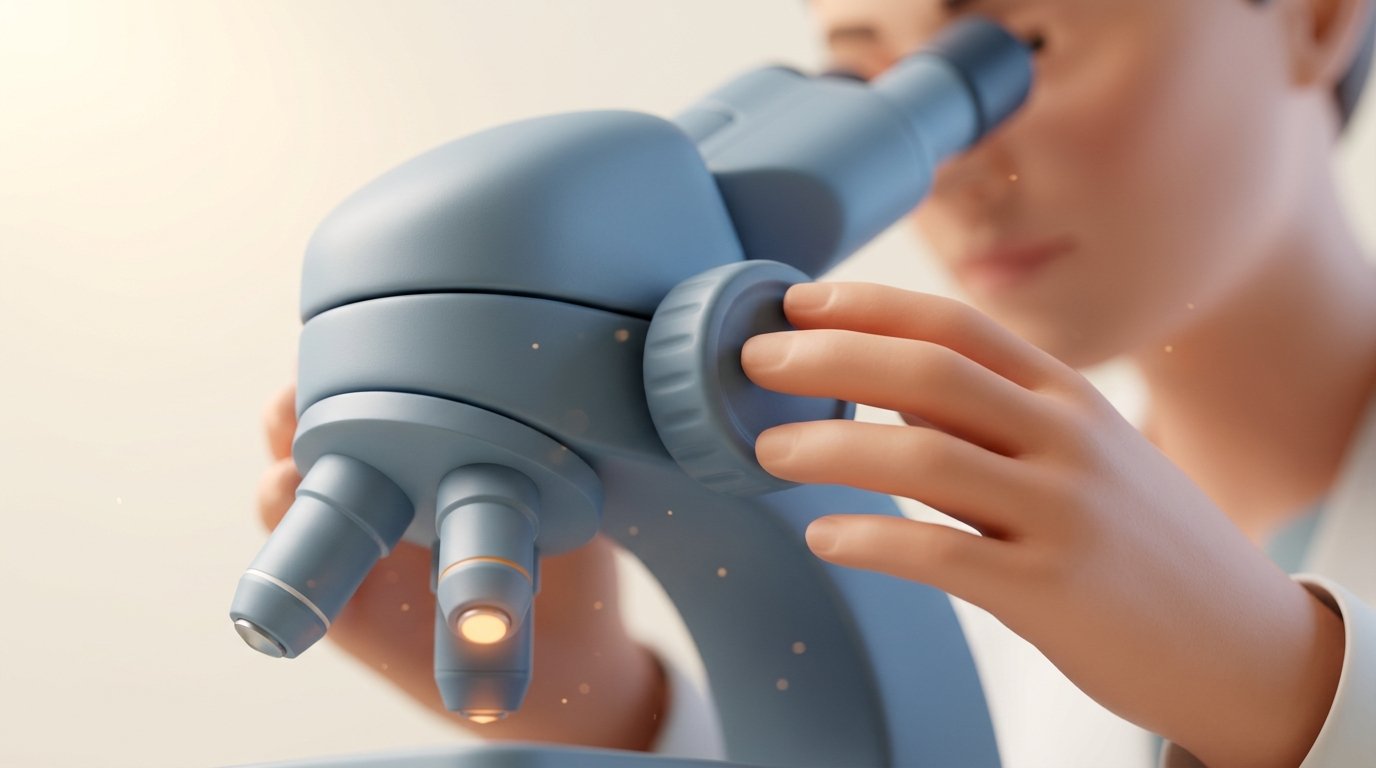
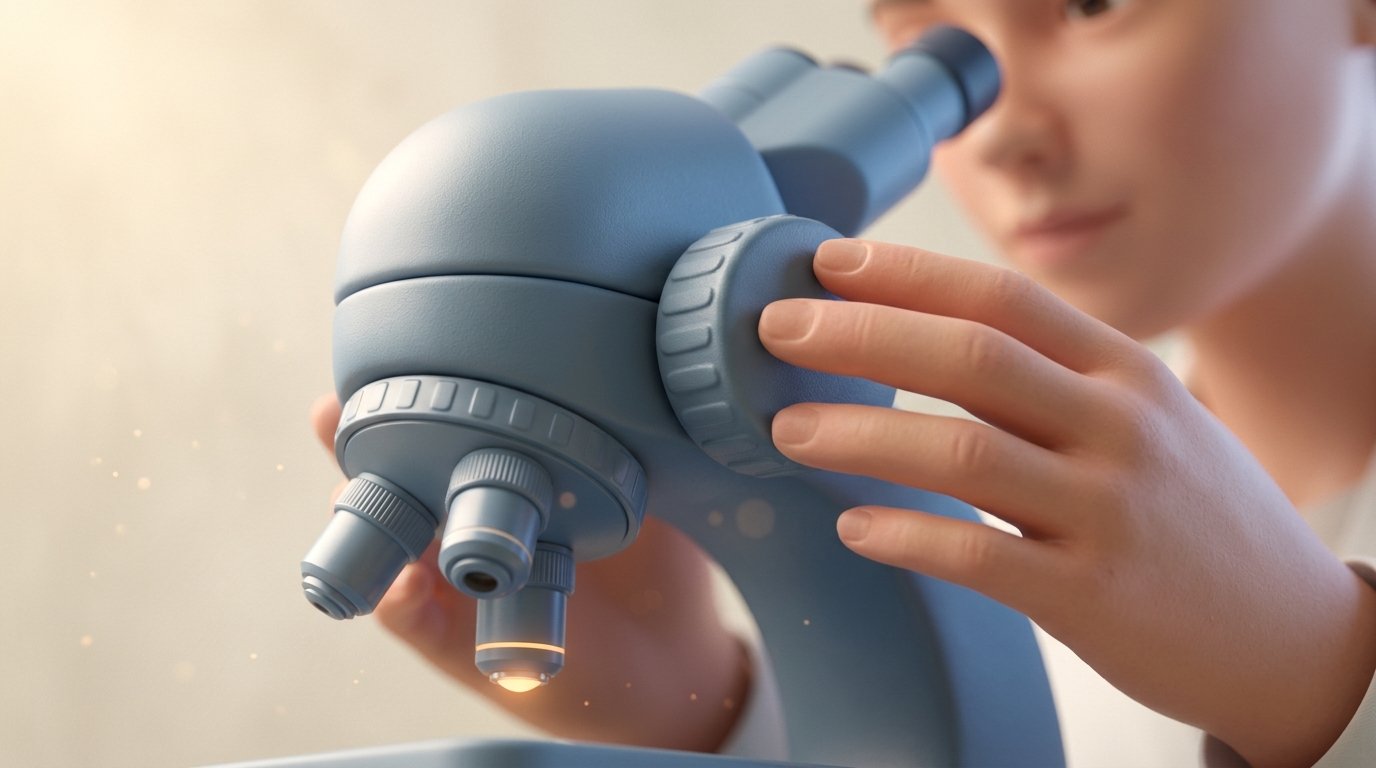
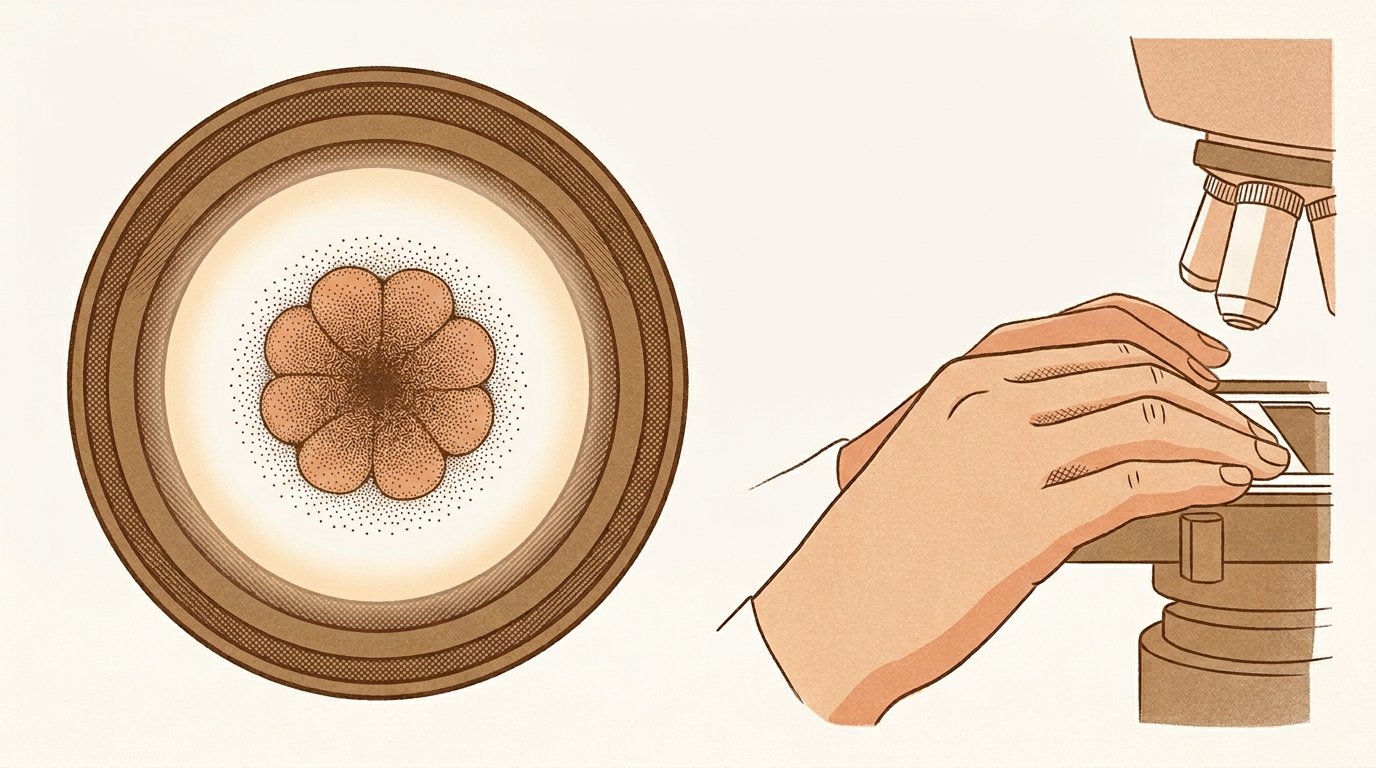
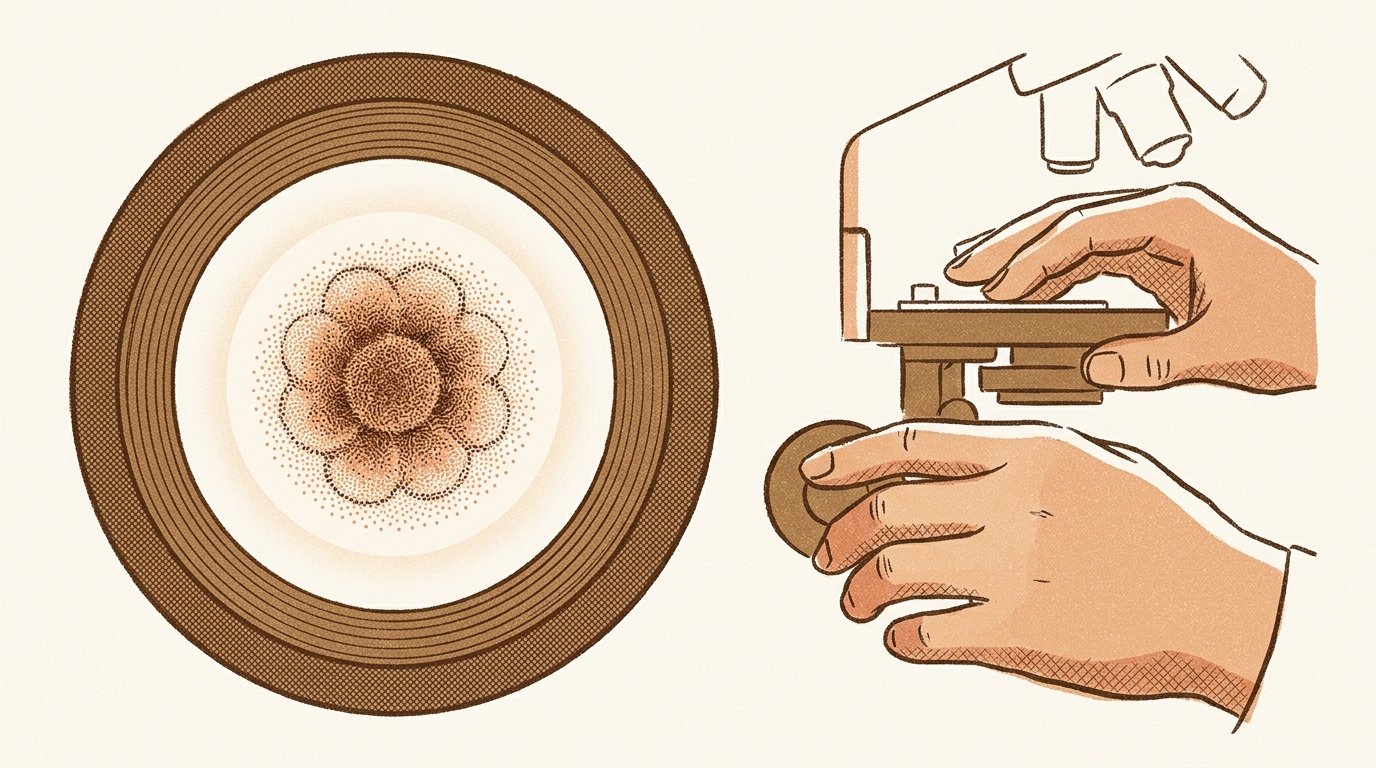
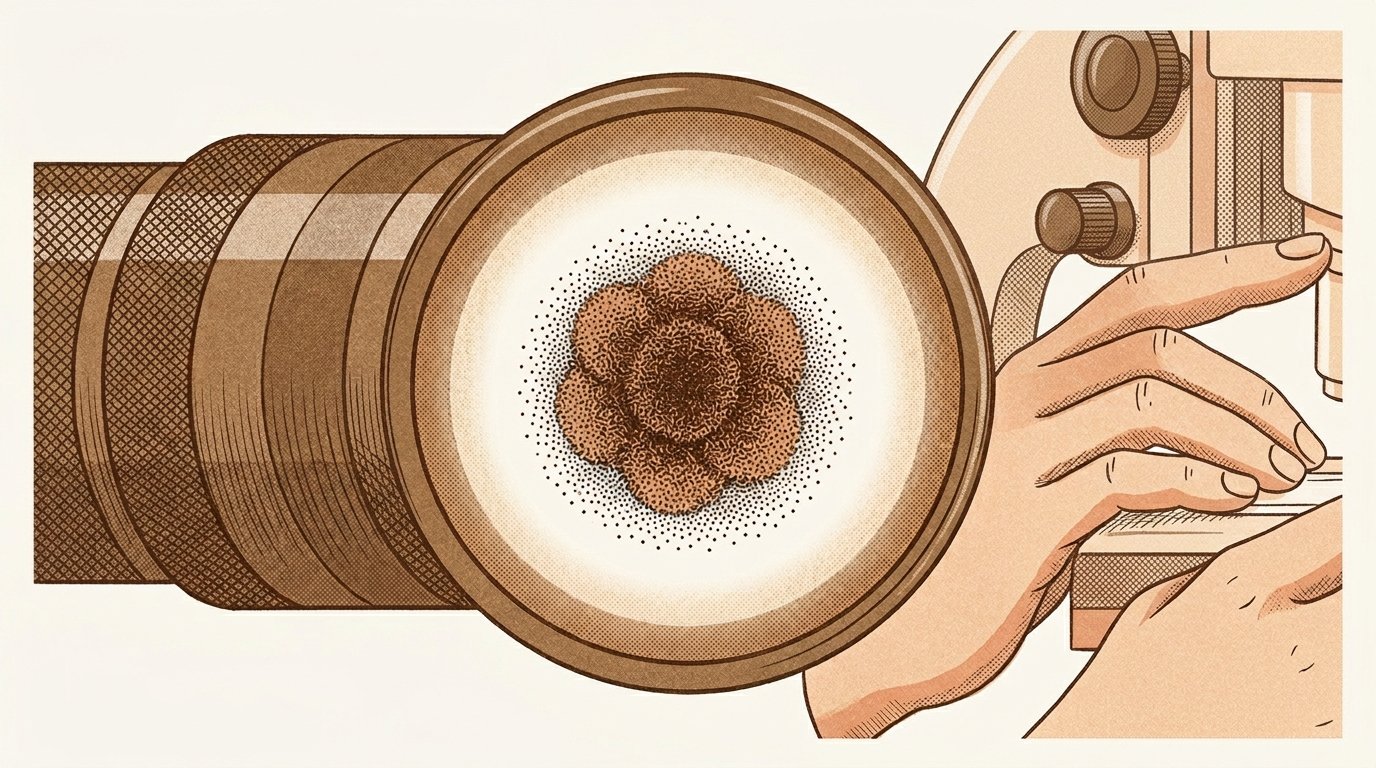
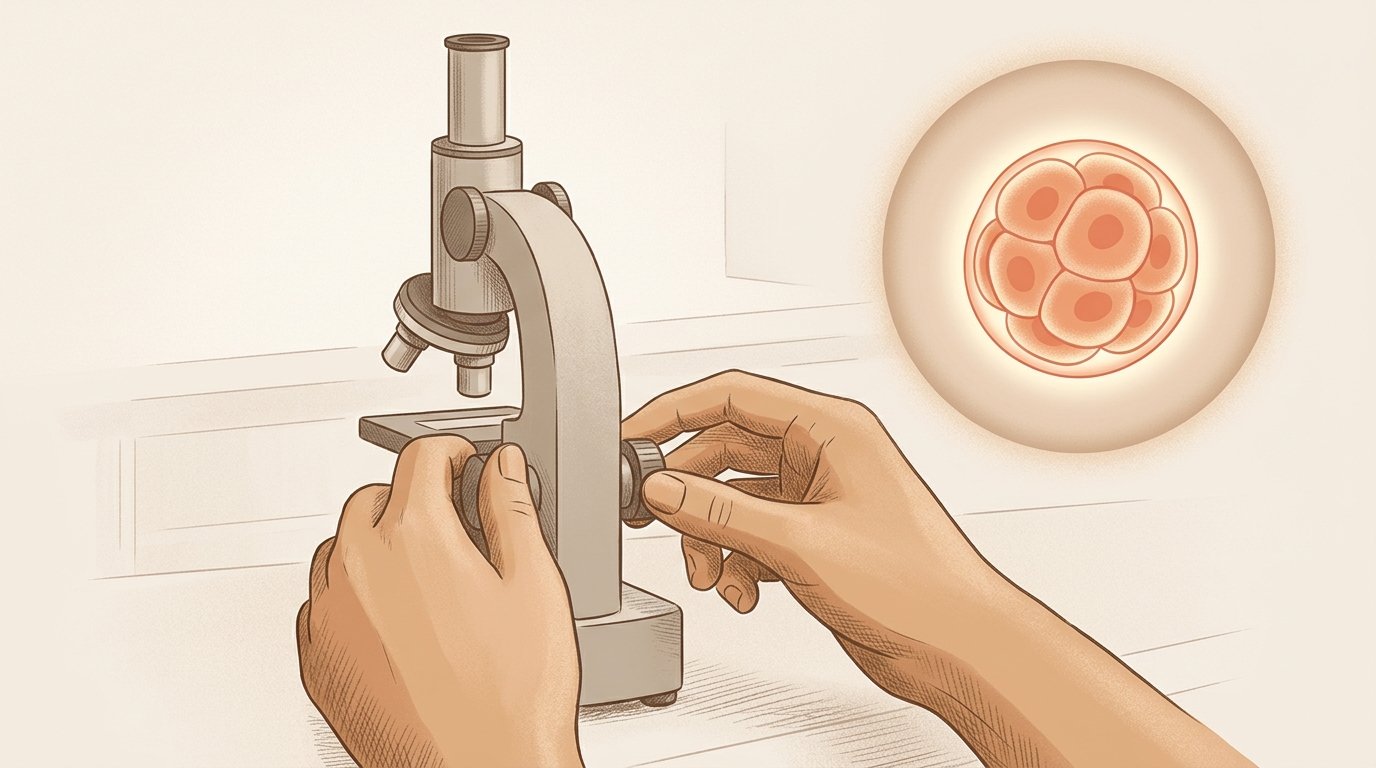
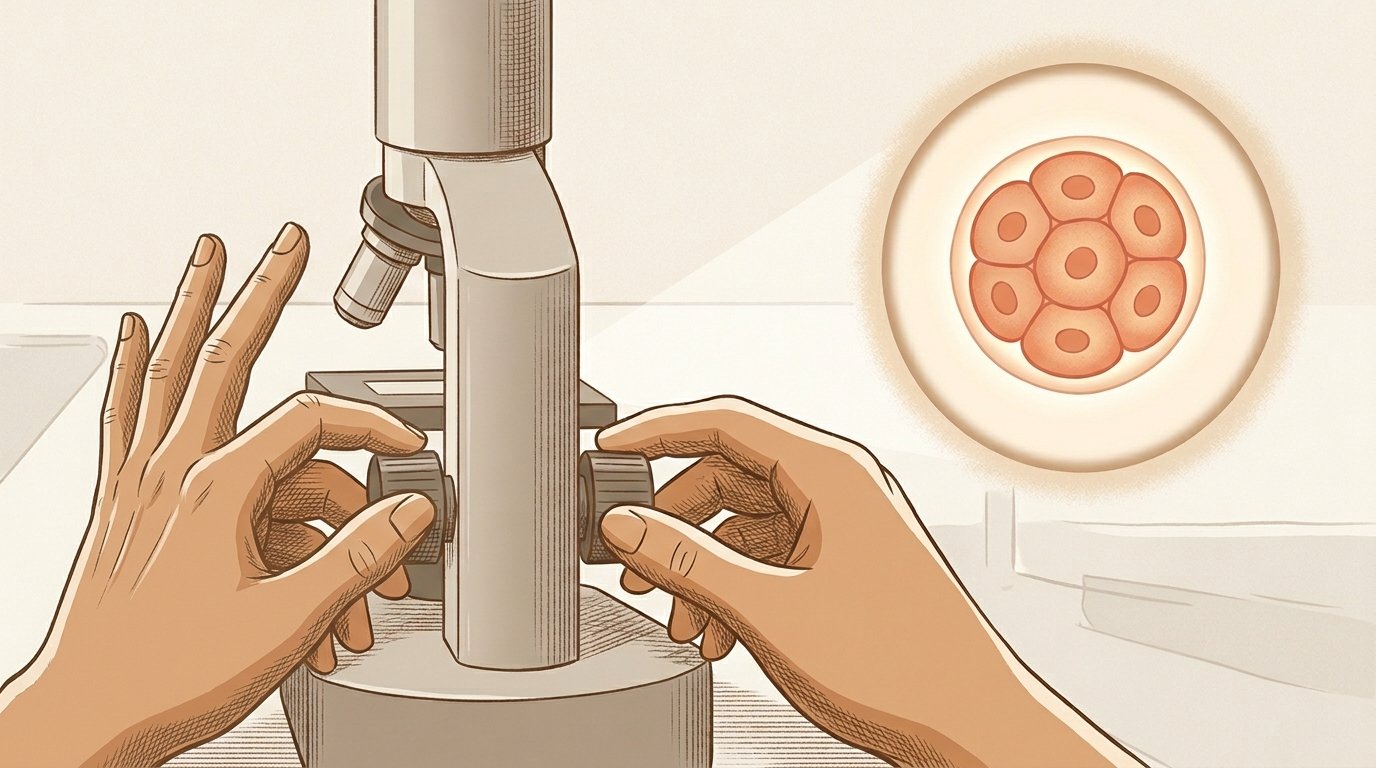
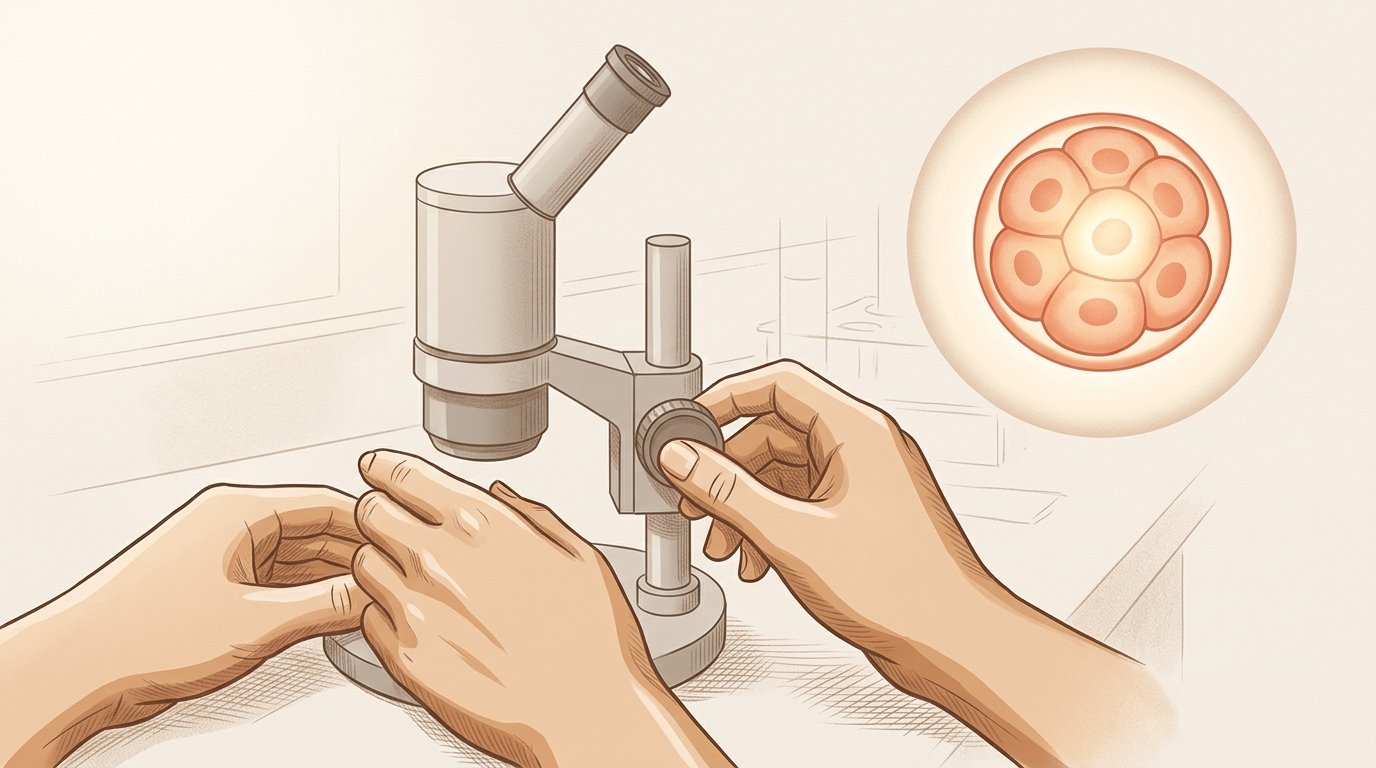
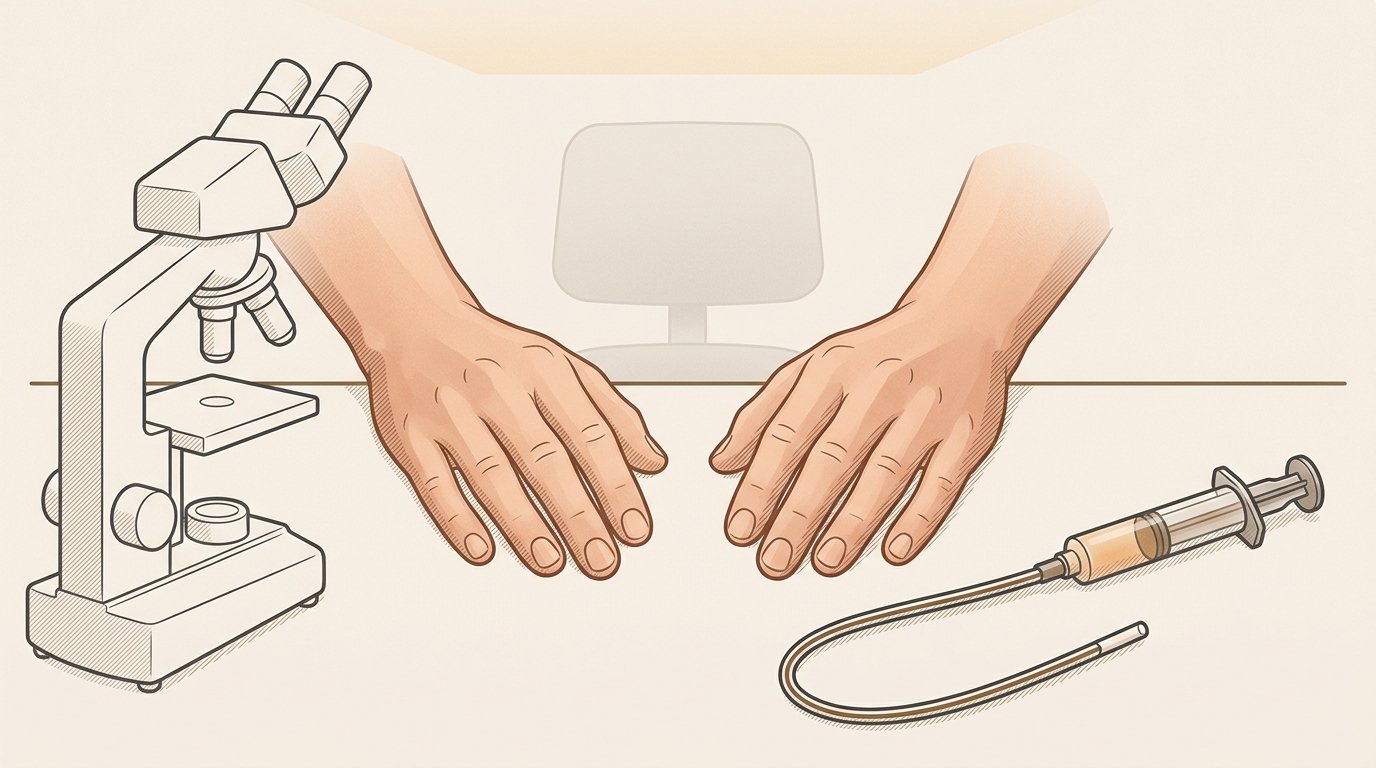
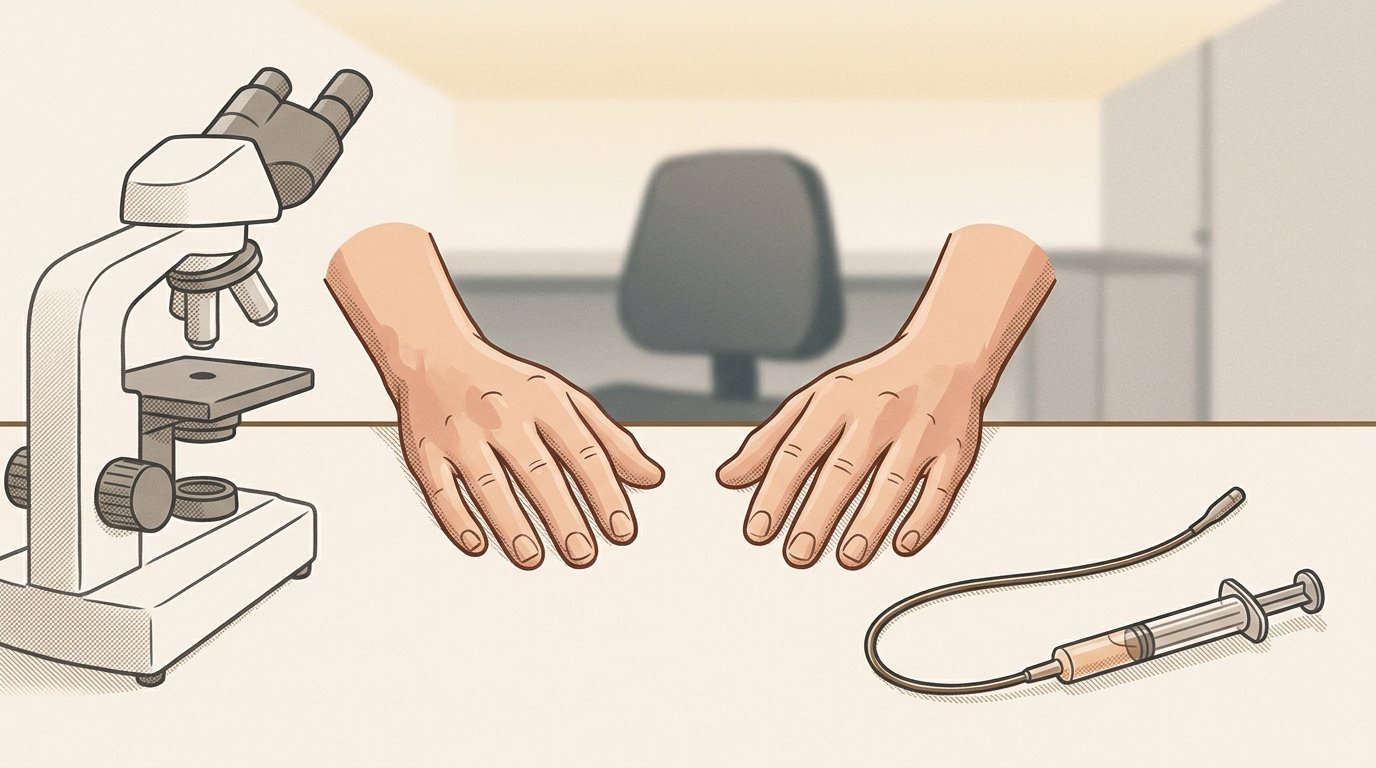
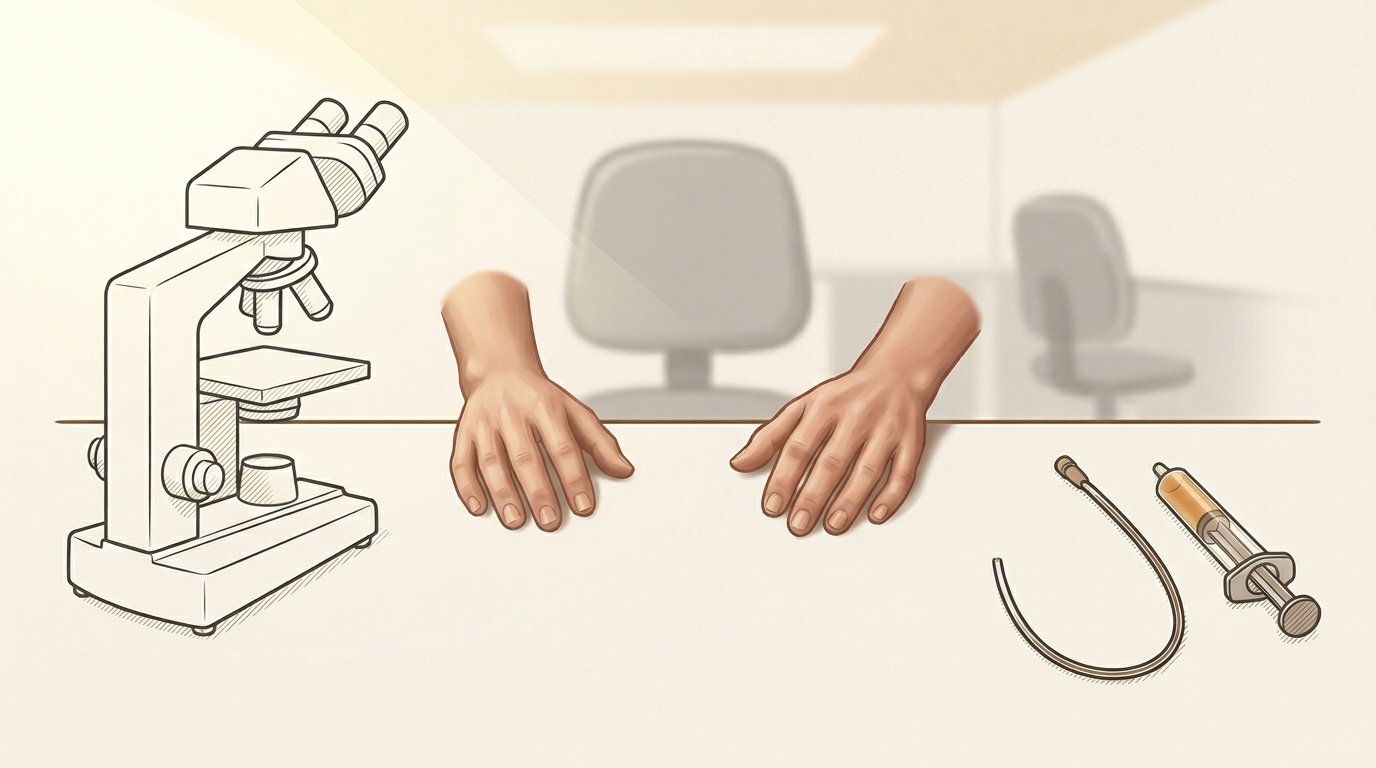
To start the embryo transfer procedure, the embryologist looks at the embryo under a microscope.
Close-in humanizing scene — embryologist hands with microscope, circular eyepiece vignette revealing the embryo magnified; the first fully human moment.
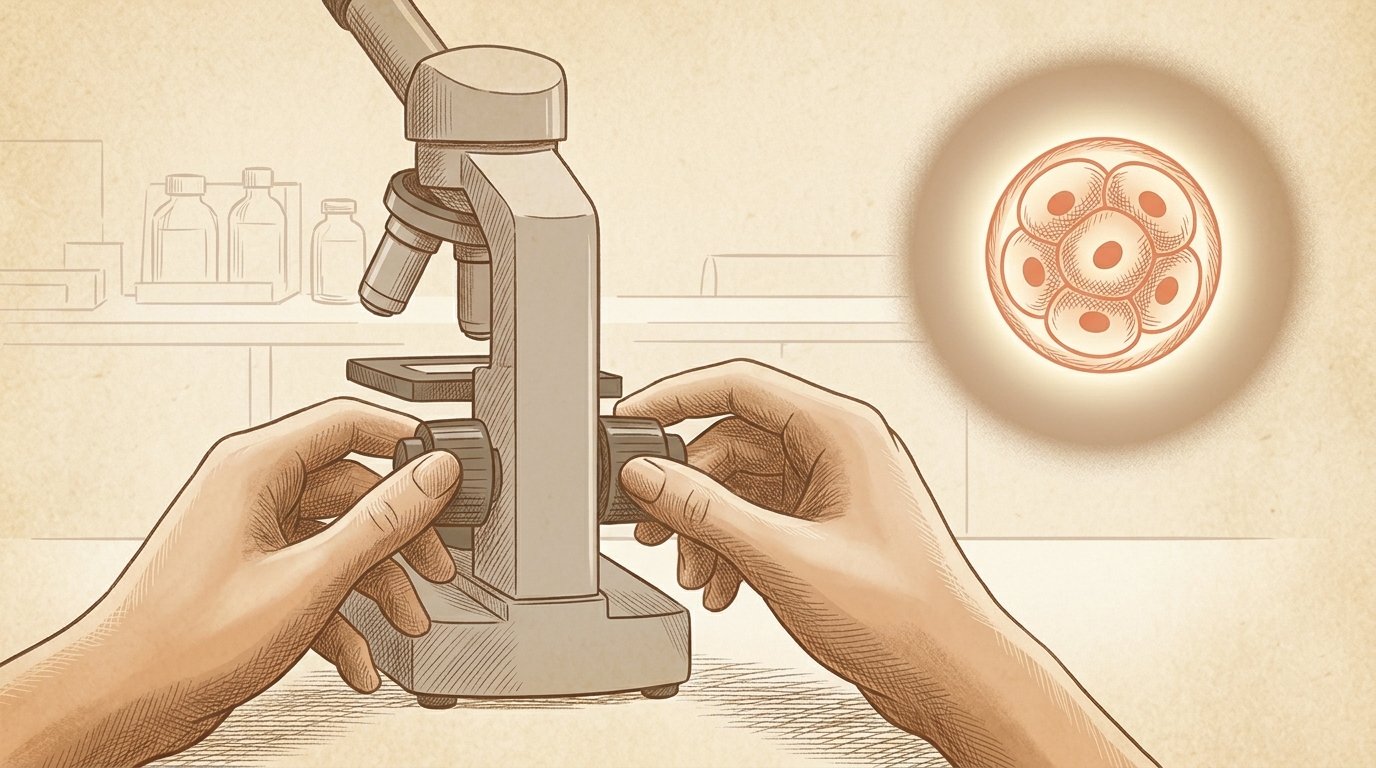
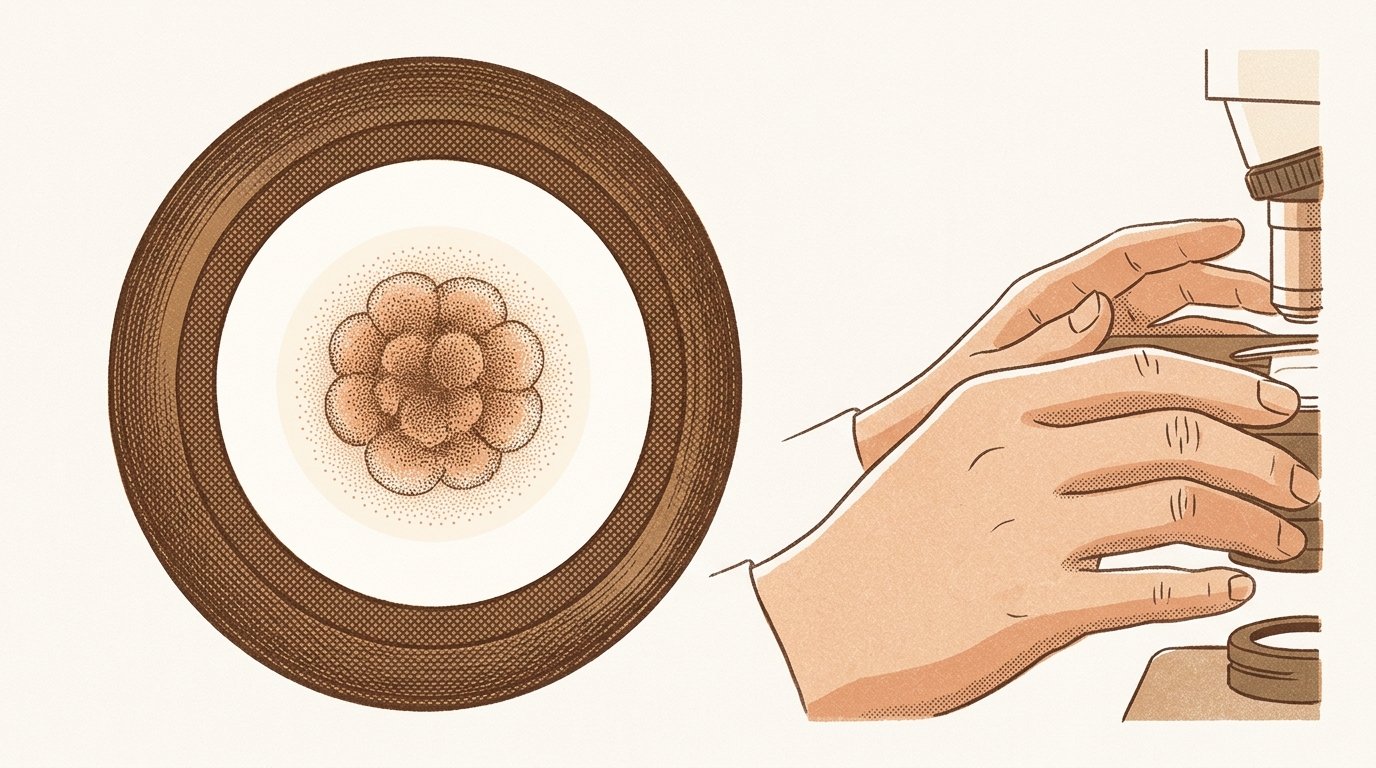
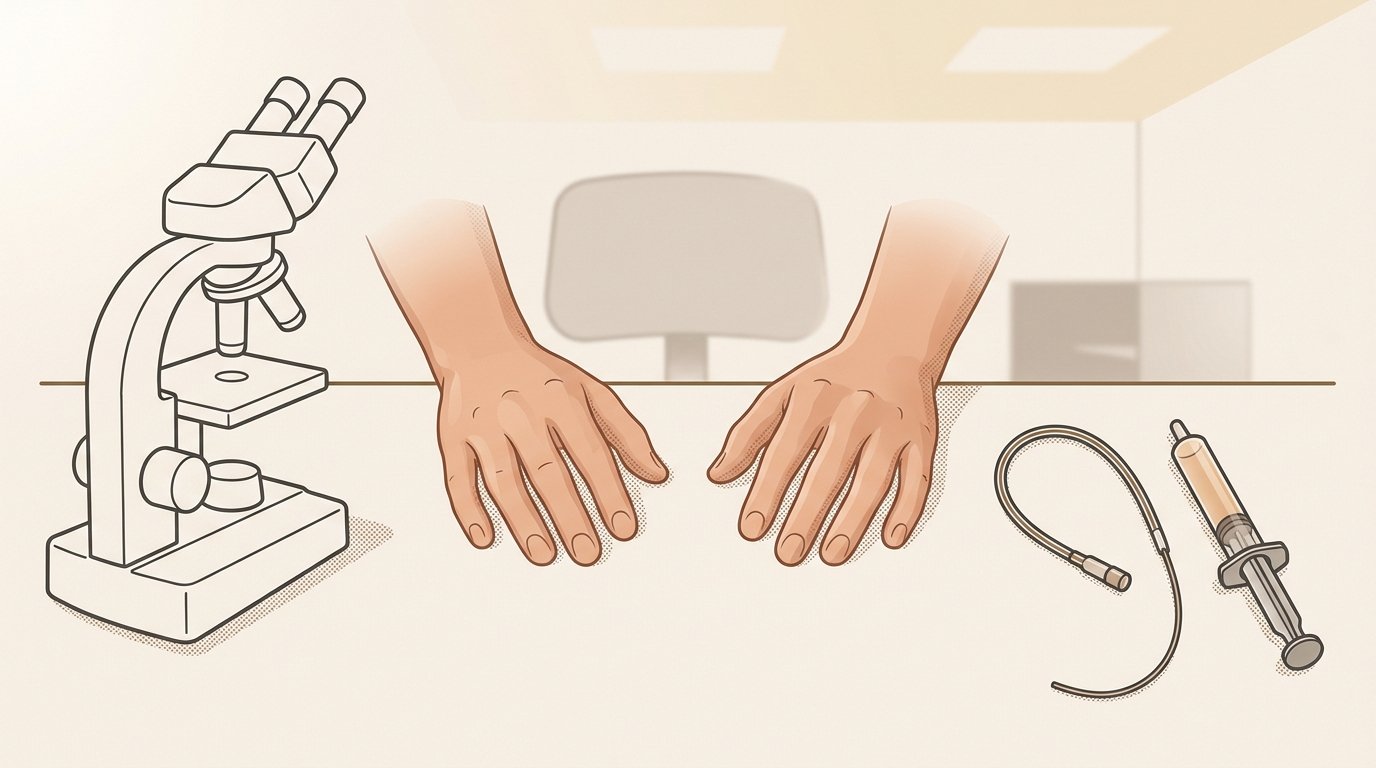
(continuation — embryologist at workstation, instruments laid out)
Wider view pulling back from Scene 7 — both hands visible on lab surface, microscope at left, catheter-syringe assembly laid out at right, organized and ready.
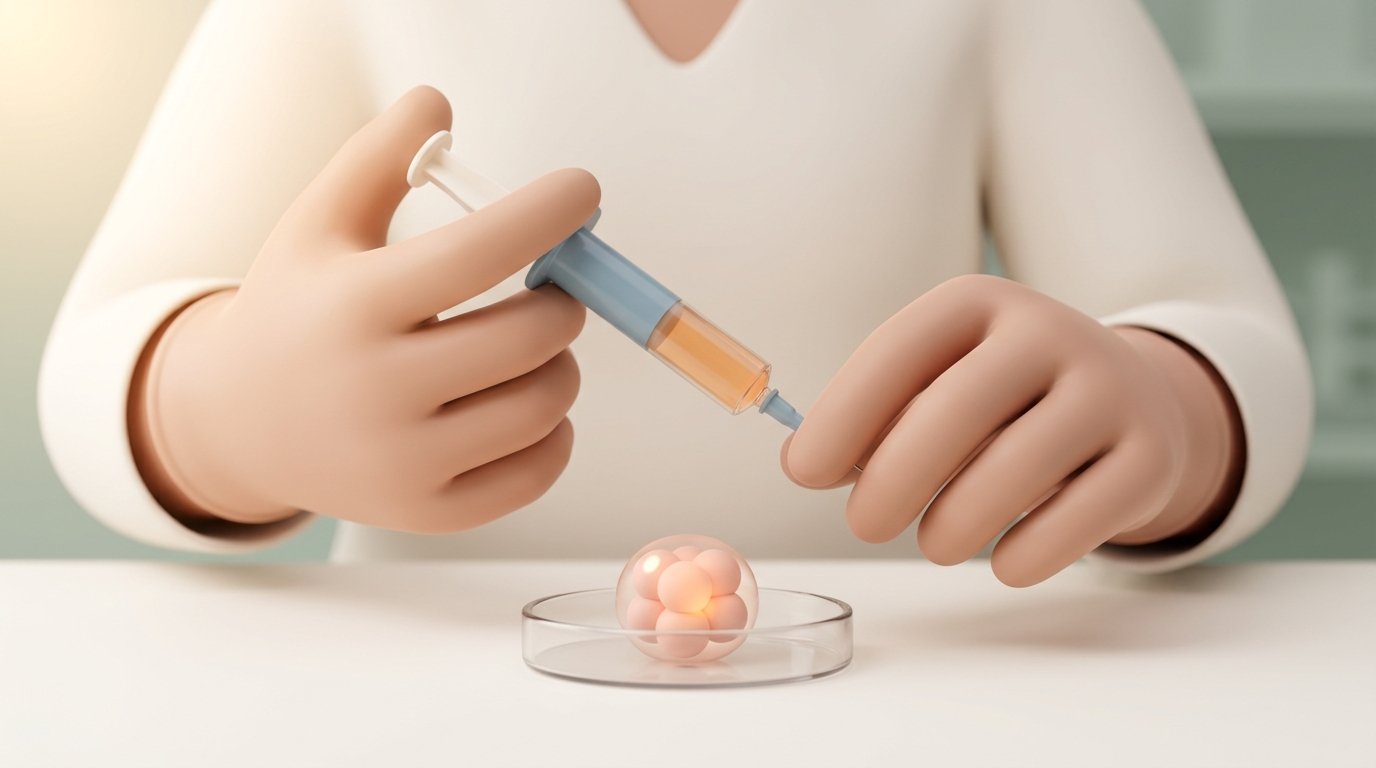
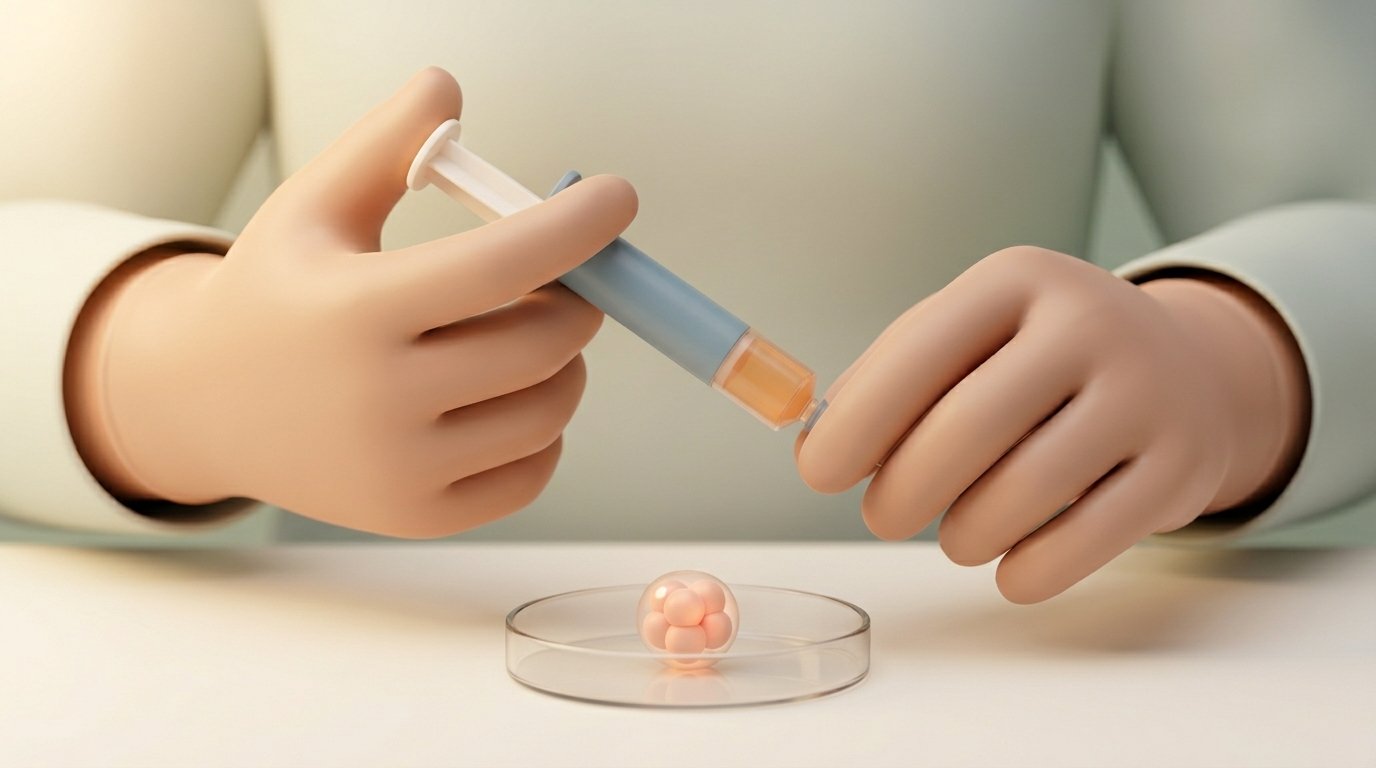
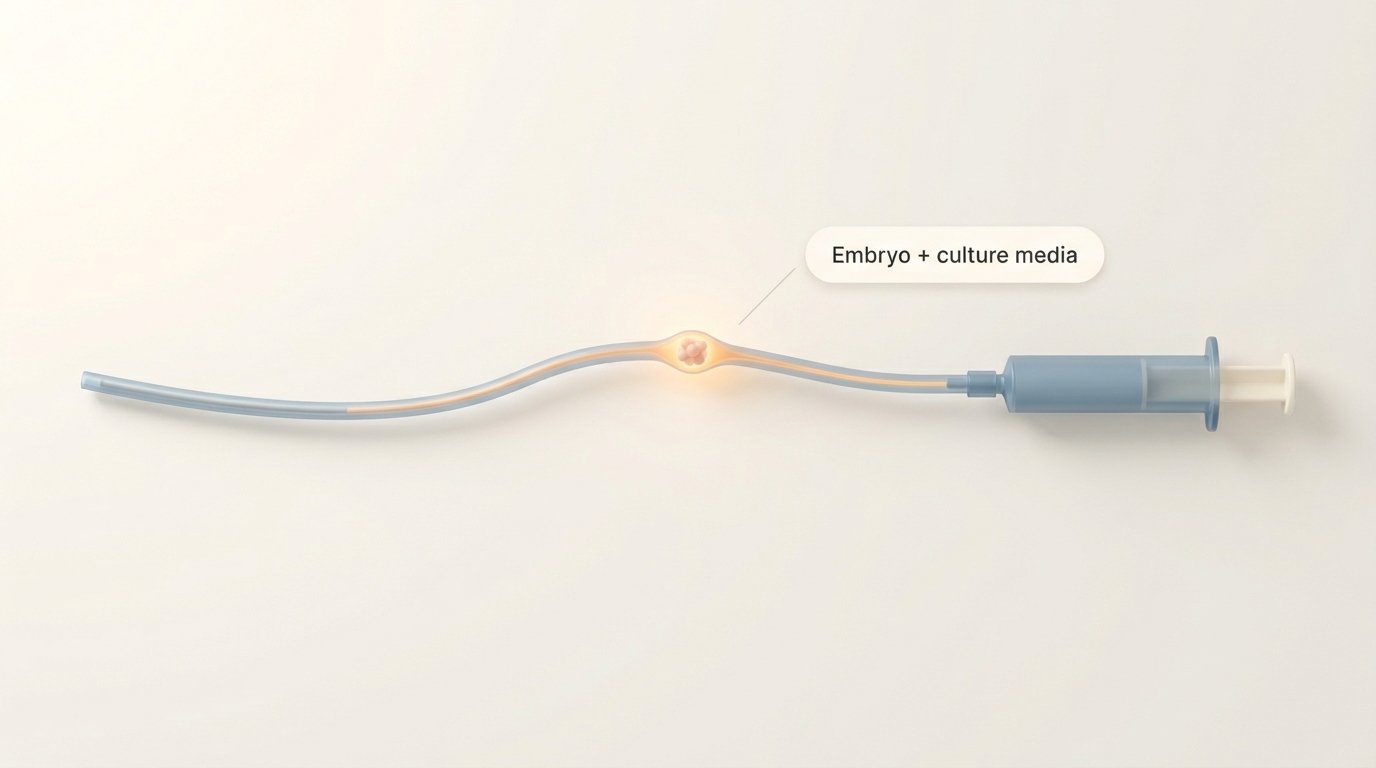
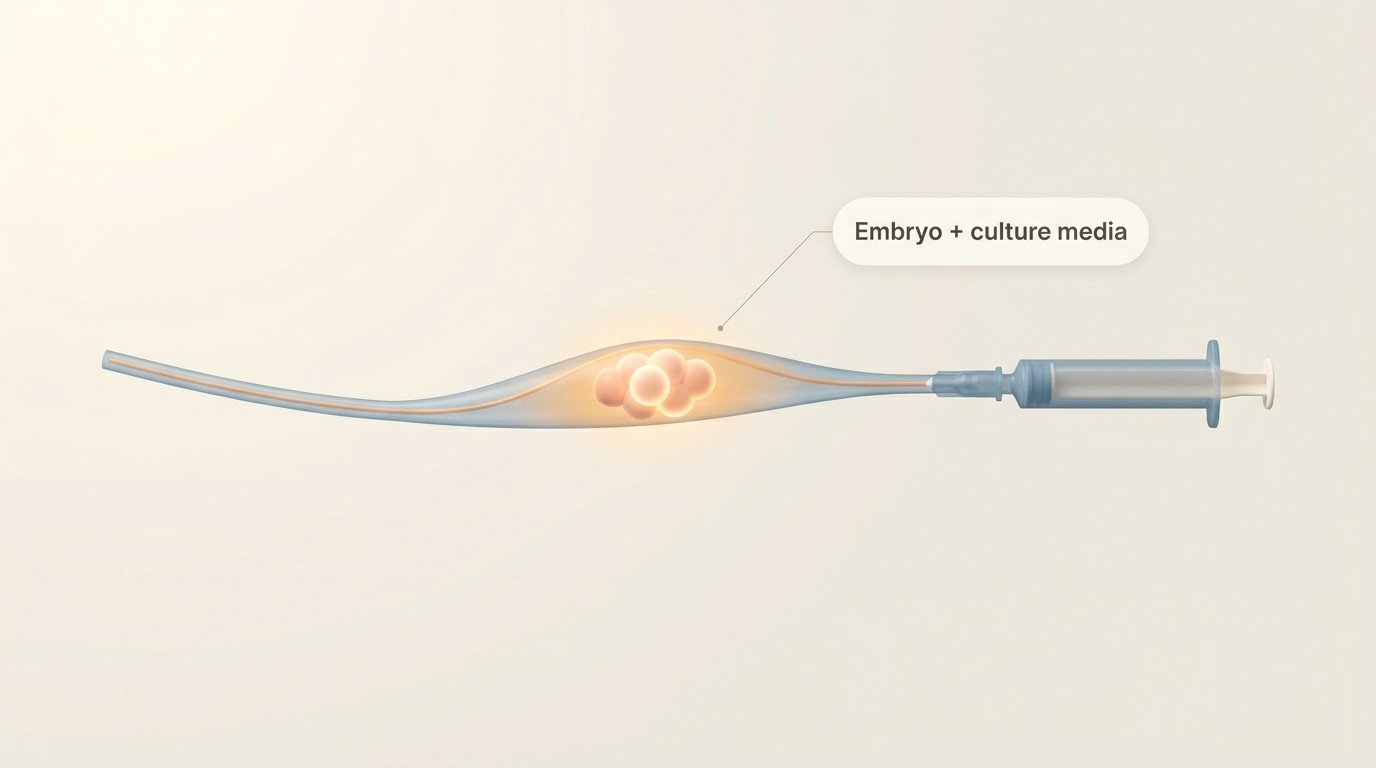
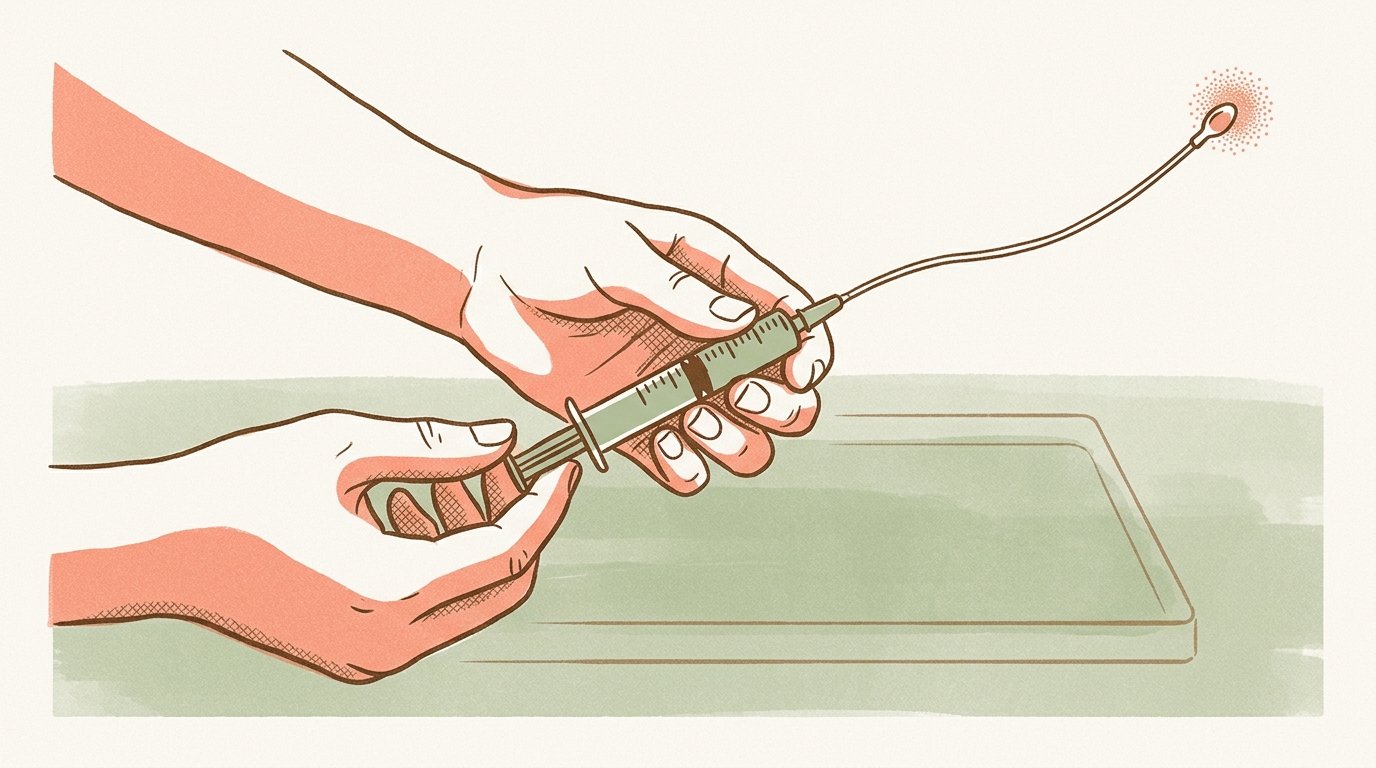
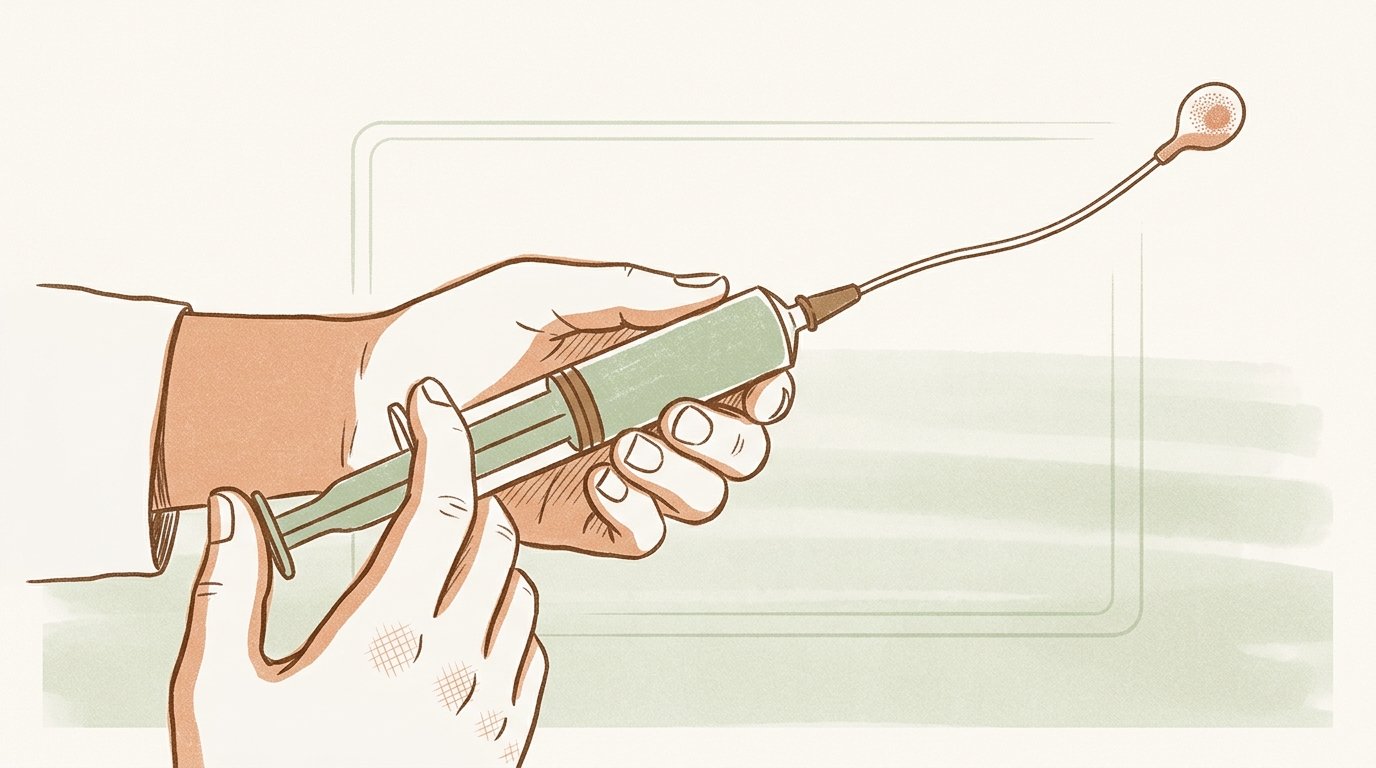
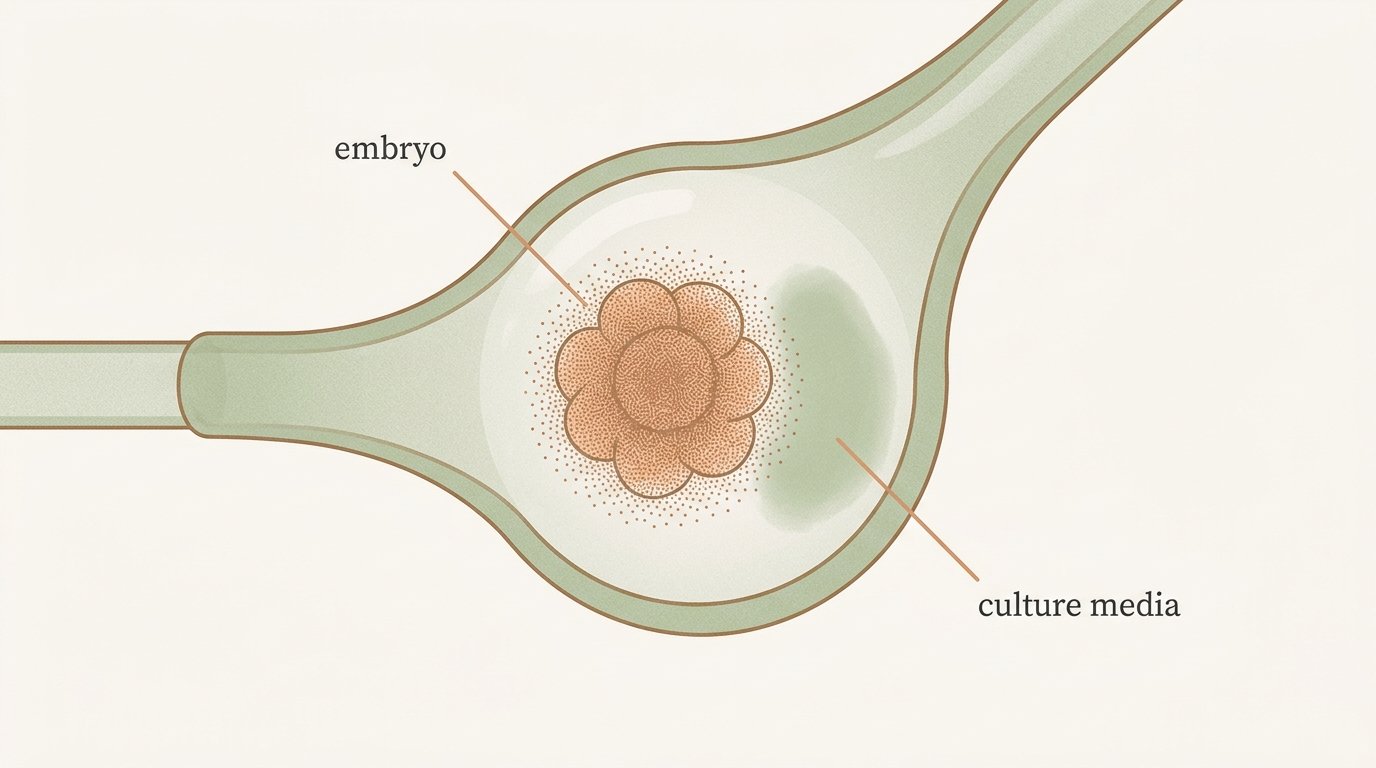
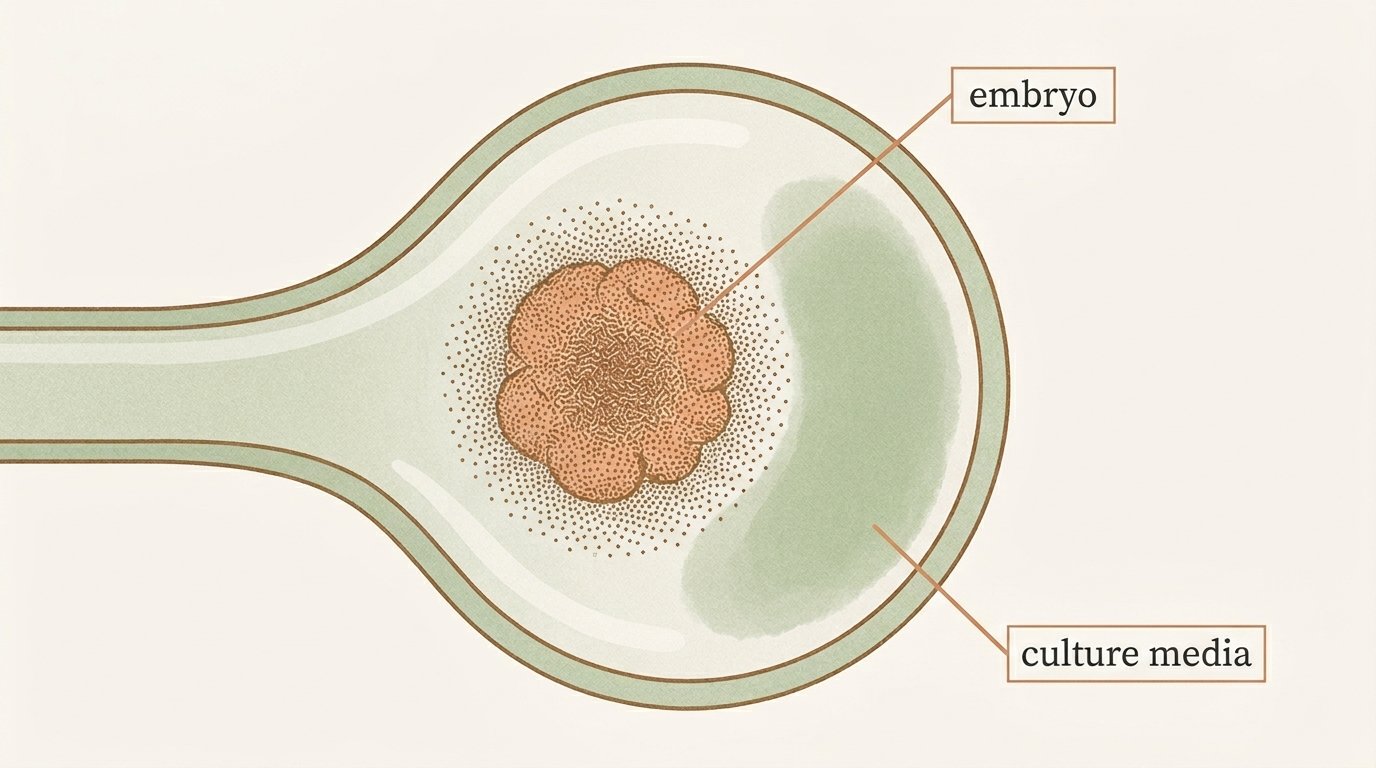
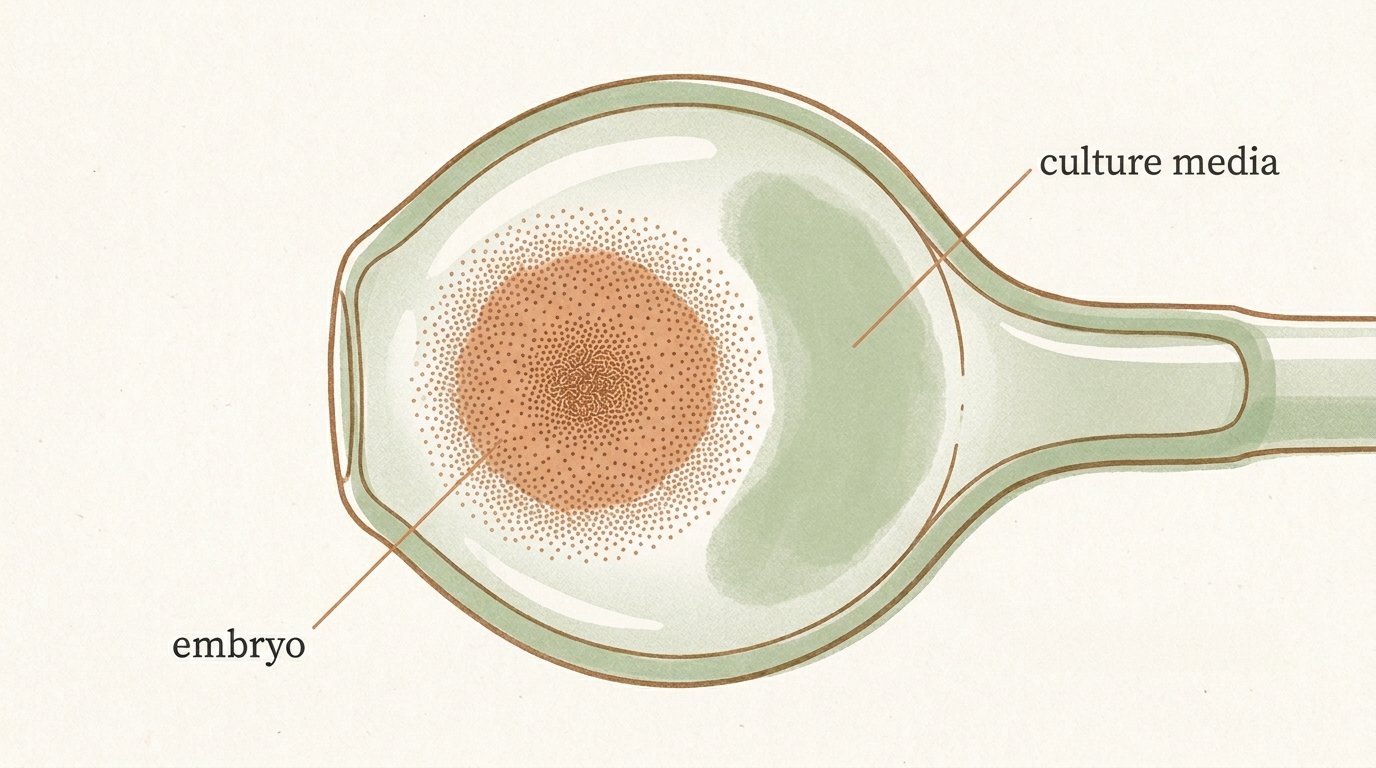
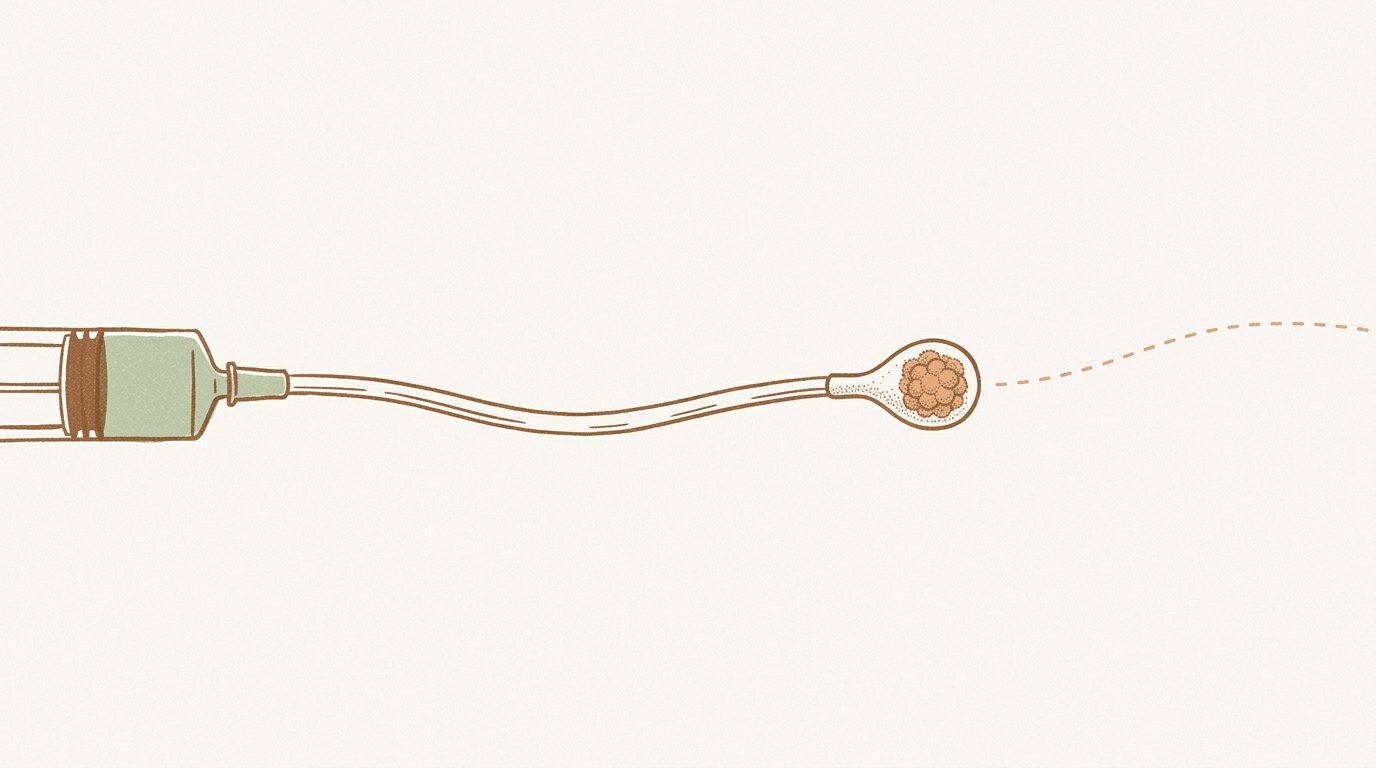
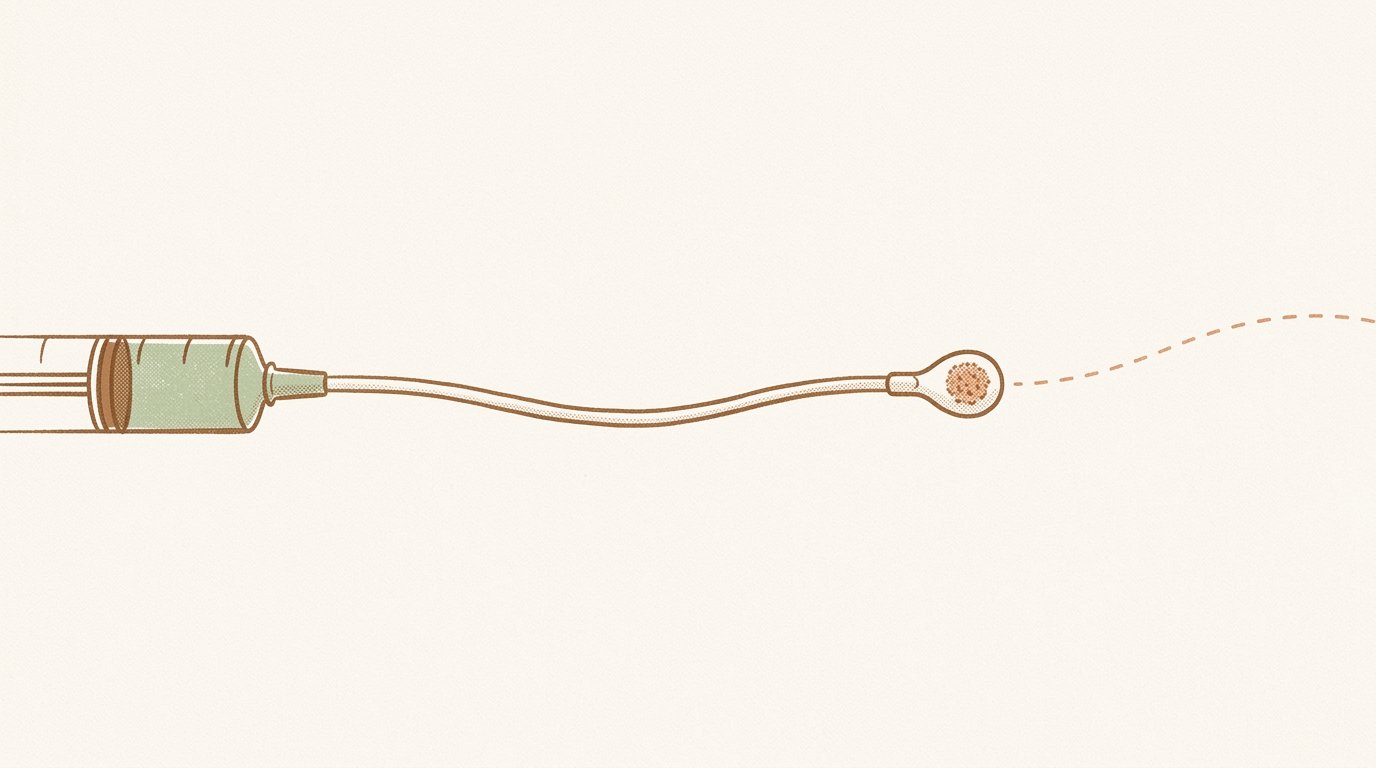
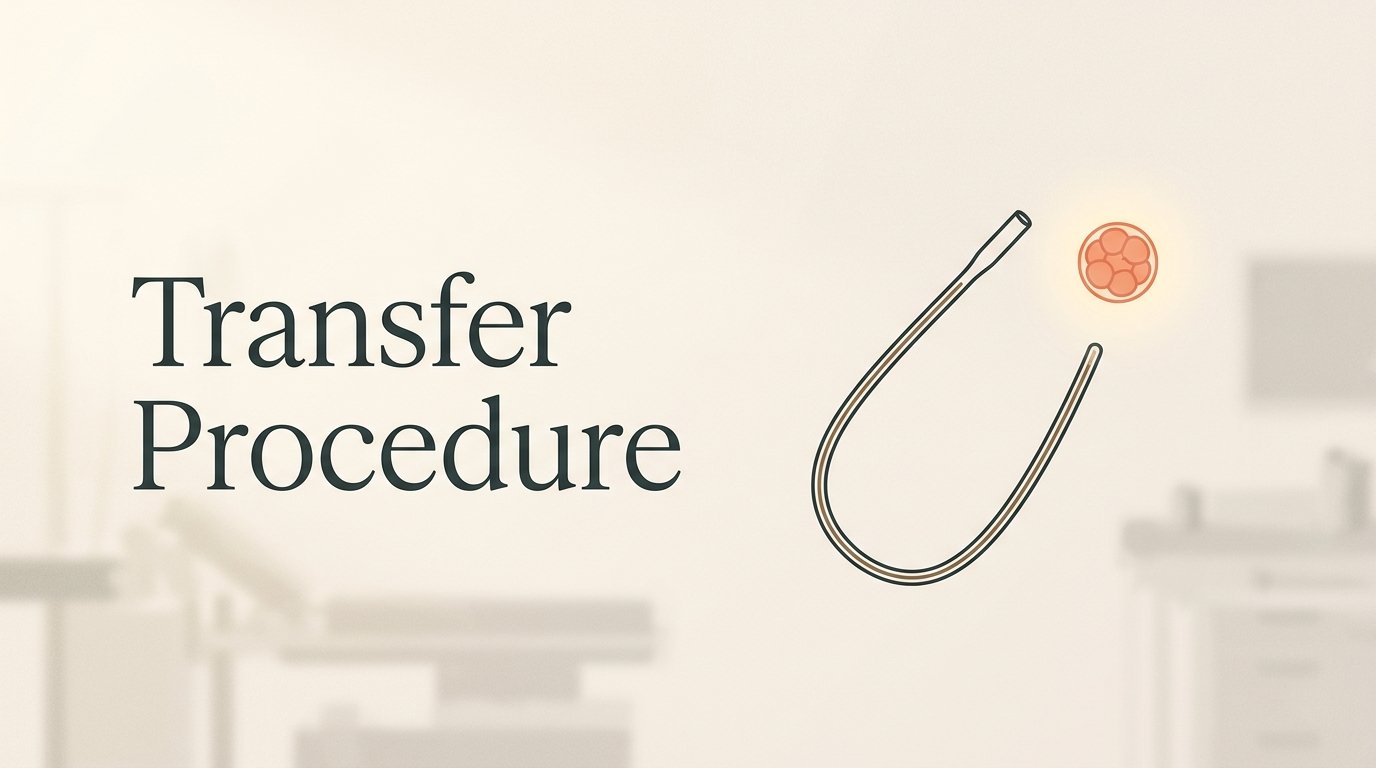
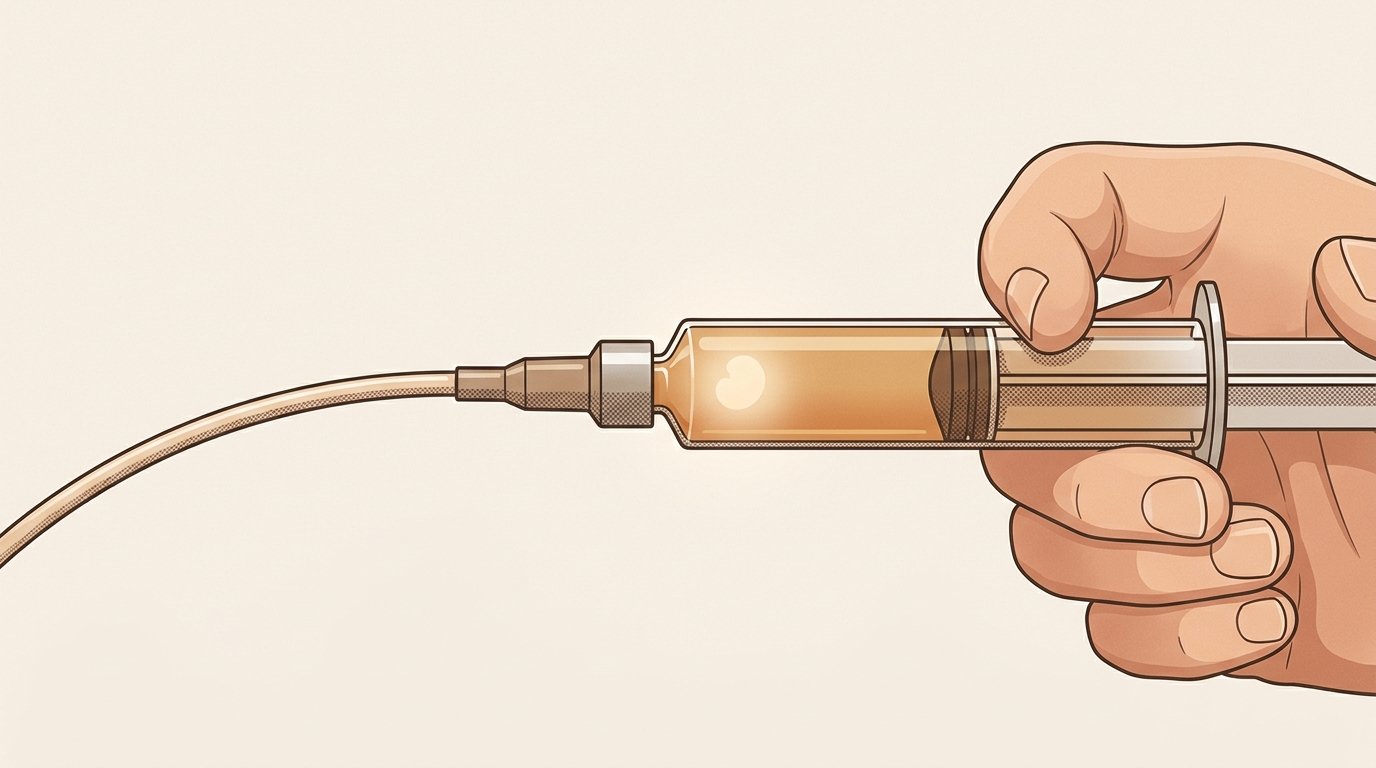
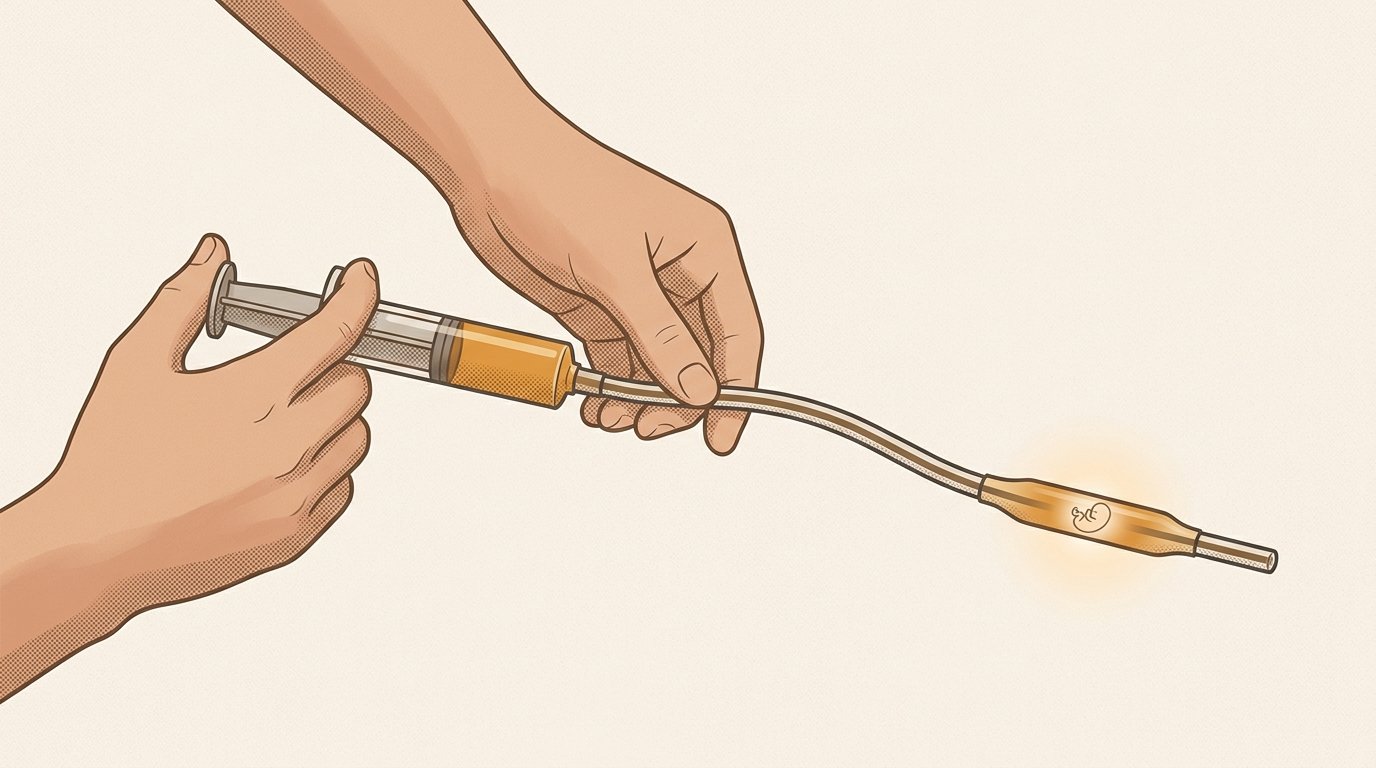
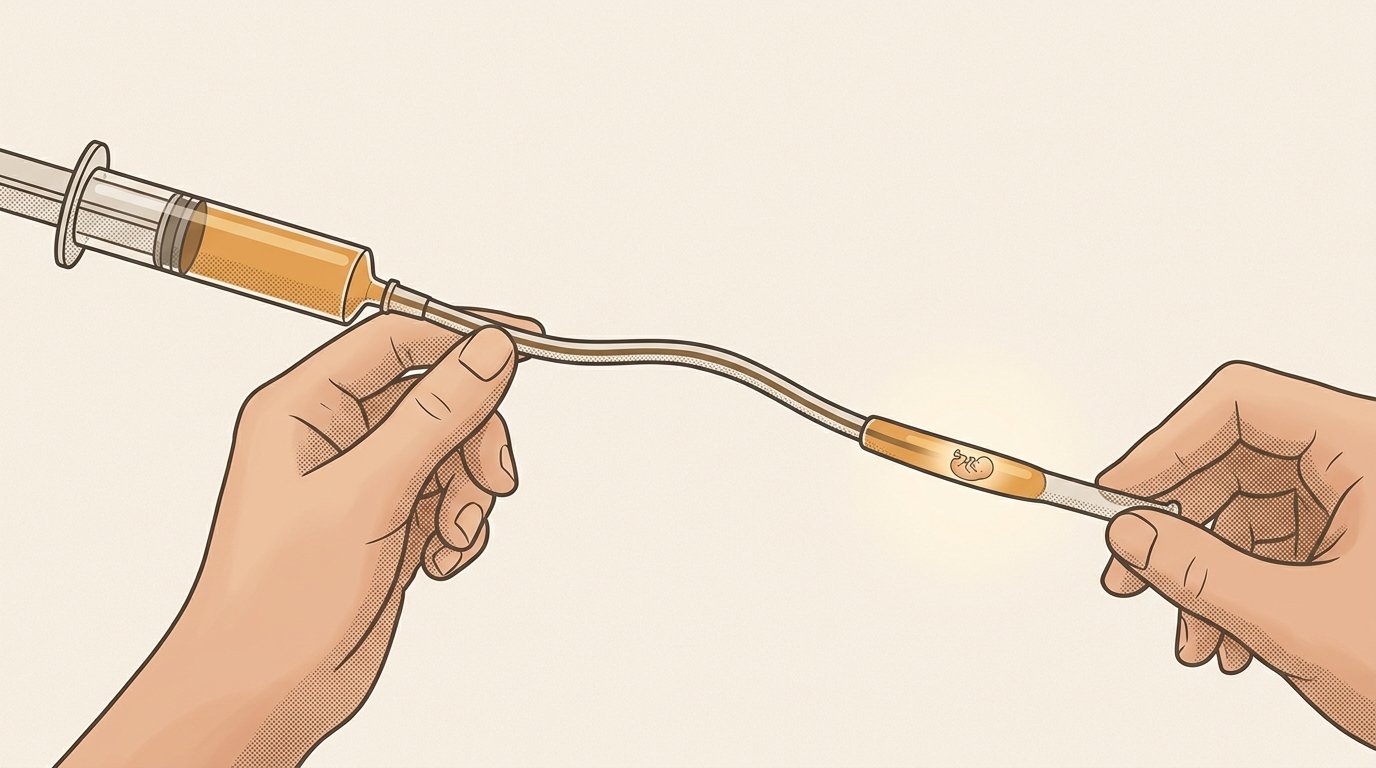
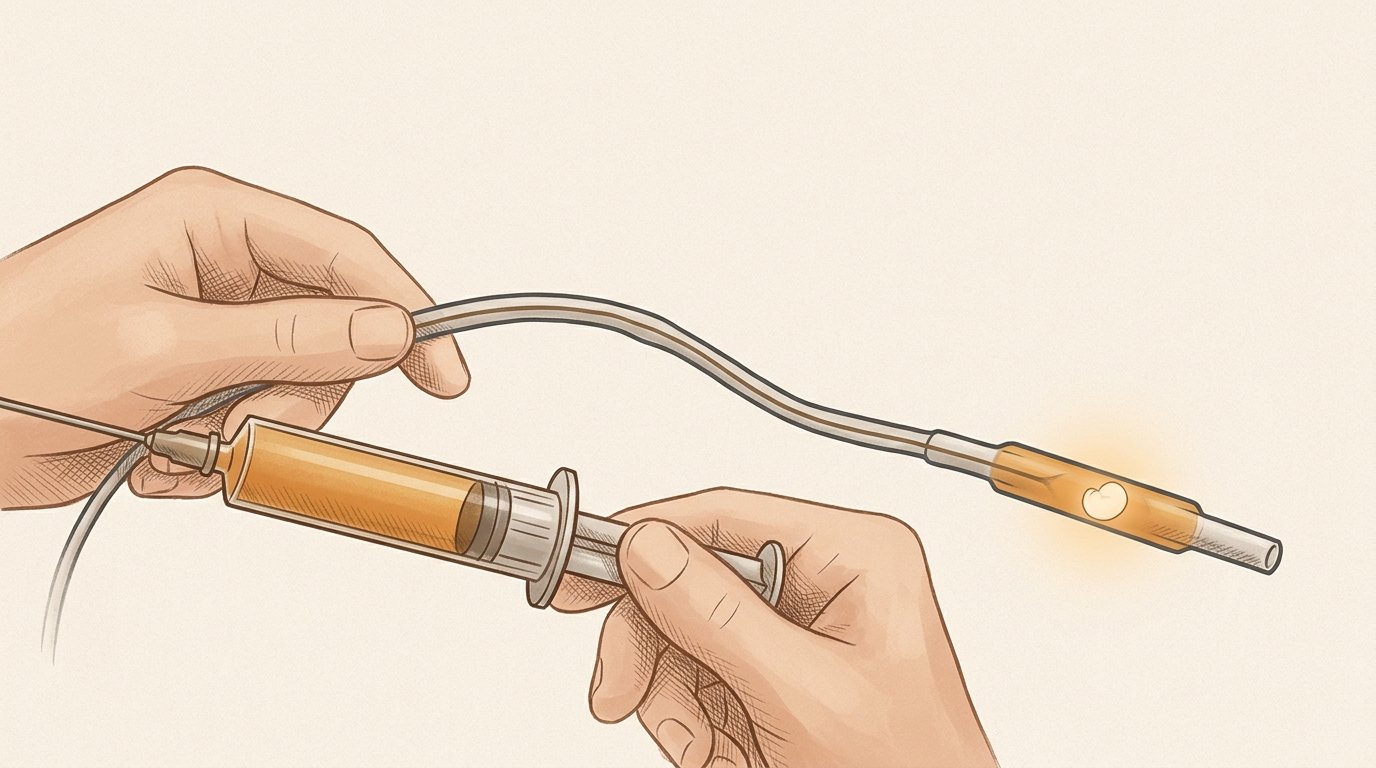
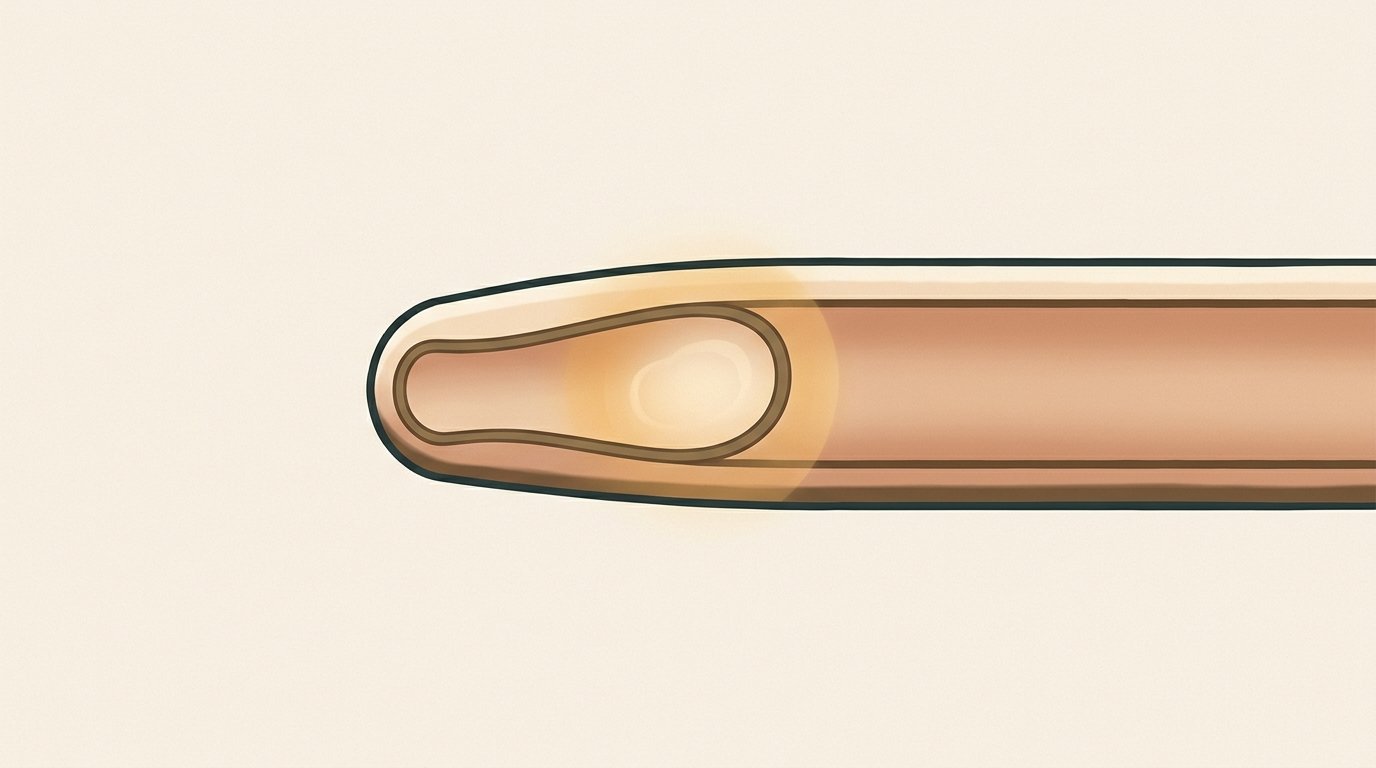
Using a small syringe, the embryologist draws the embryo and a small amount of culture media into the thin, flexible transfer catheter.
Close-up precision — right hand gripping syringe, plunger pulling back, warm amber fluid drawing into the clear barrel, embryo glow faintly visible entering the tube.
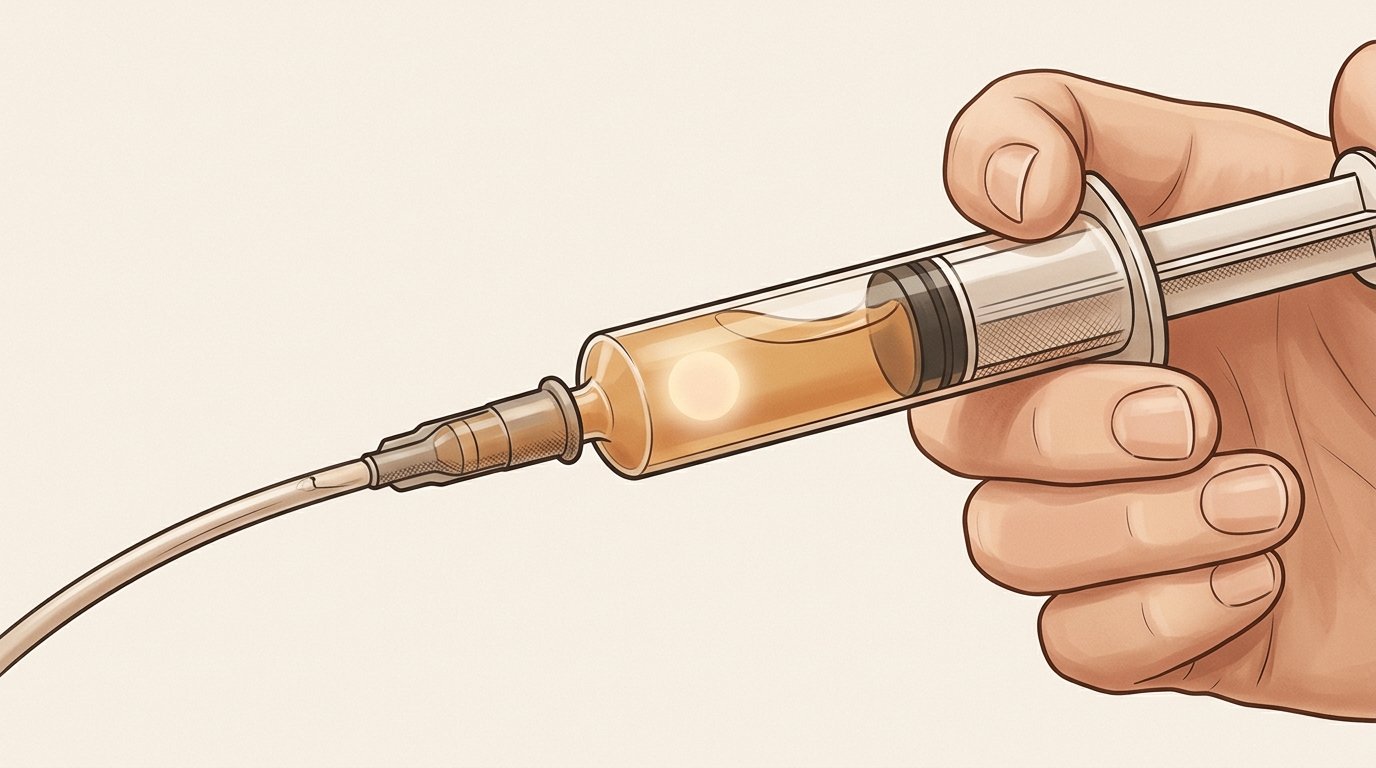

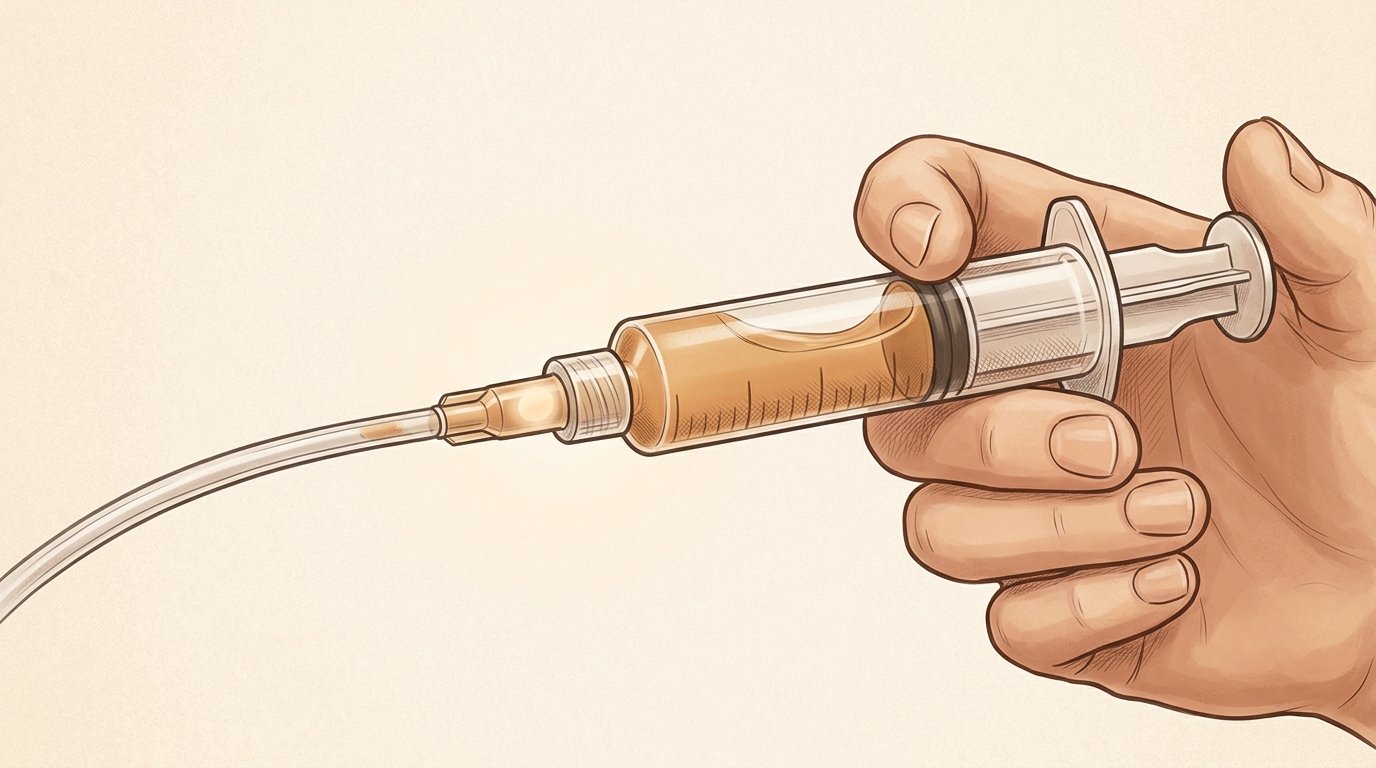
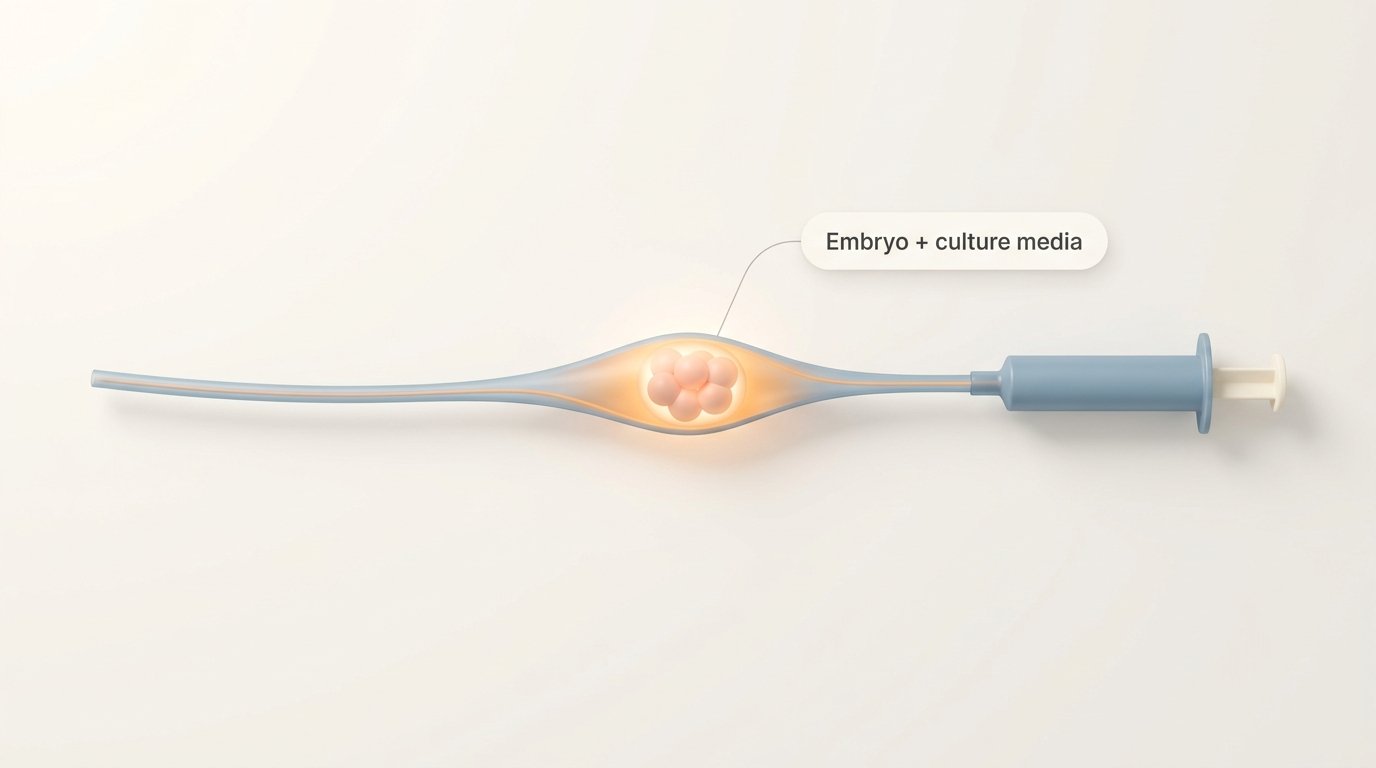
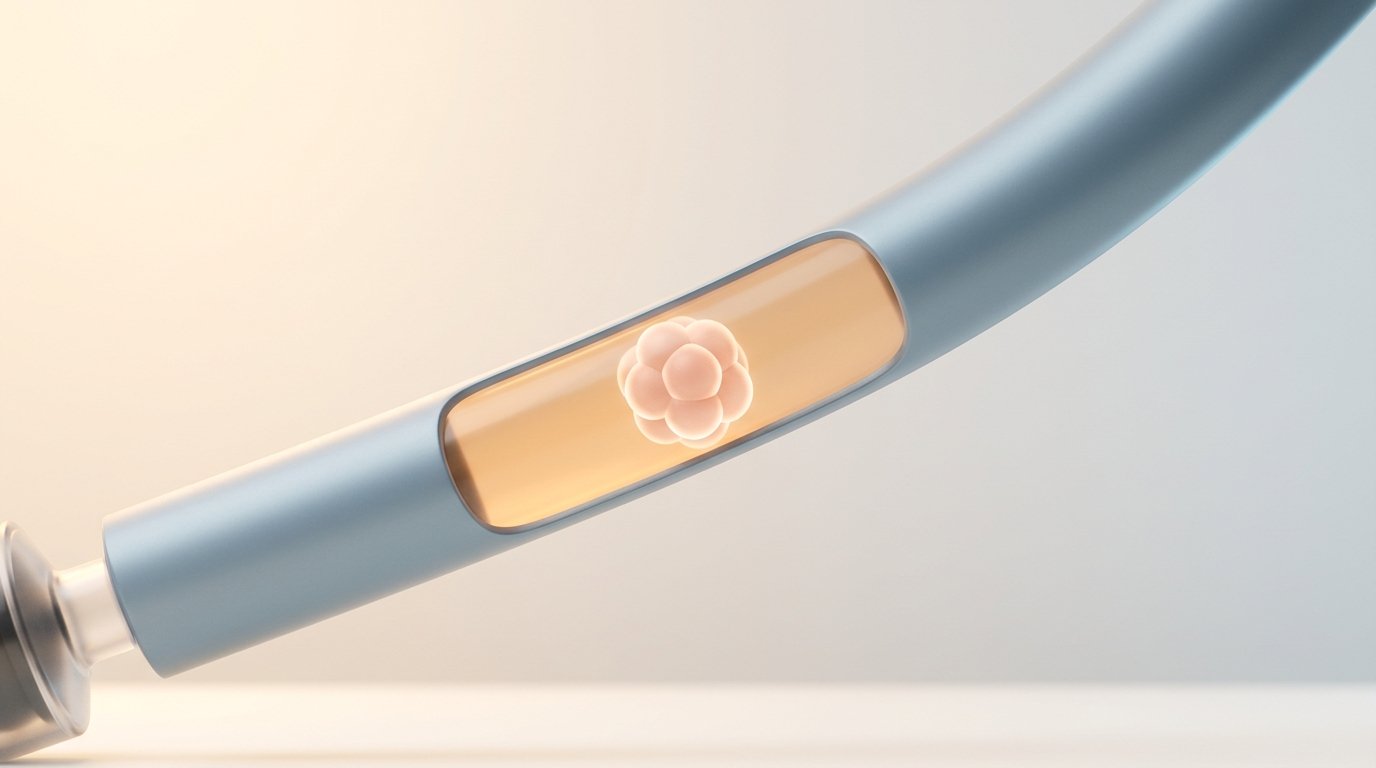
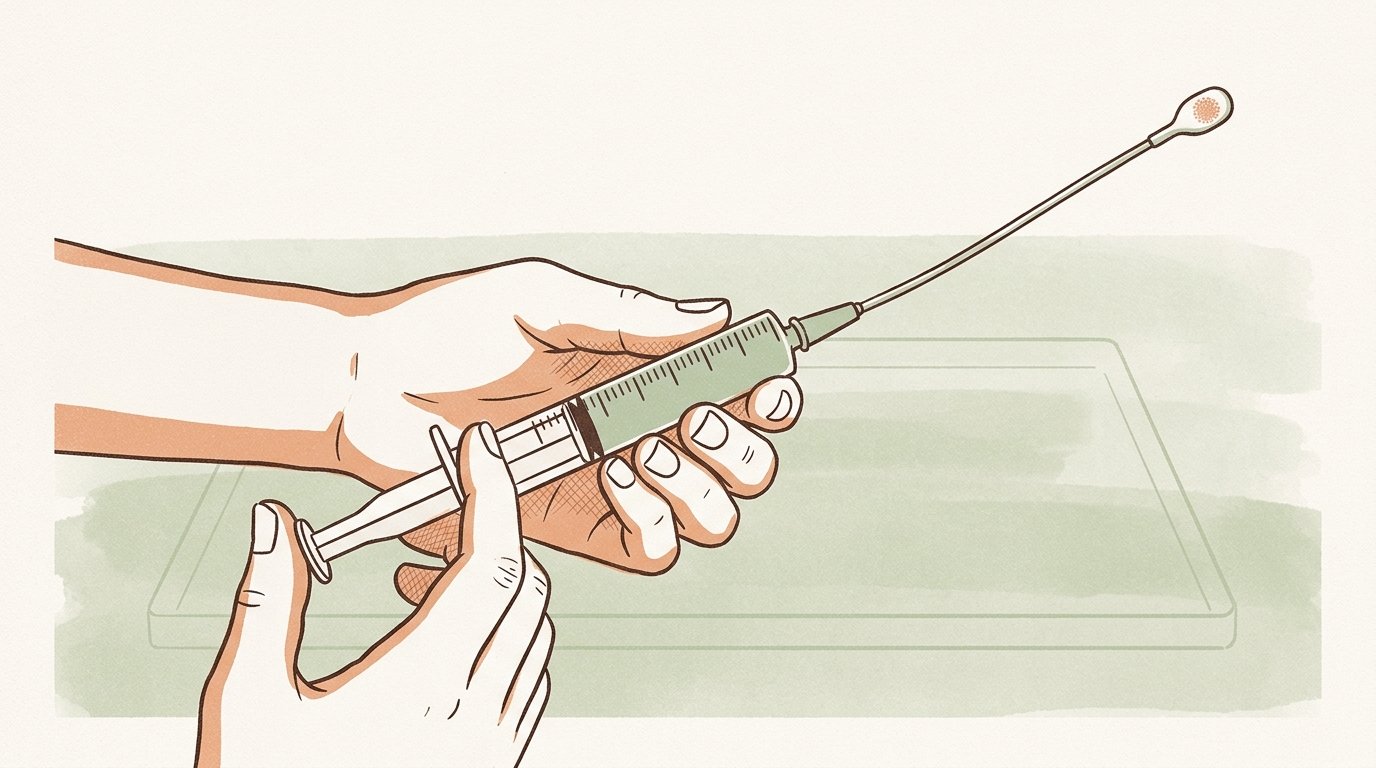
(continuation — catheter fully loaded, embryo and culture media in the catheter)
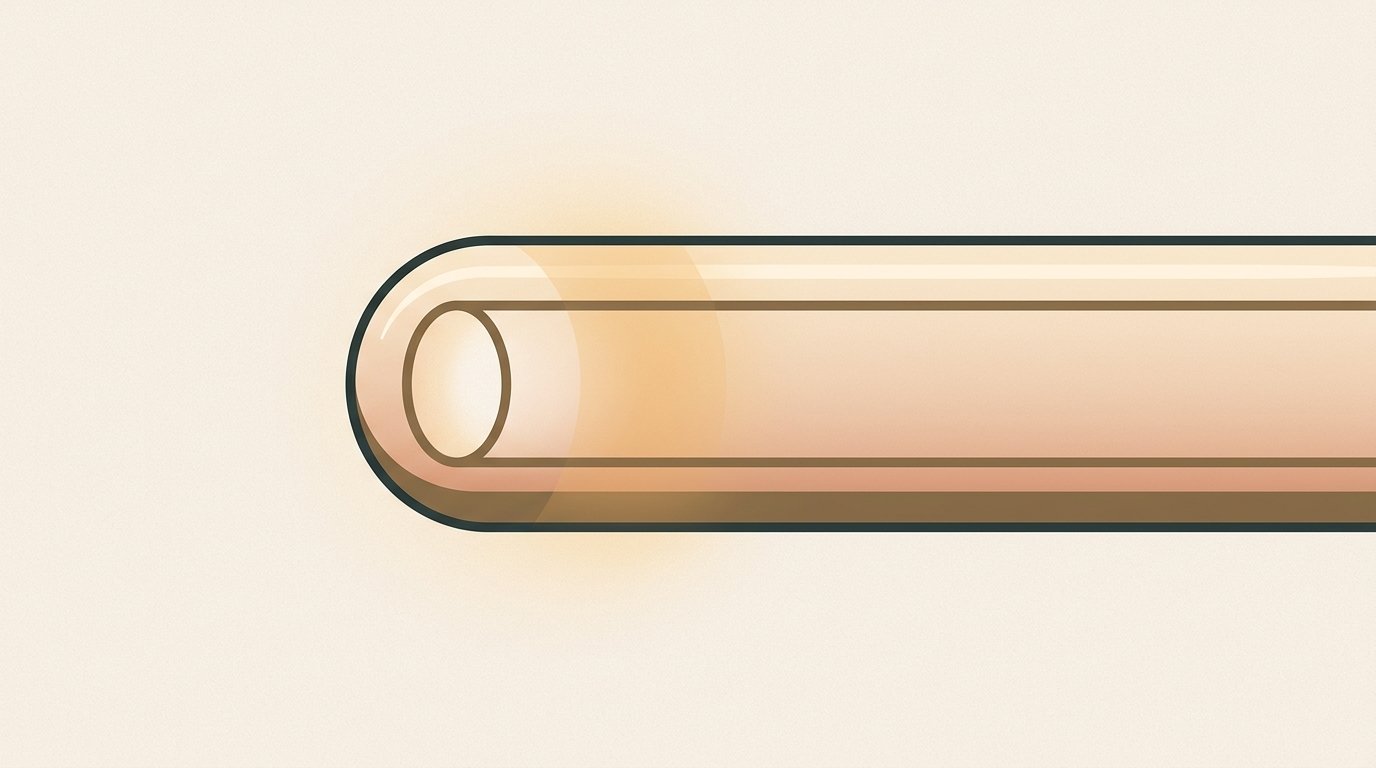
Reframe to show the full catheter assembly — both hands visible, embryo glow seated inside the tube near the distal tip, instrument ready and confident.

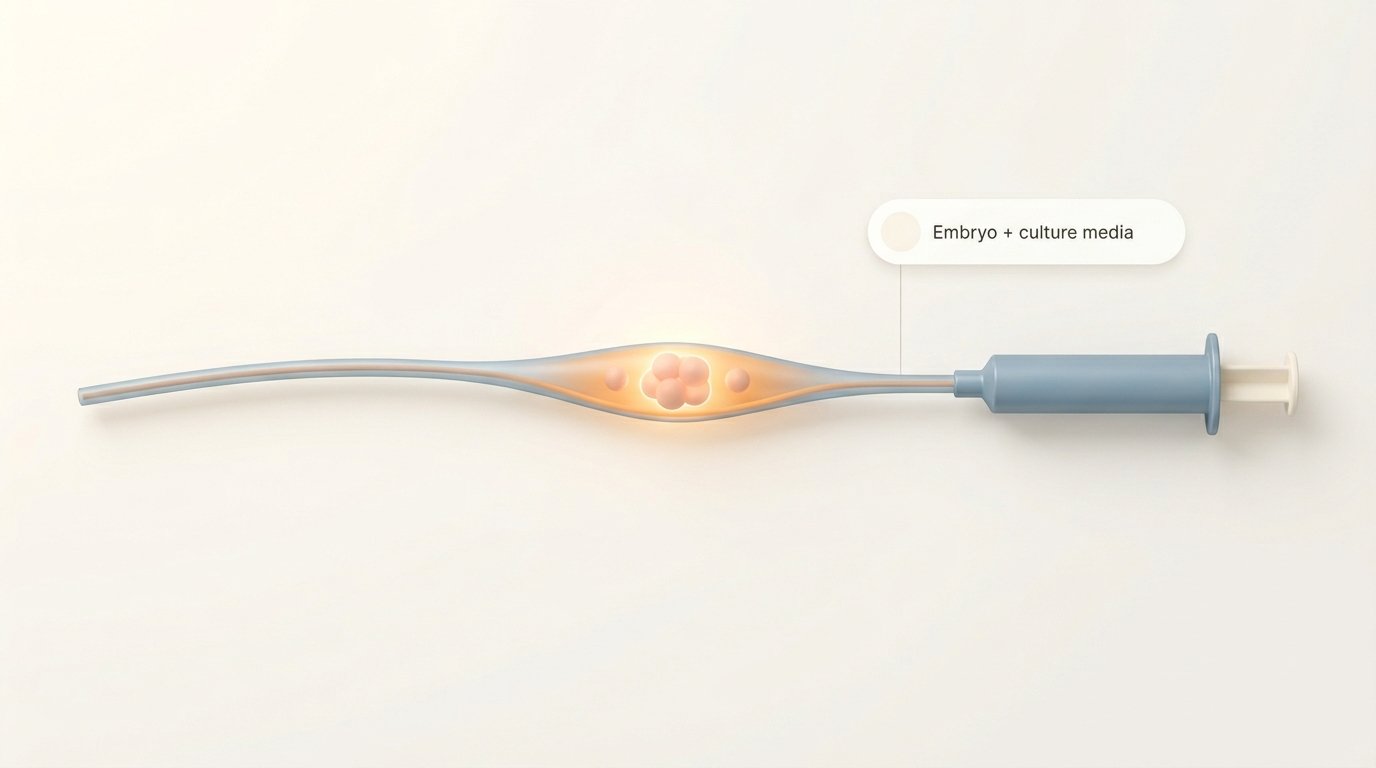
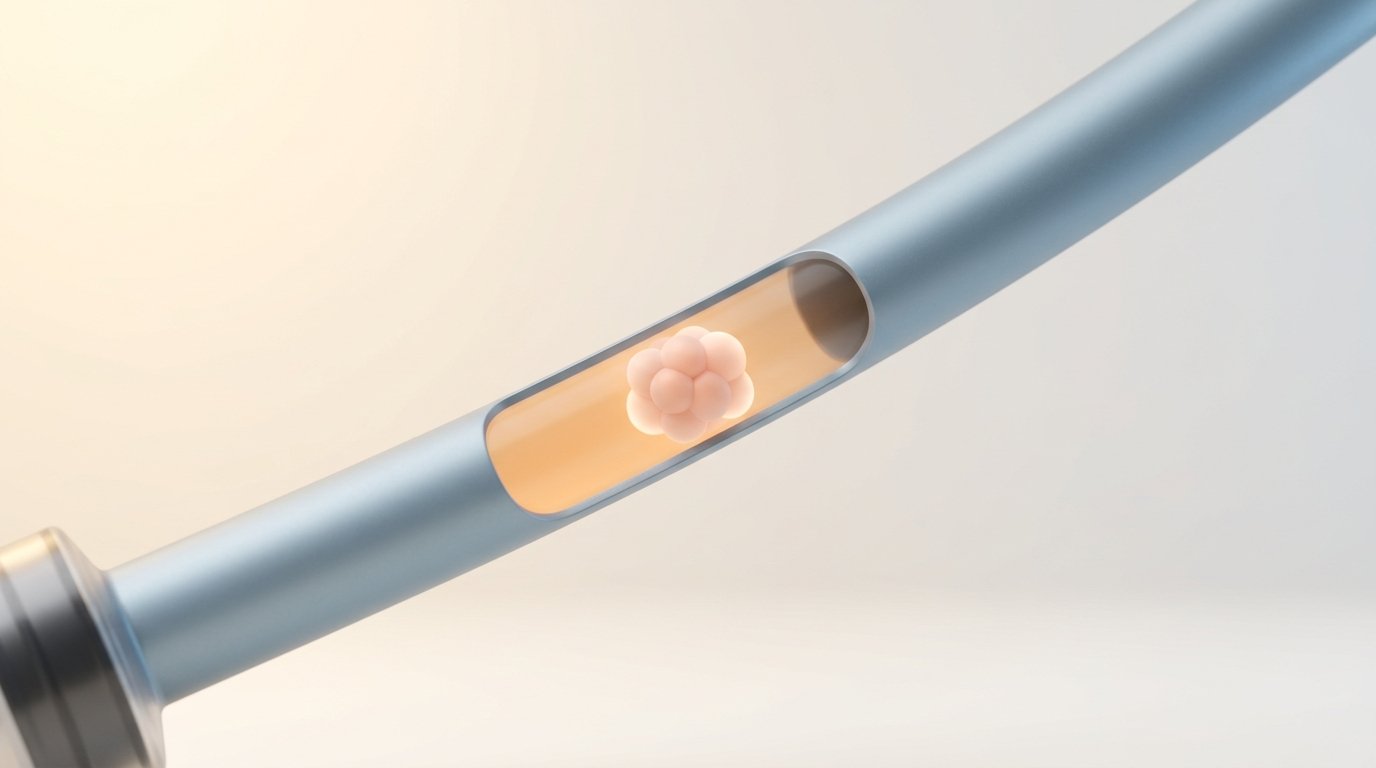
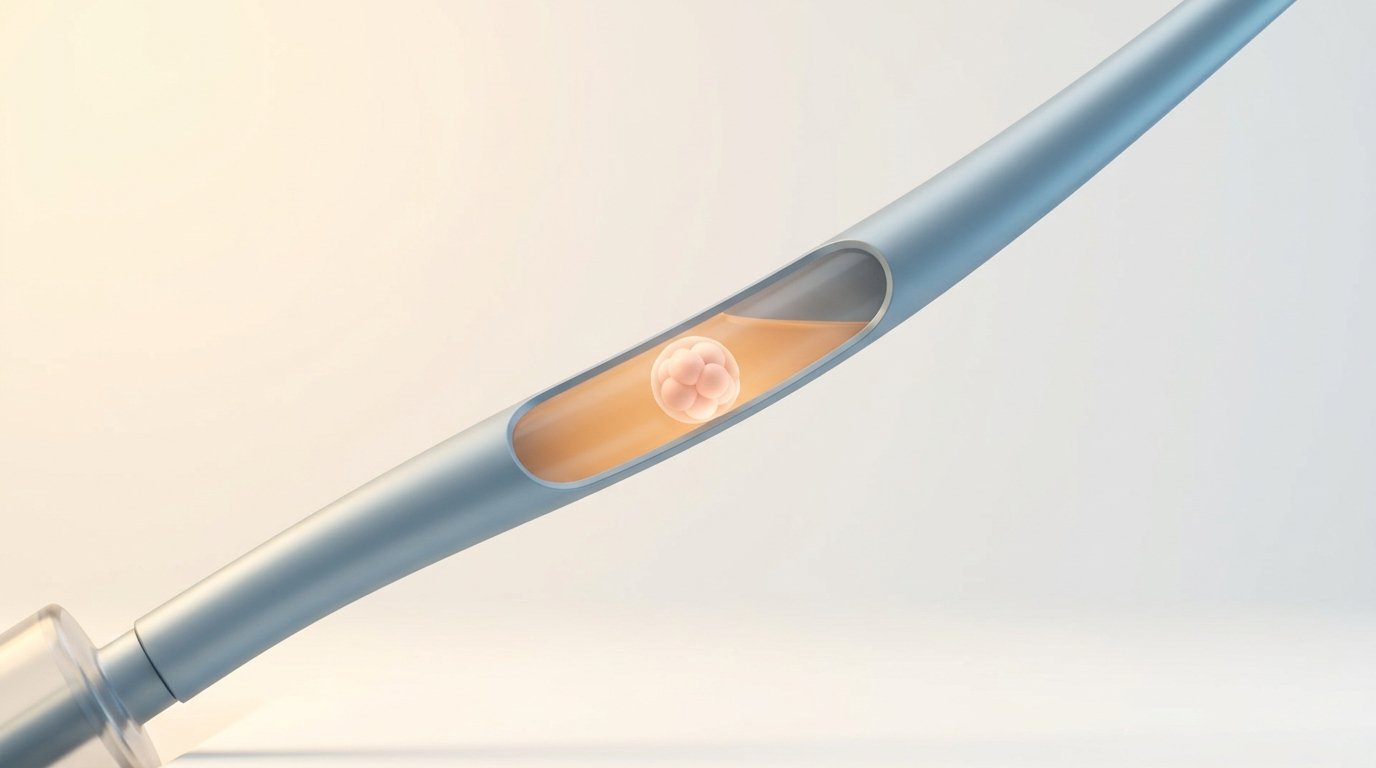
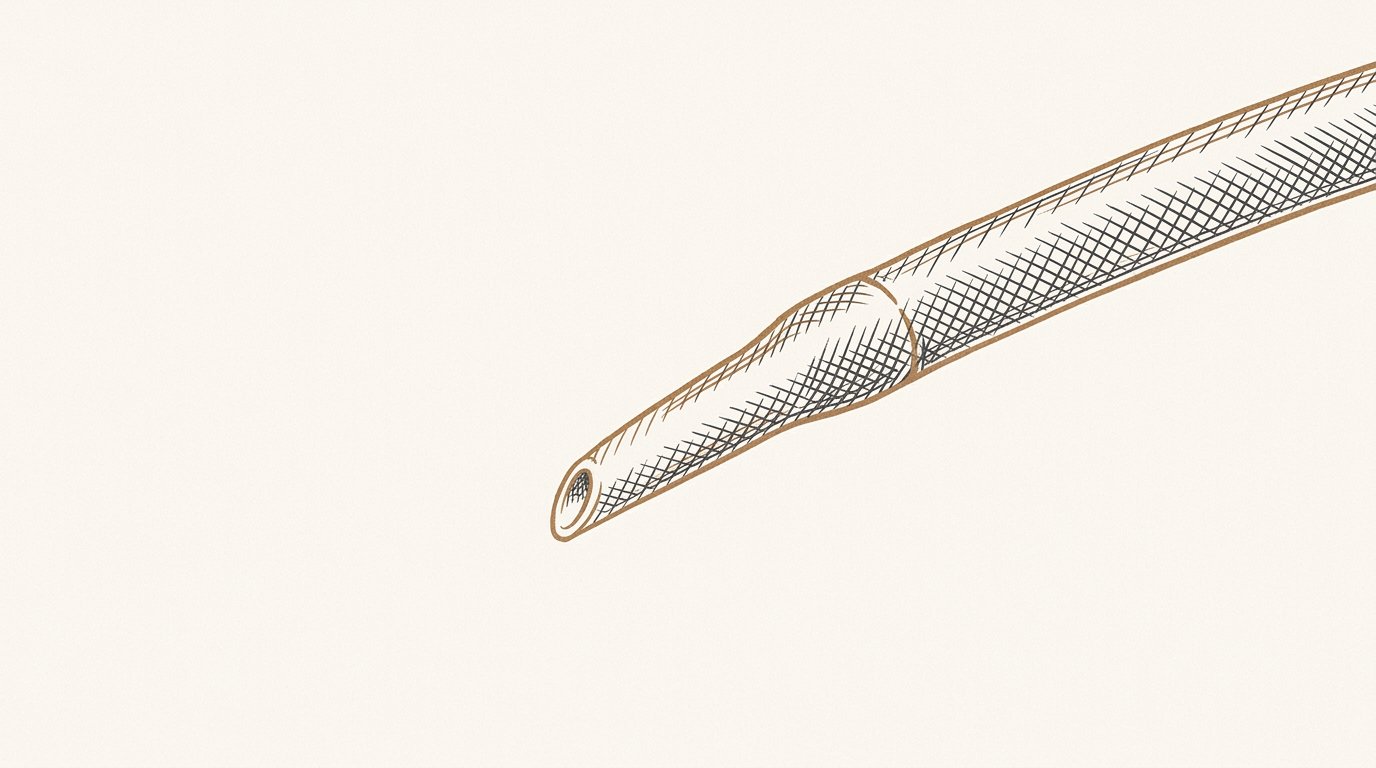
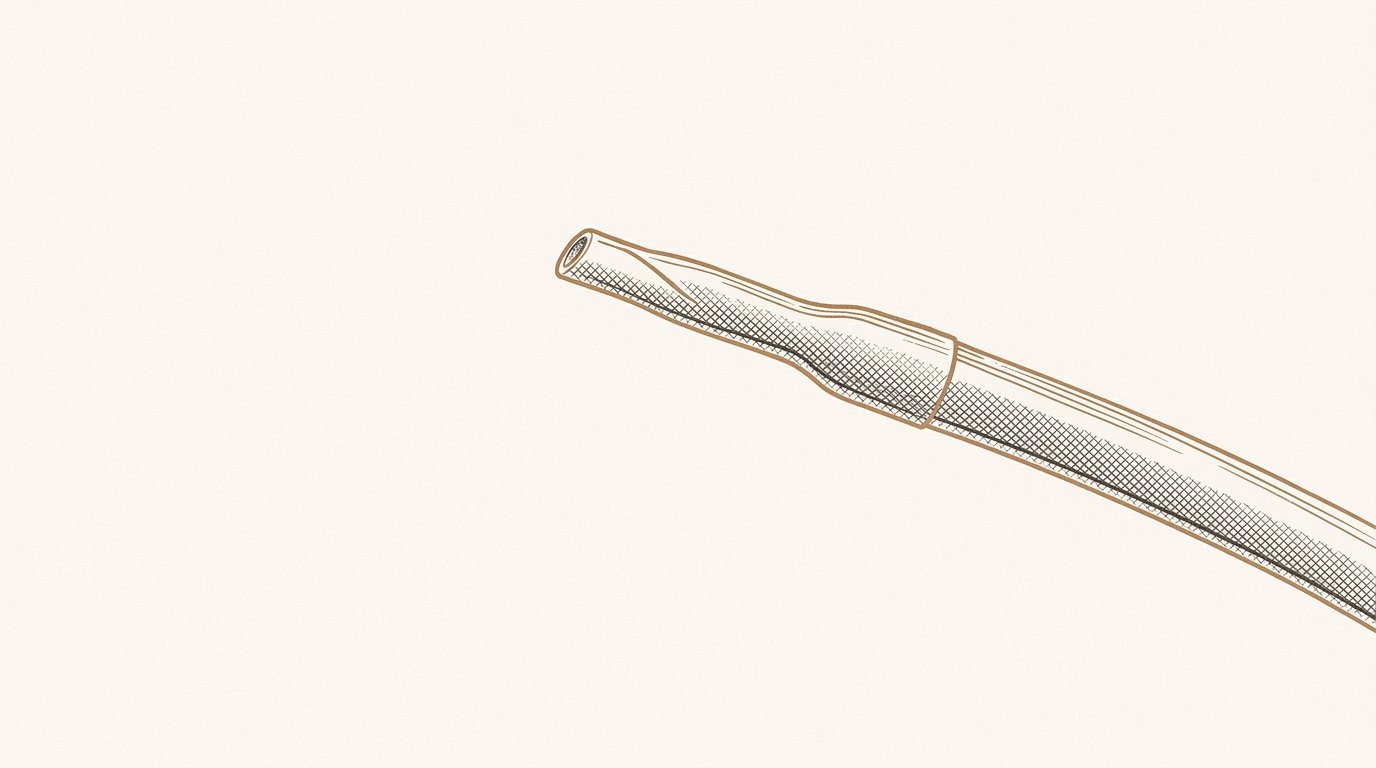
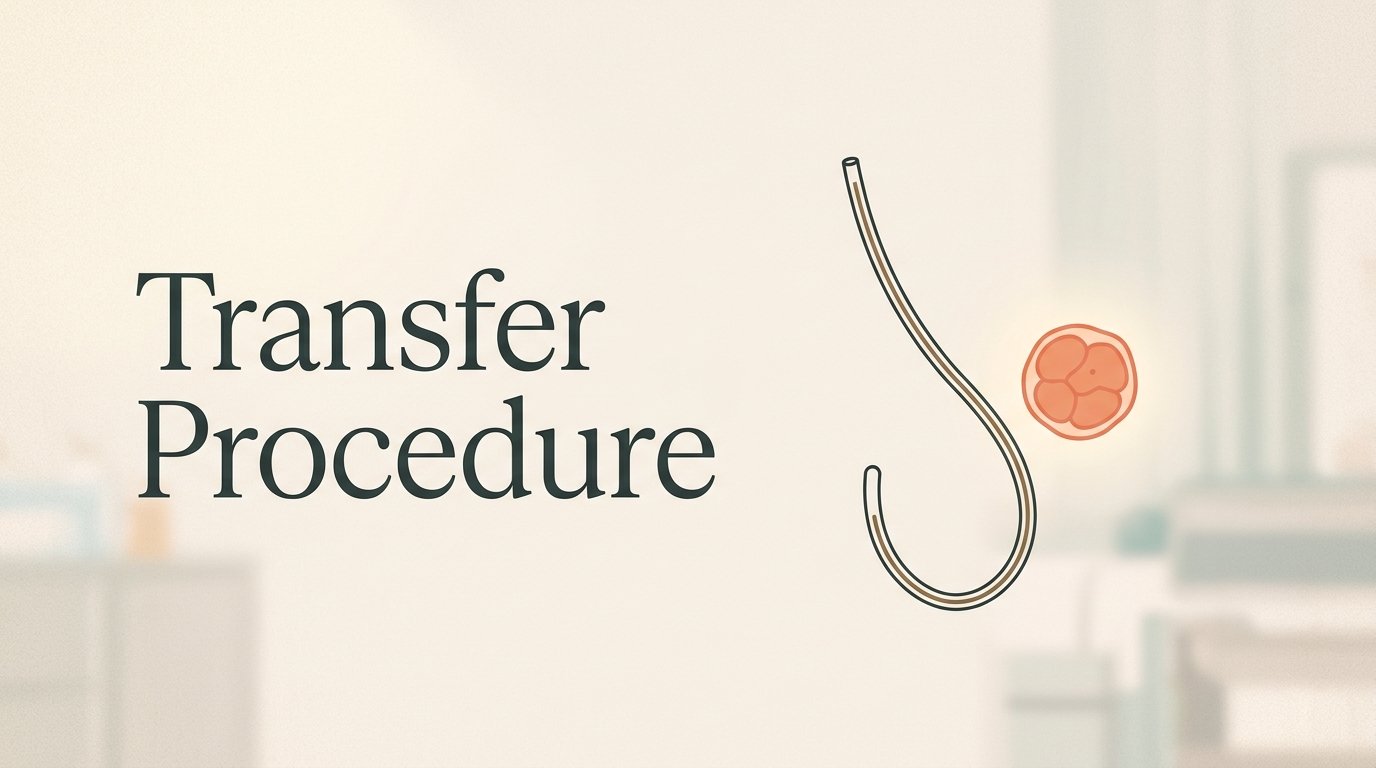
(transition beat — instrument detail before procedure begins)
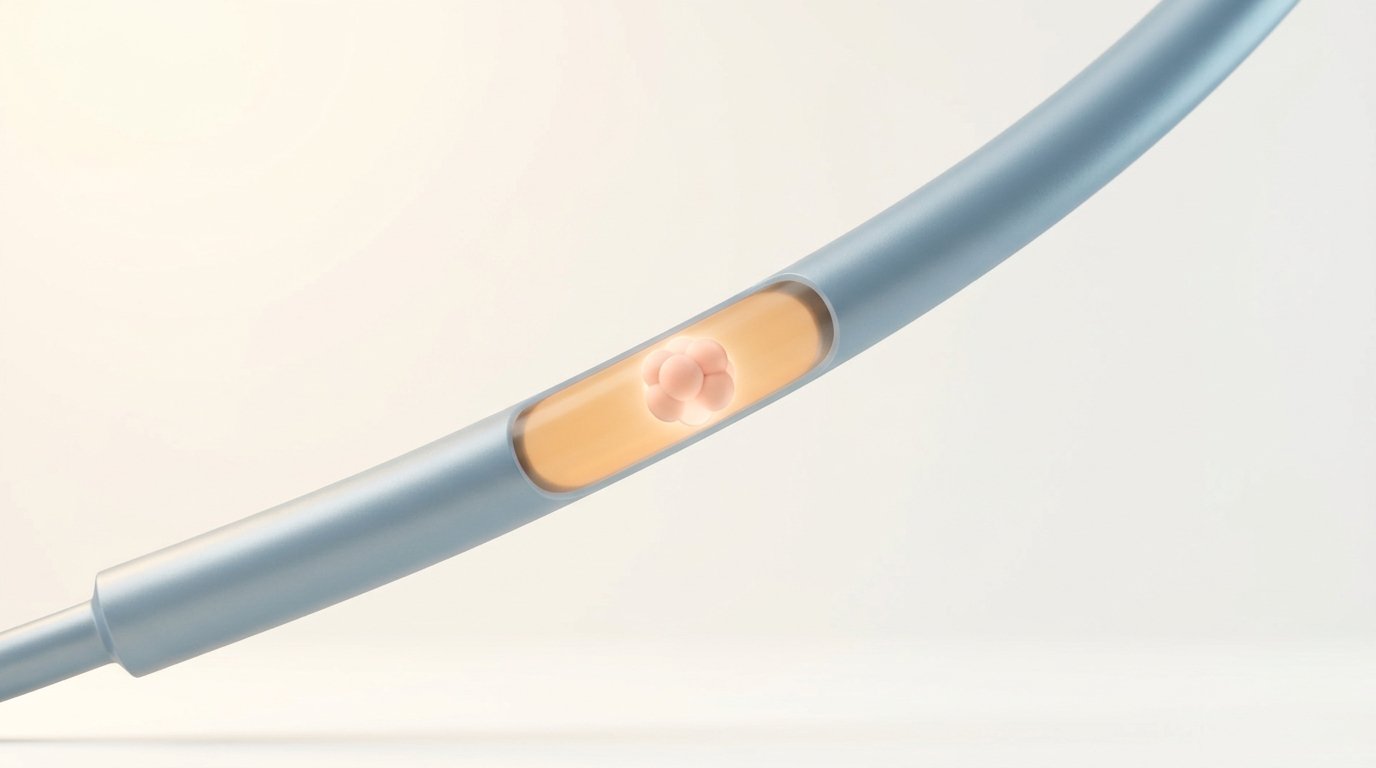
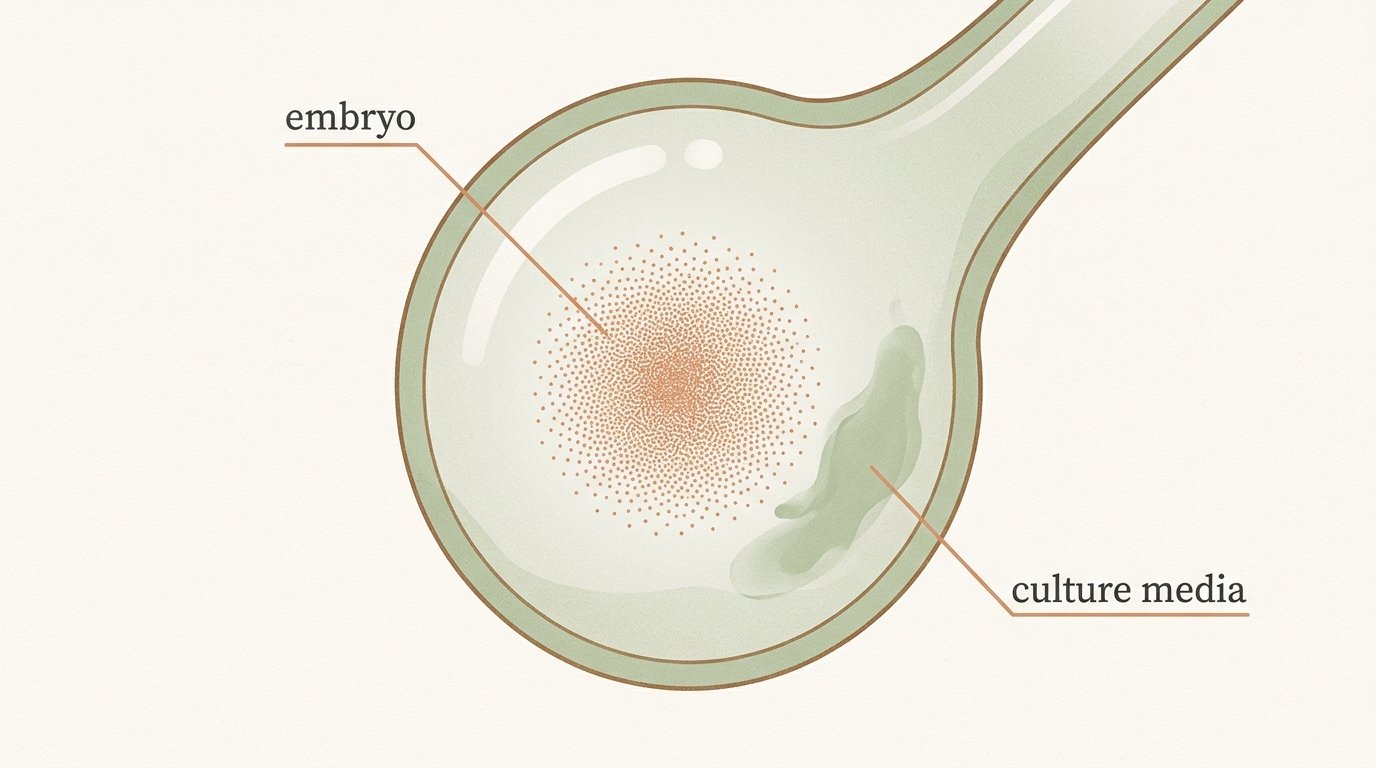
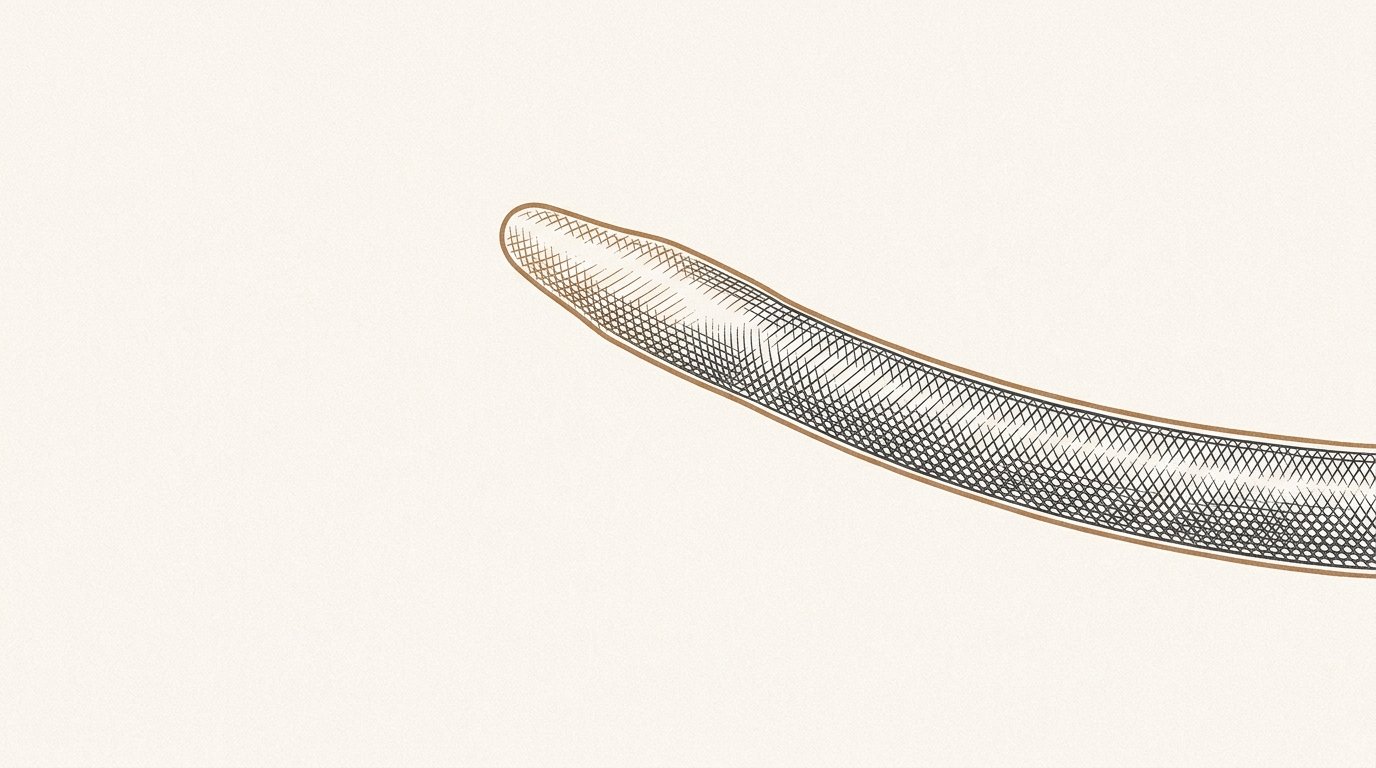
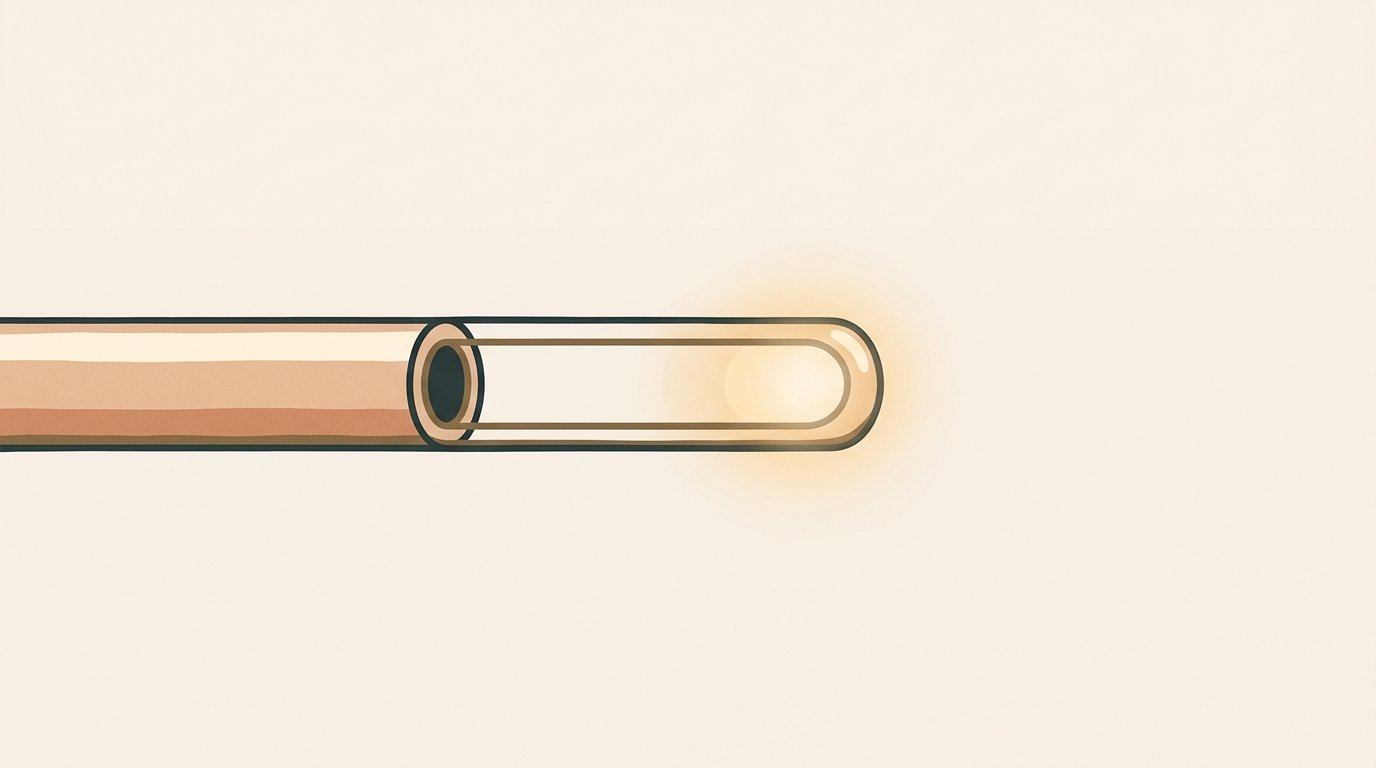
Extreme close-up of the catheter tip only — deliberately blunted, precise technical illustration, amber glow visible just behind the tip, pure stillness.
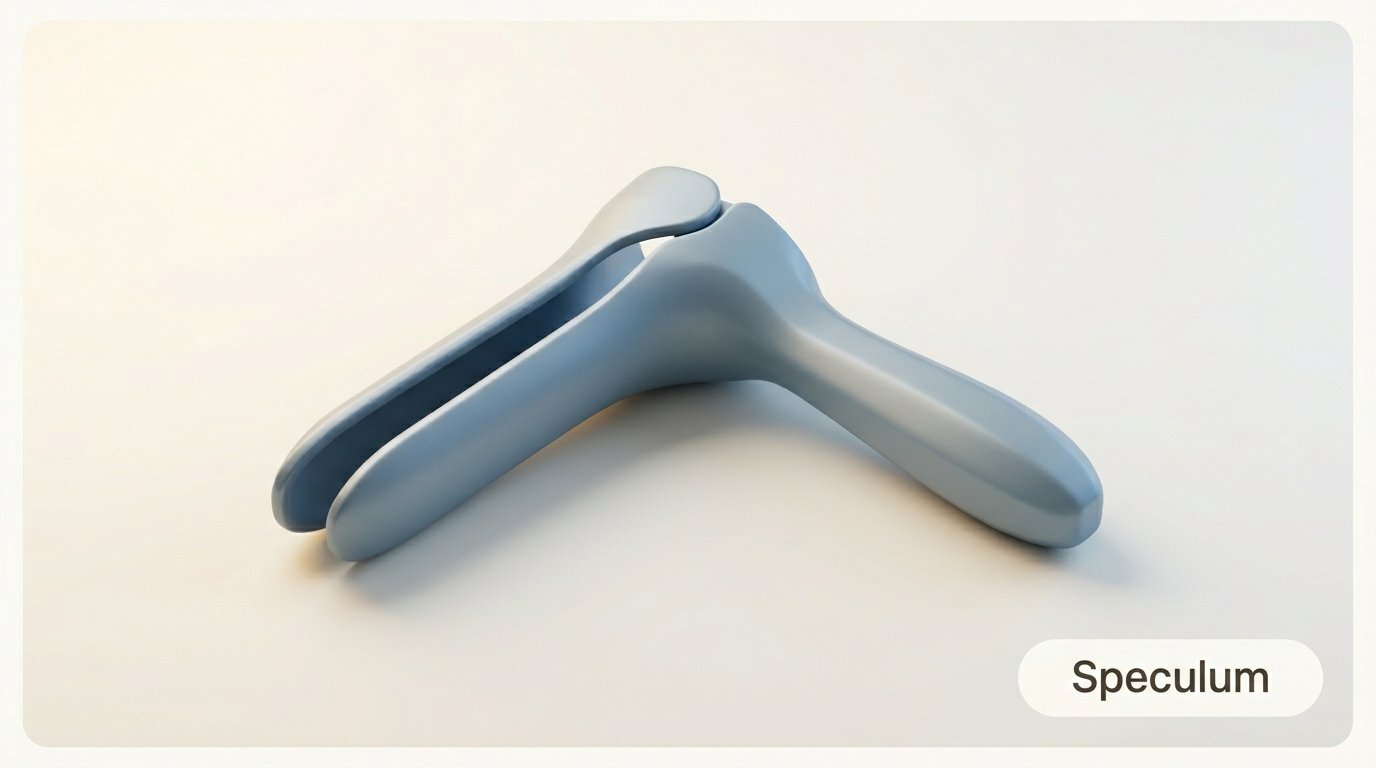
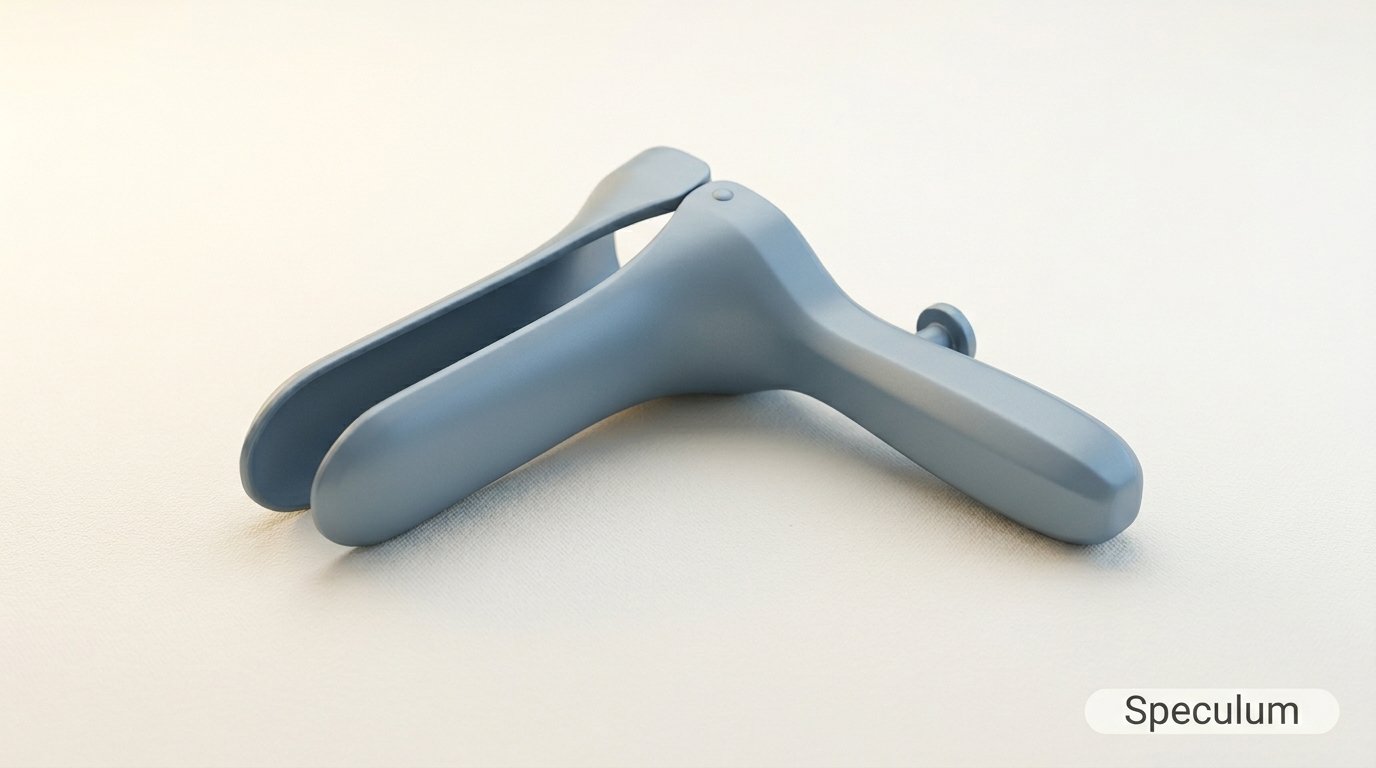
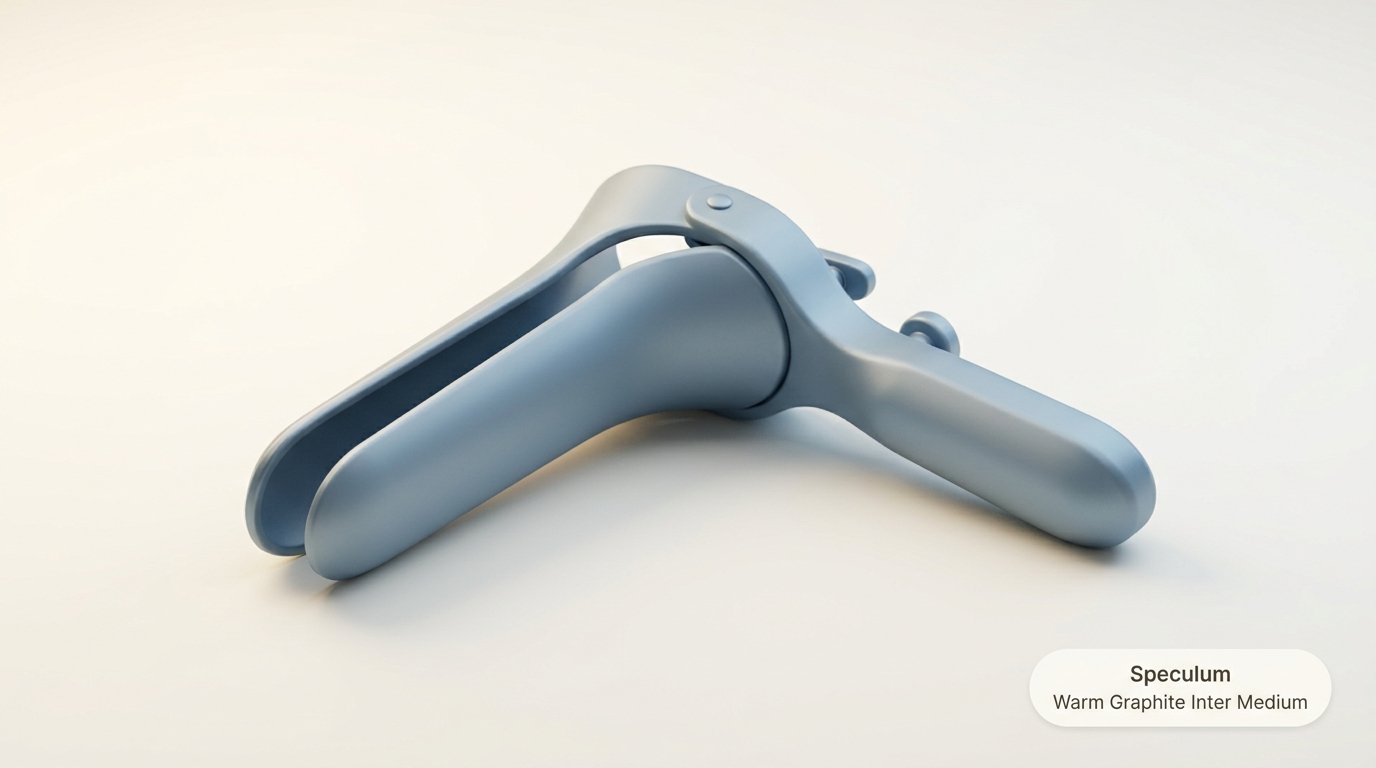
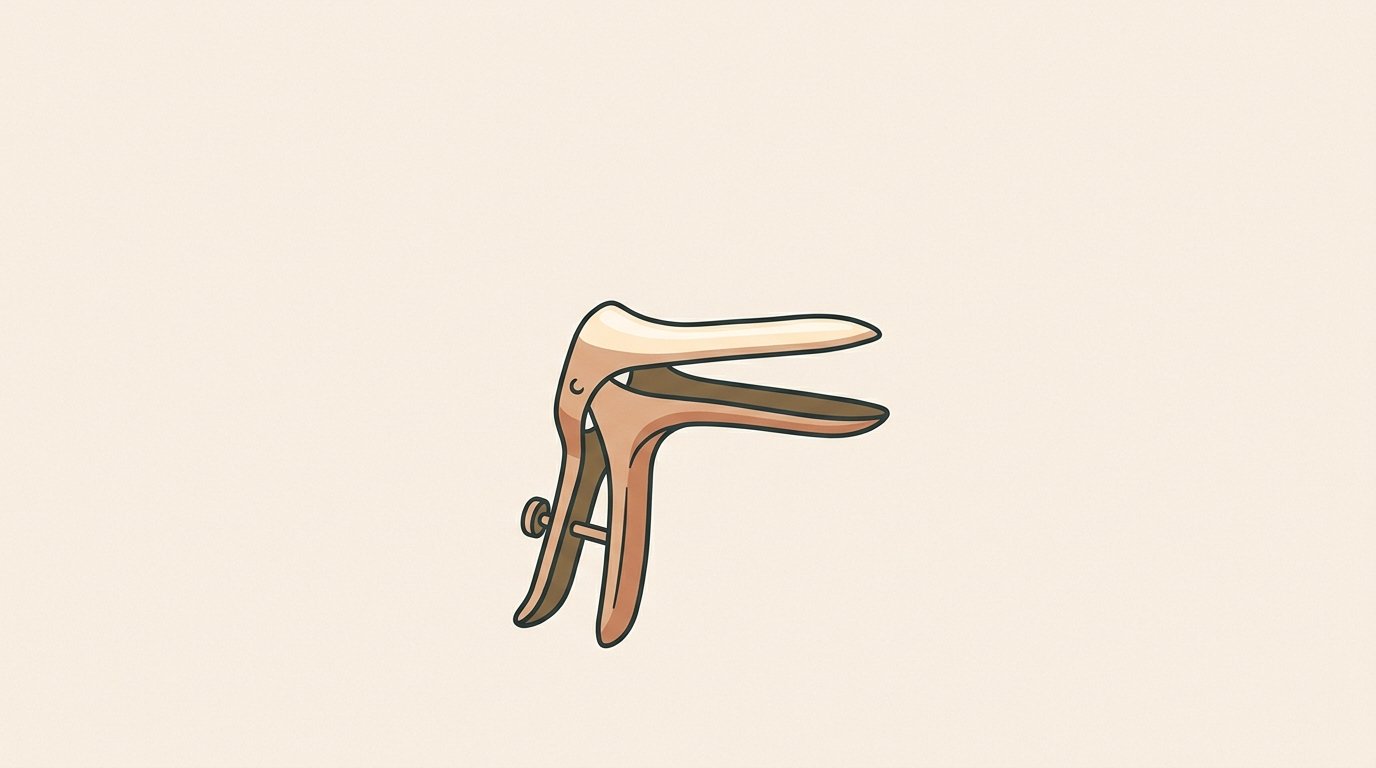
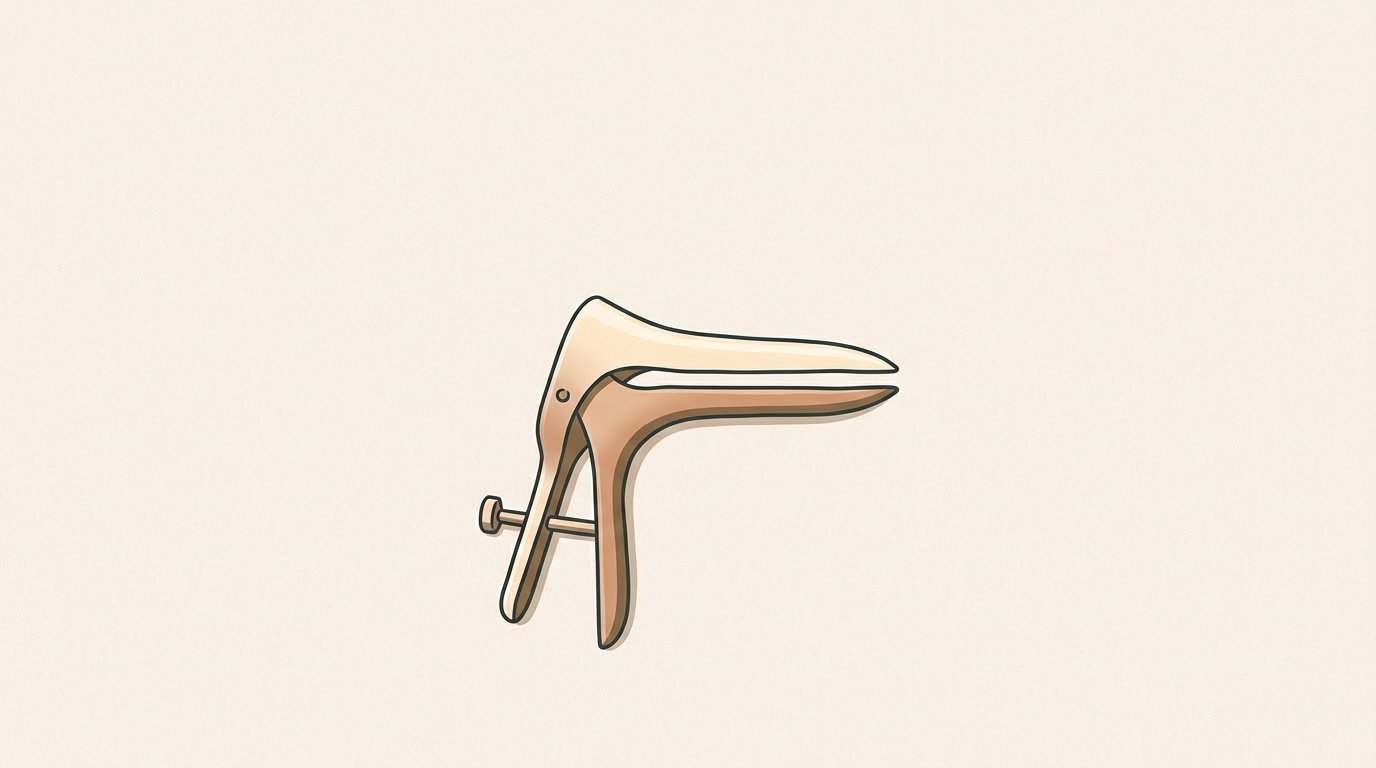
A speculum is placed into the vaginal canal to visualize the cervix.
One-second transitional beat — speculum shown as instrument among instruments, small, floating in generous negative space, handled with clinical discretion.


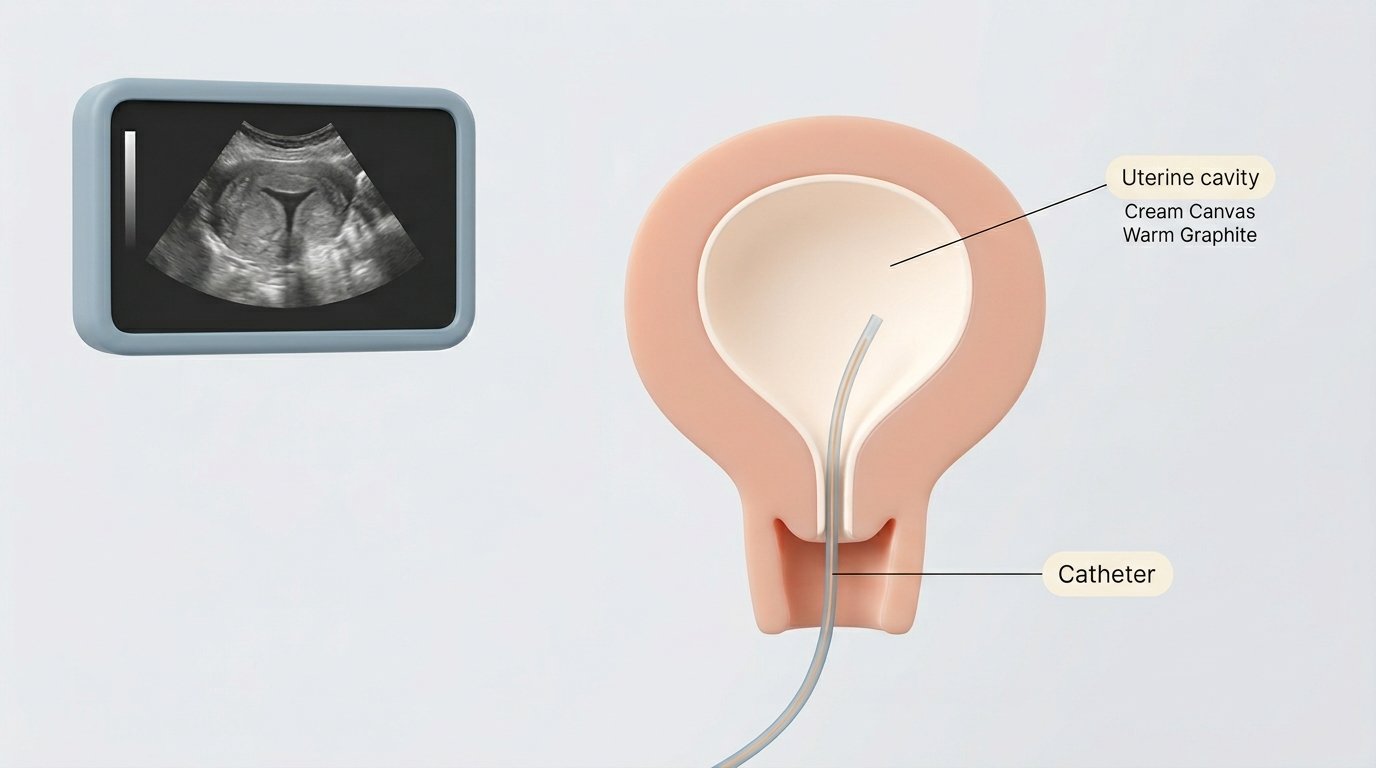
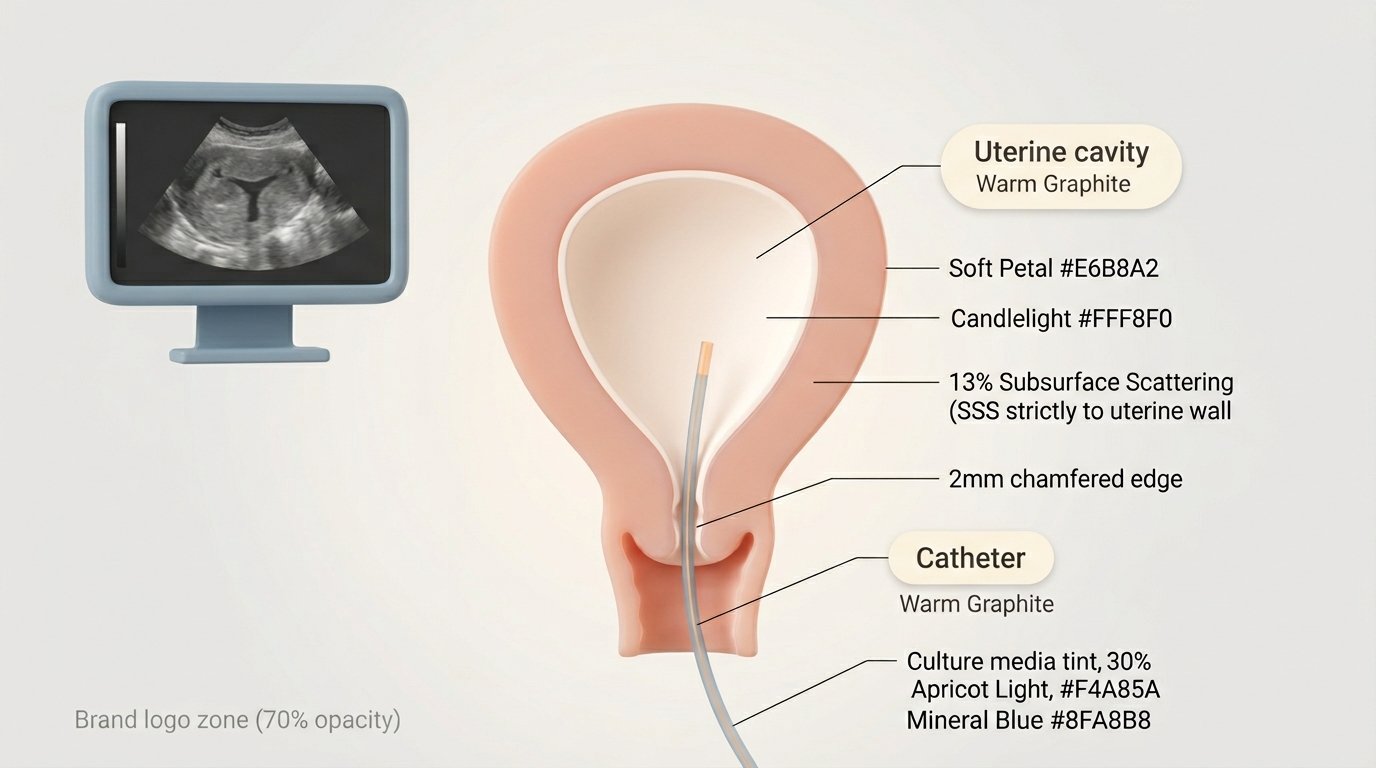
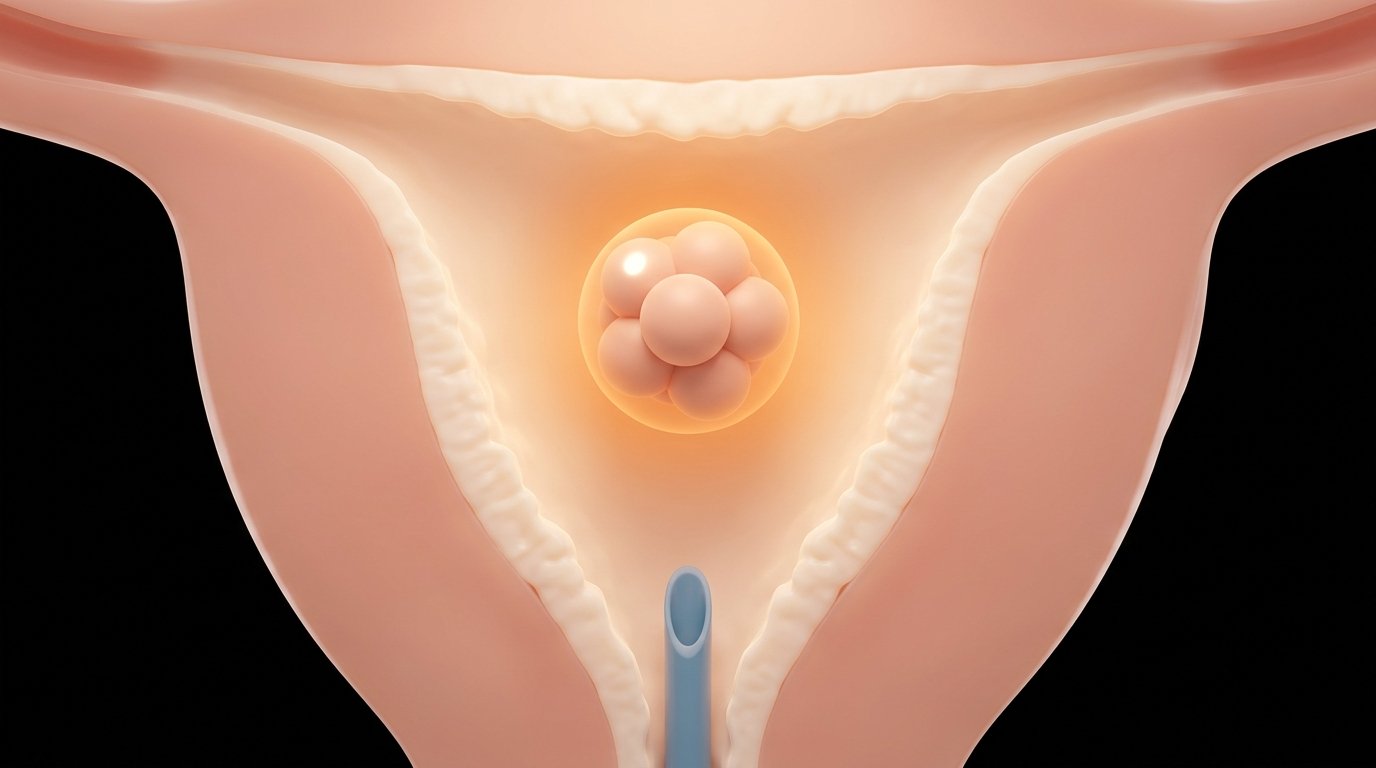
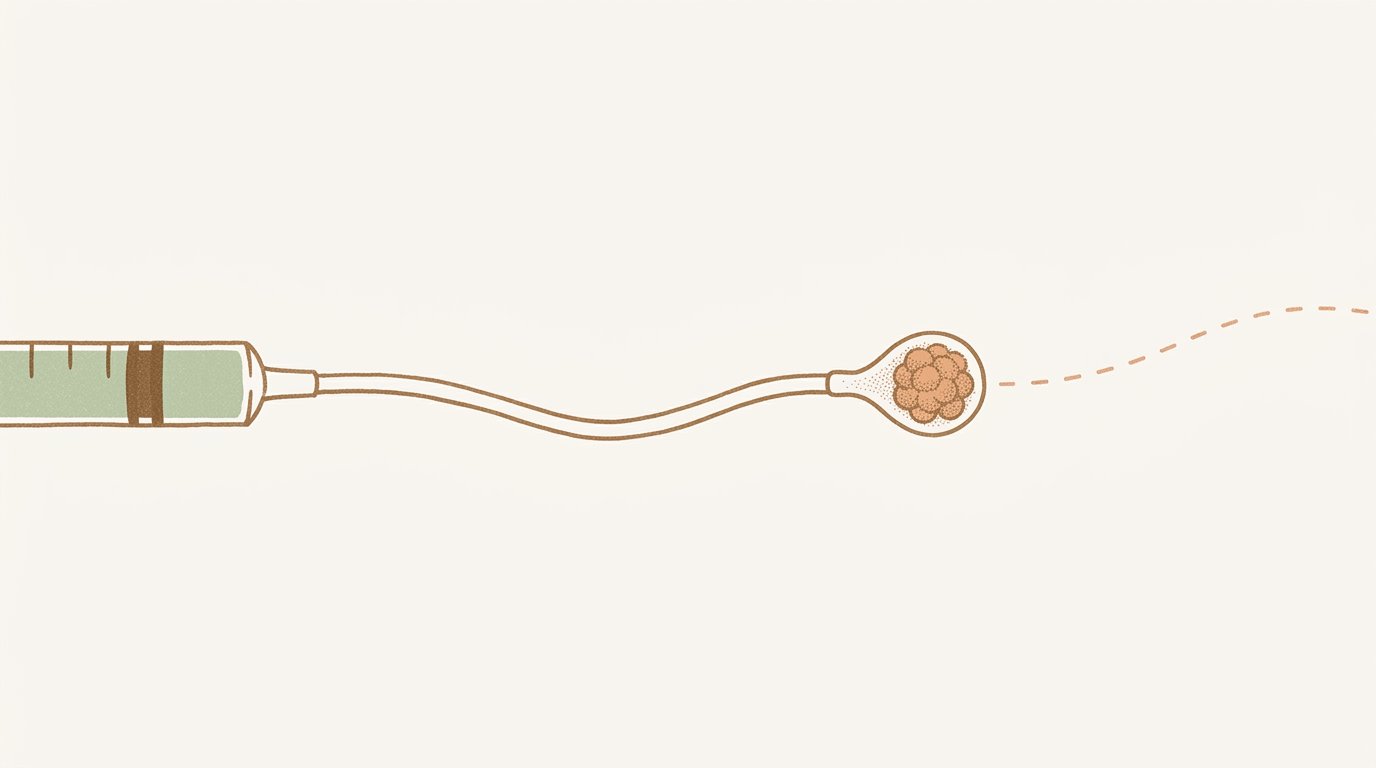
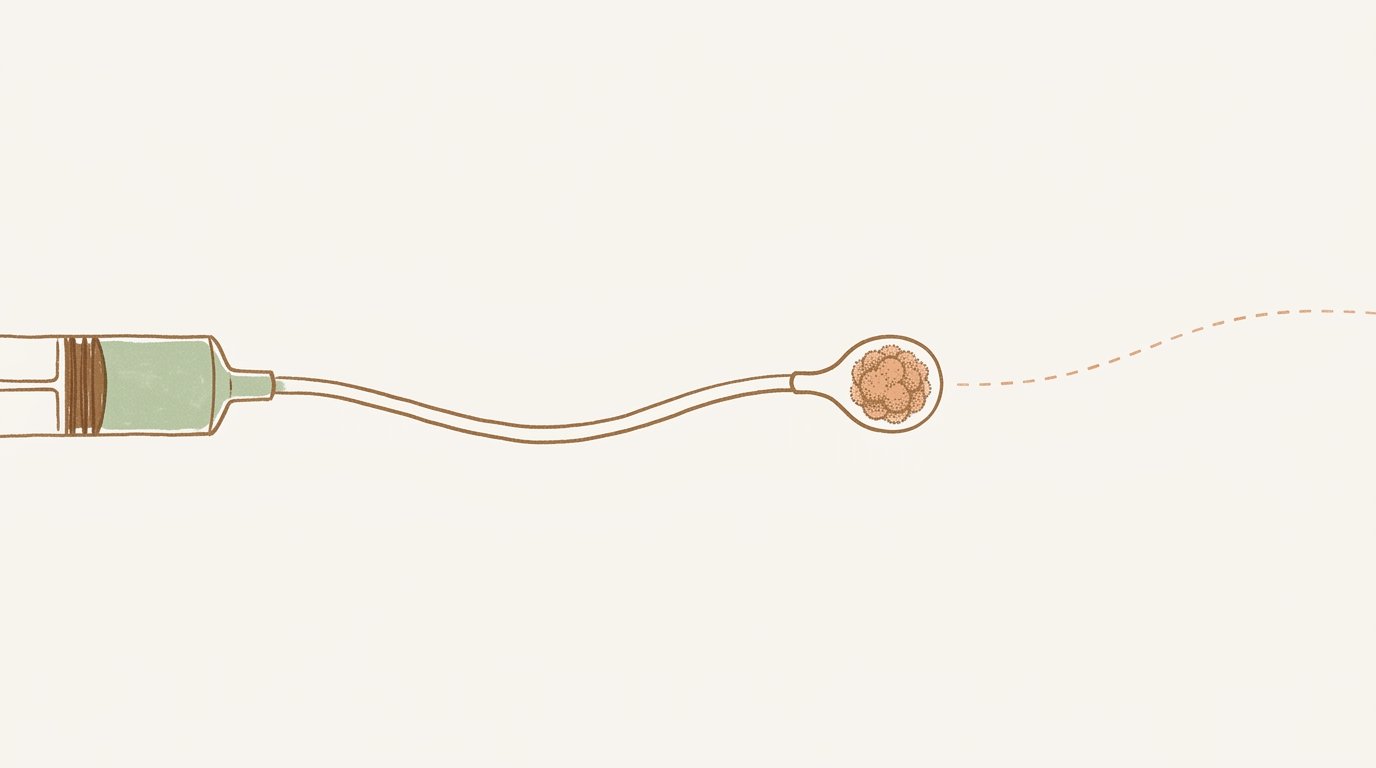
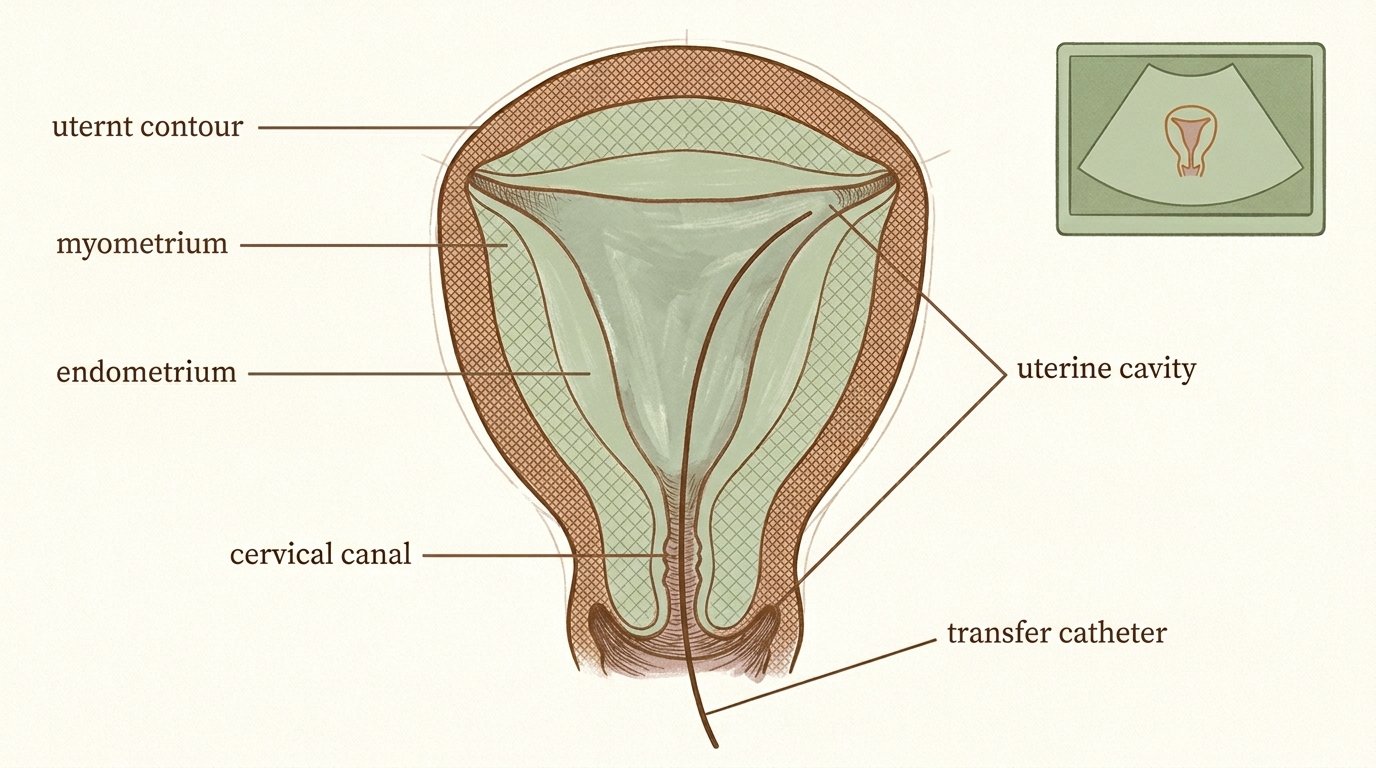
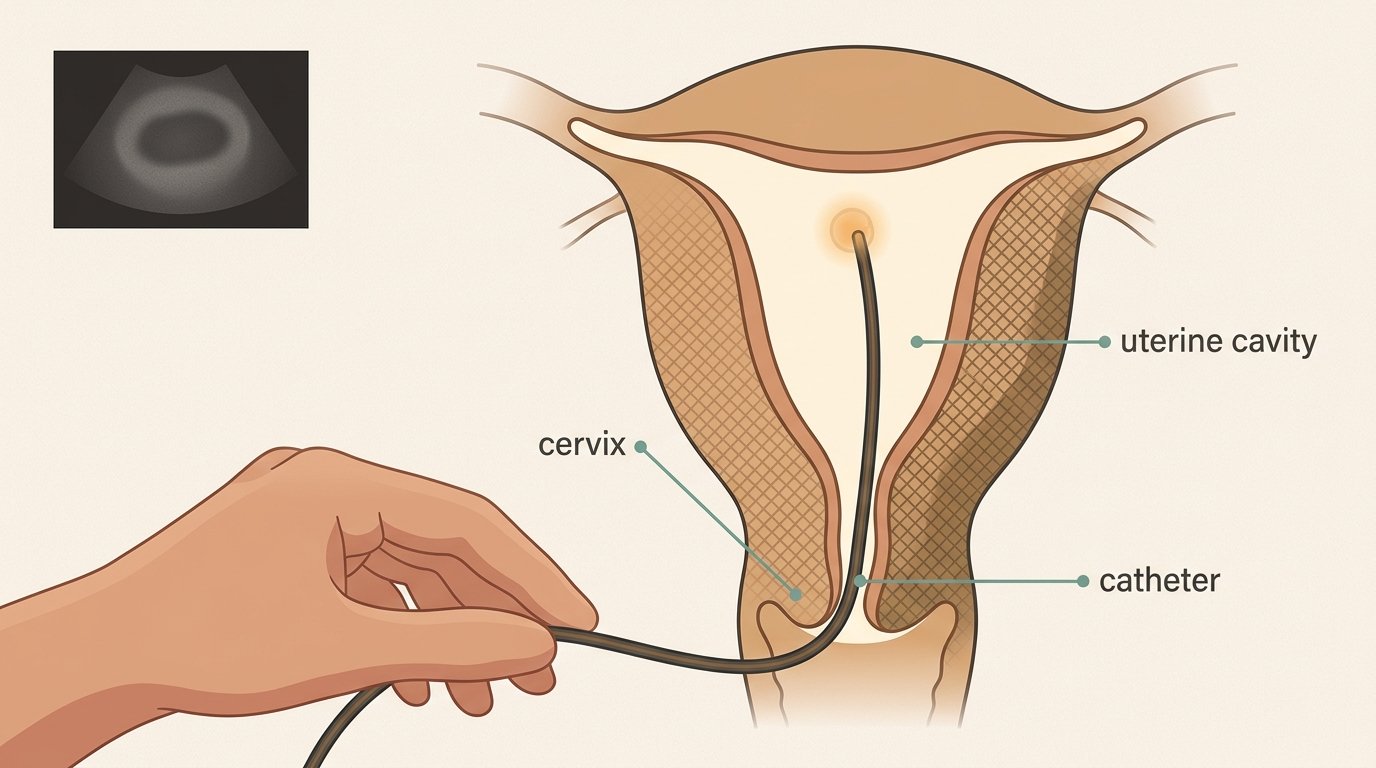
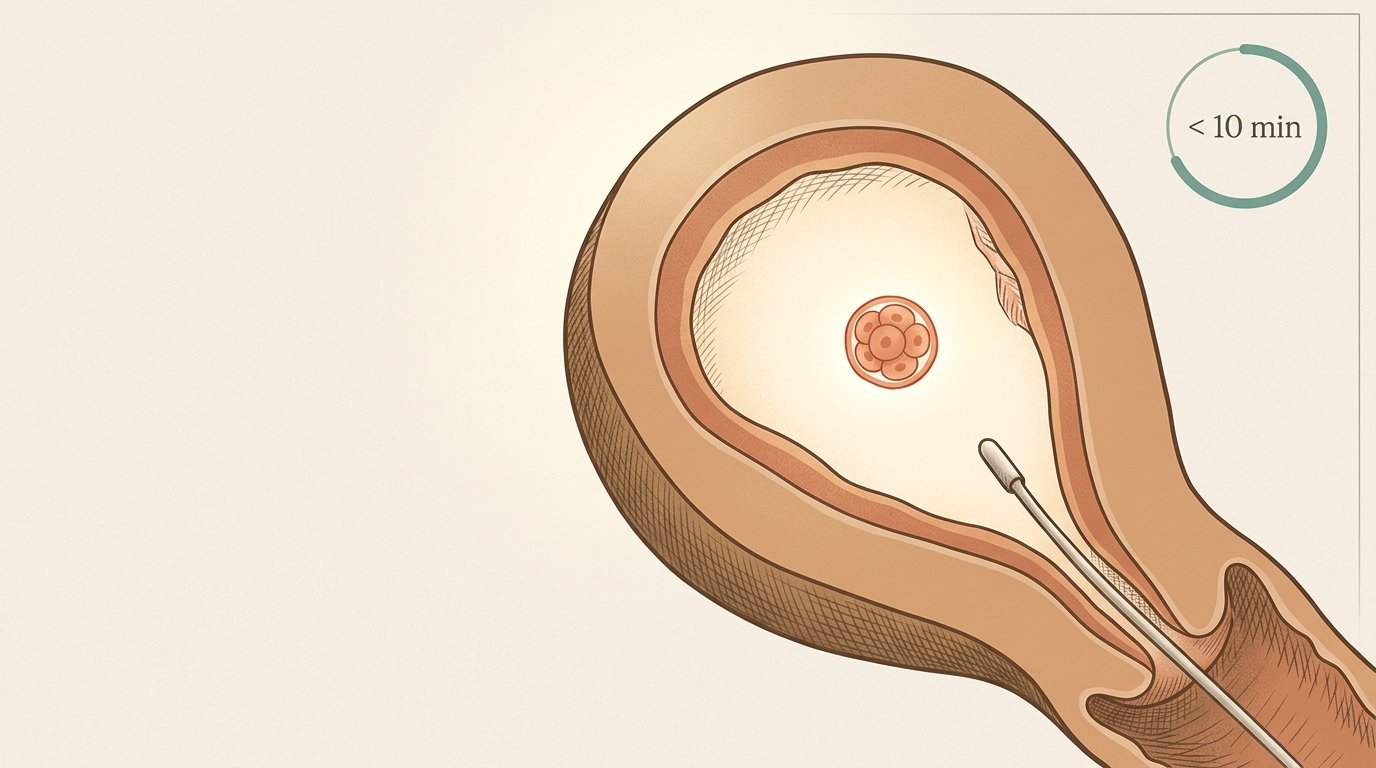
The clinician then threads the catheter through the cervix and into the upper portion of the uterus, often with guidance from an abdominal ultrasound.
The procedural climax — full uterus cross-section at generous scale, catheter threading through cervix into fundal region, ultrasound inset at upper-left, embryologist hand at foreground lower-left, three callout labels.
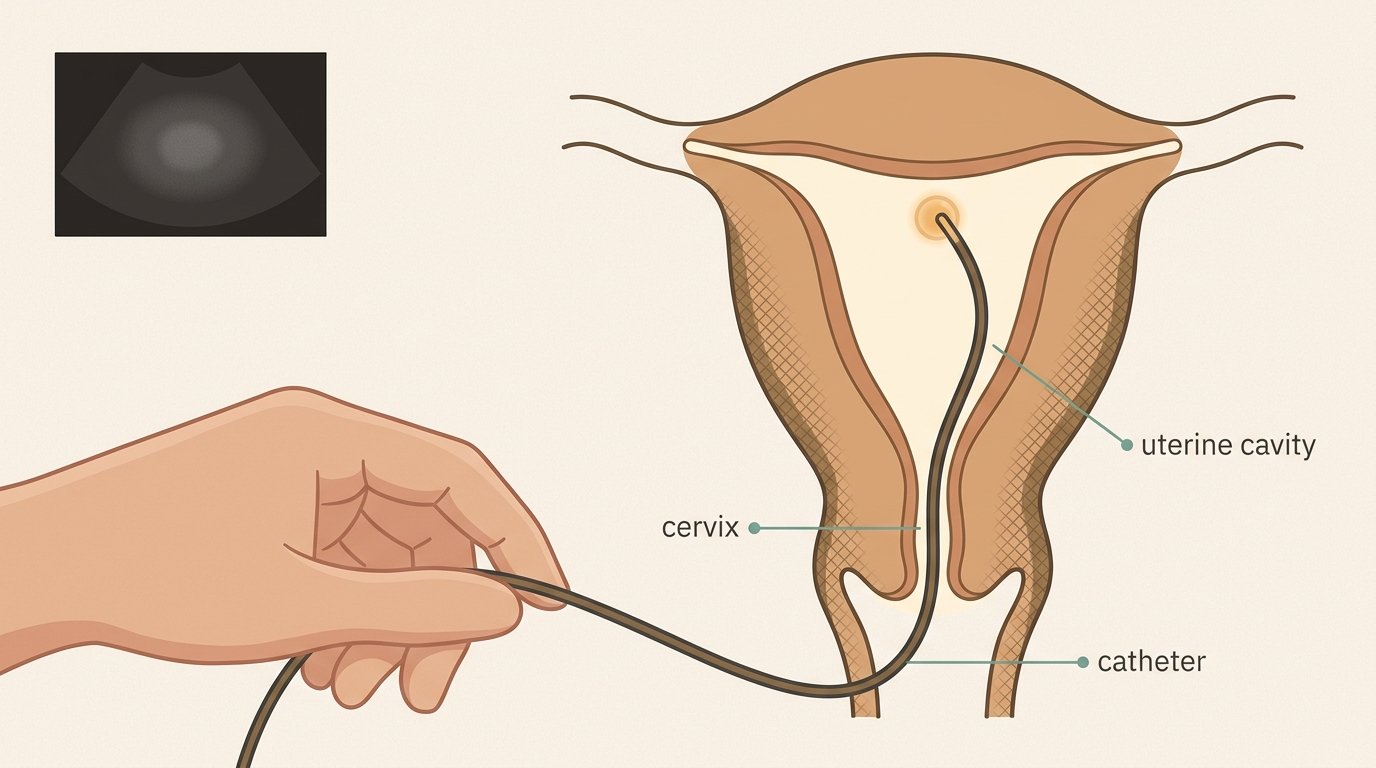
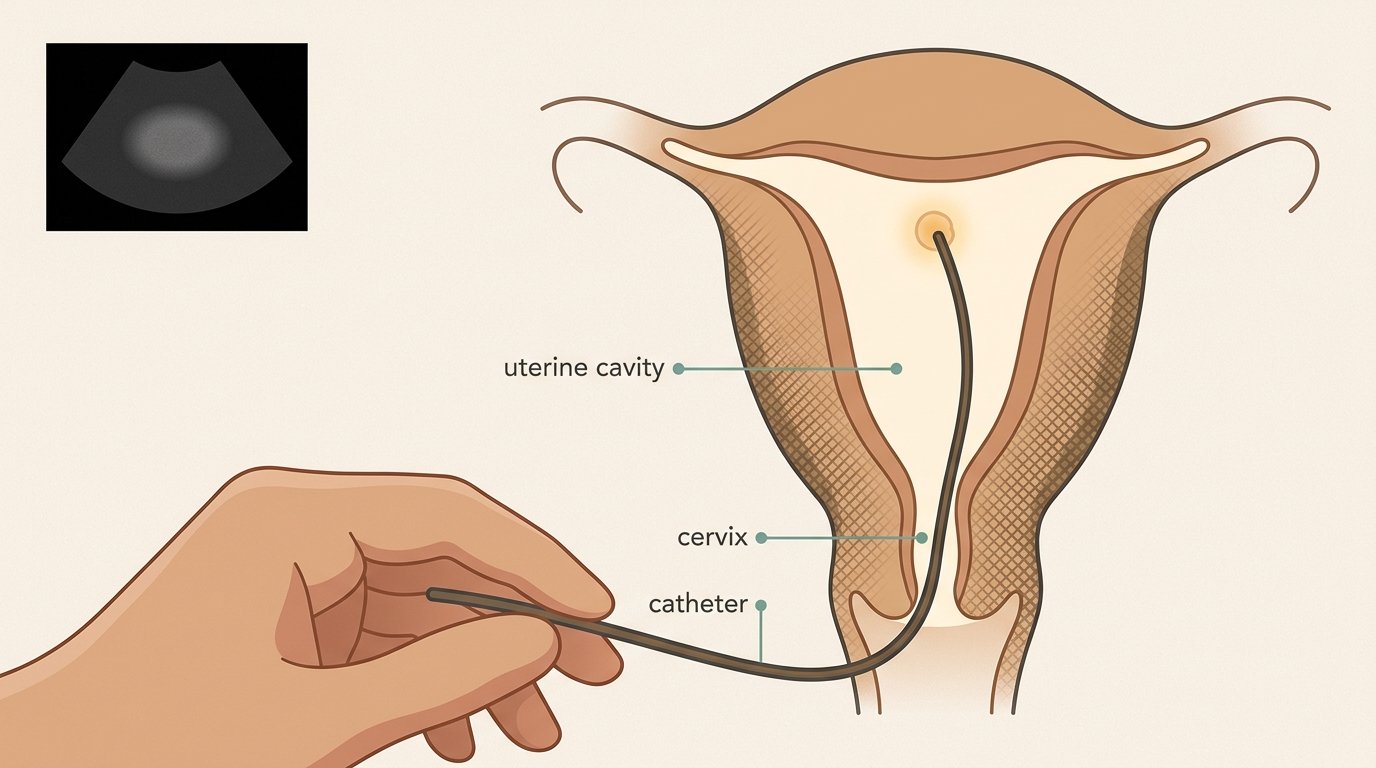
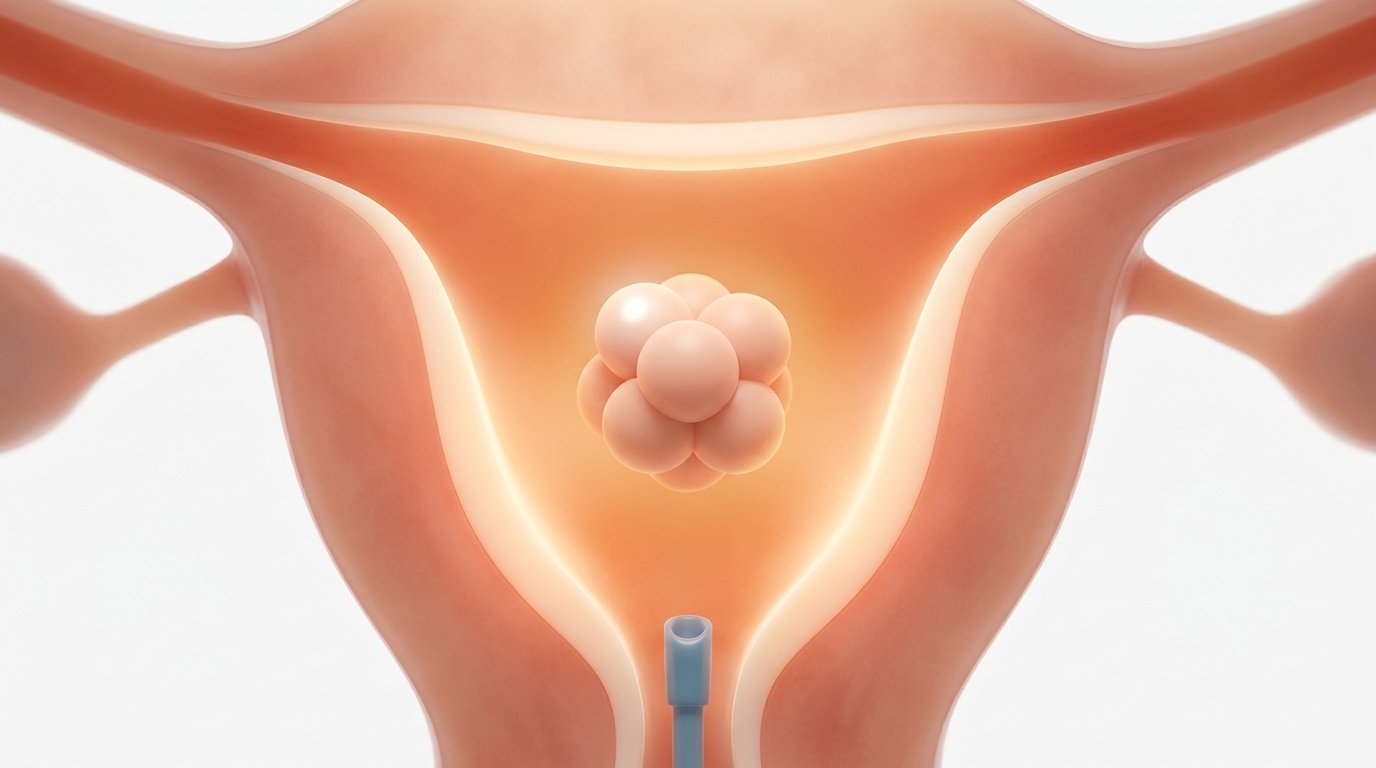
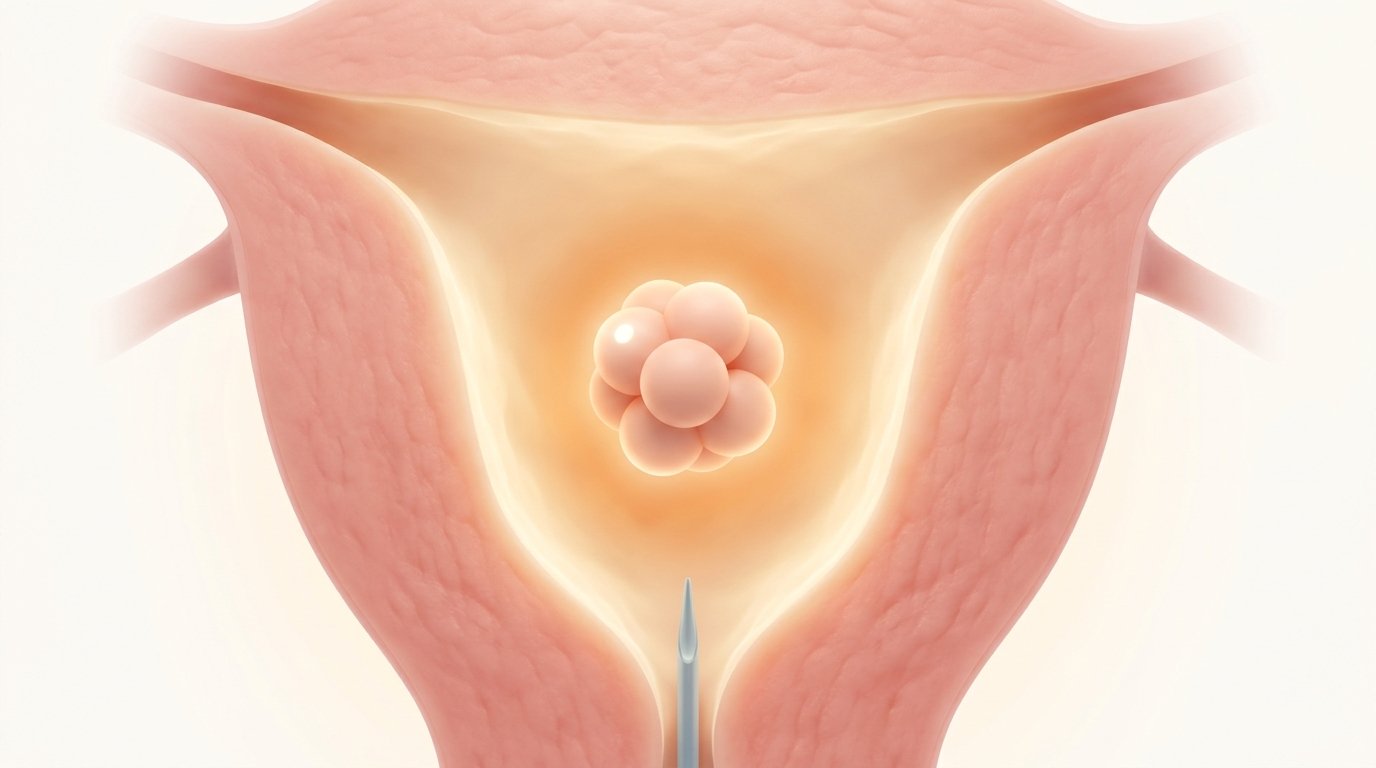
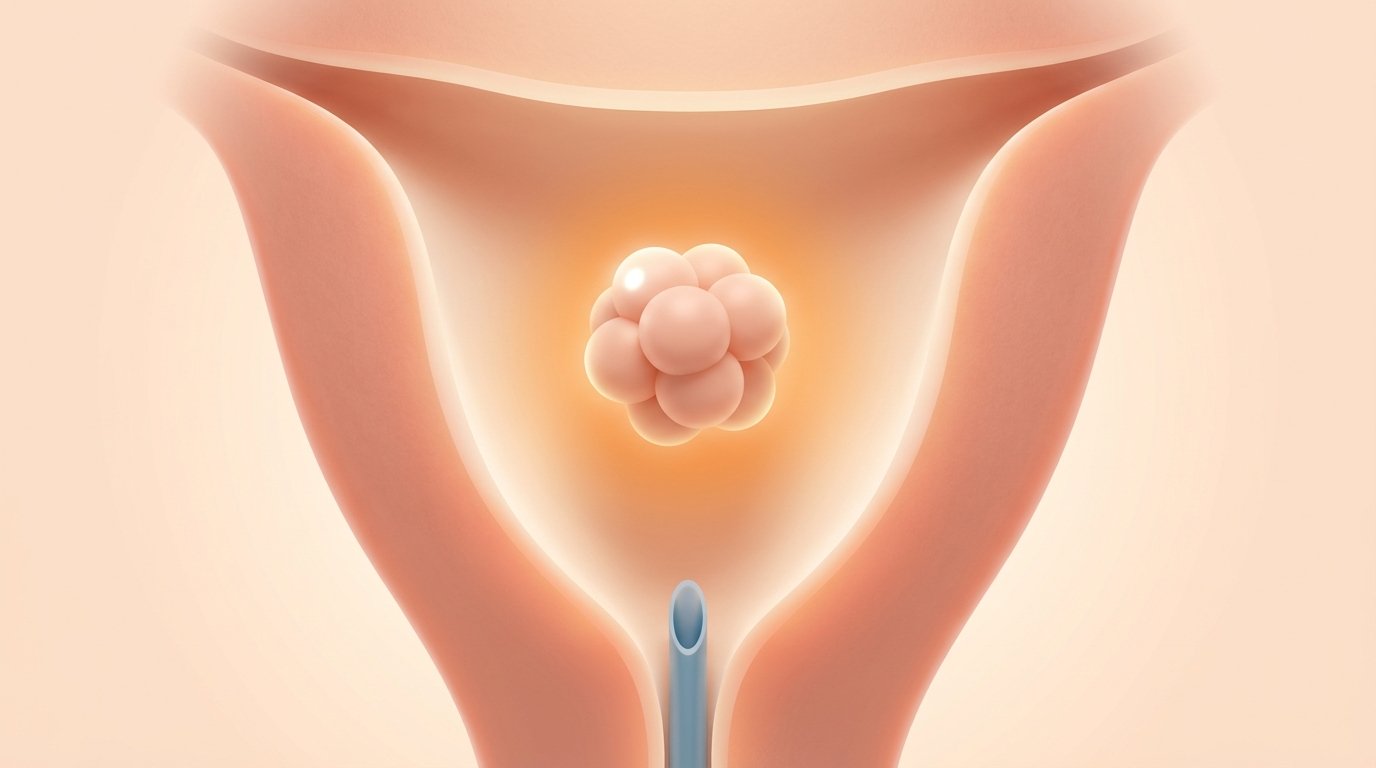
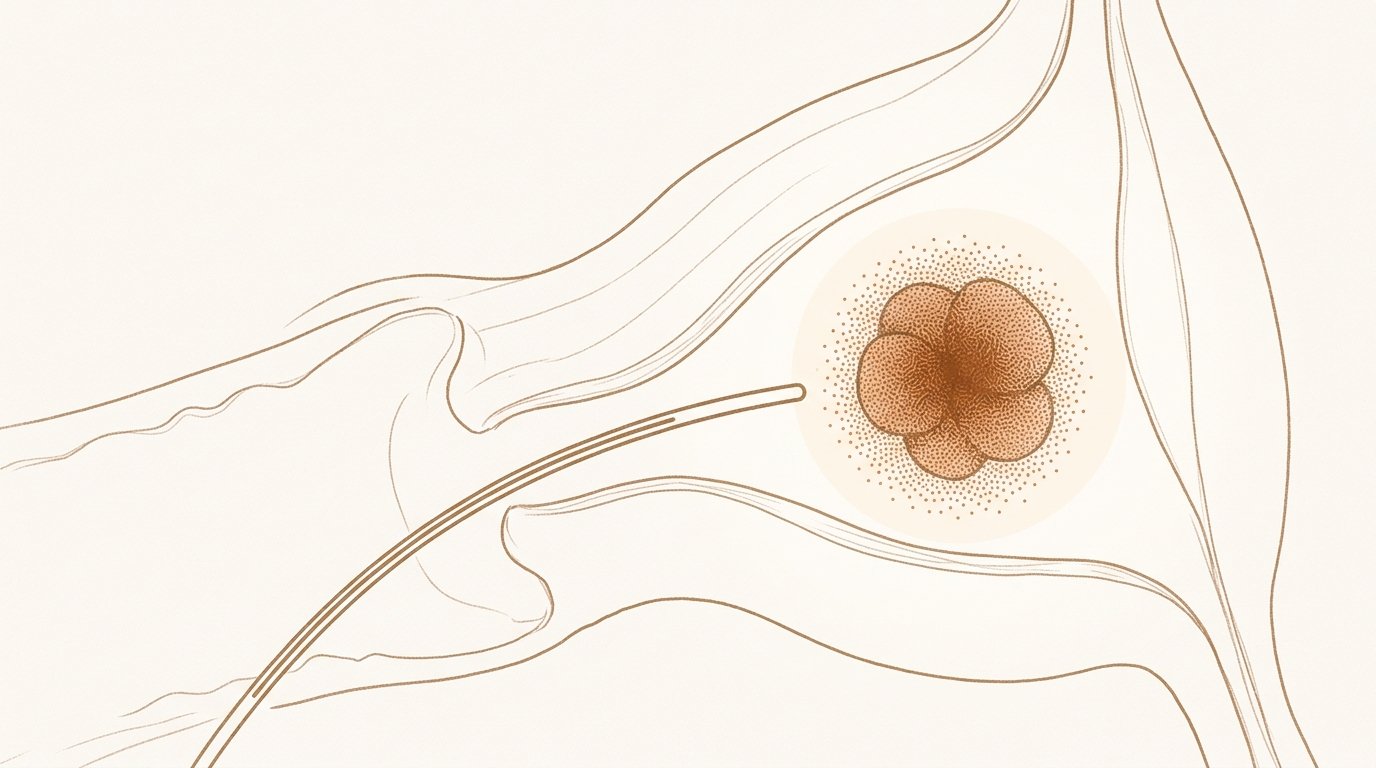
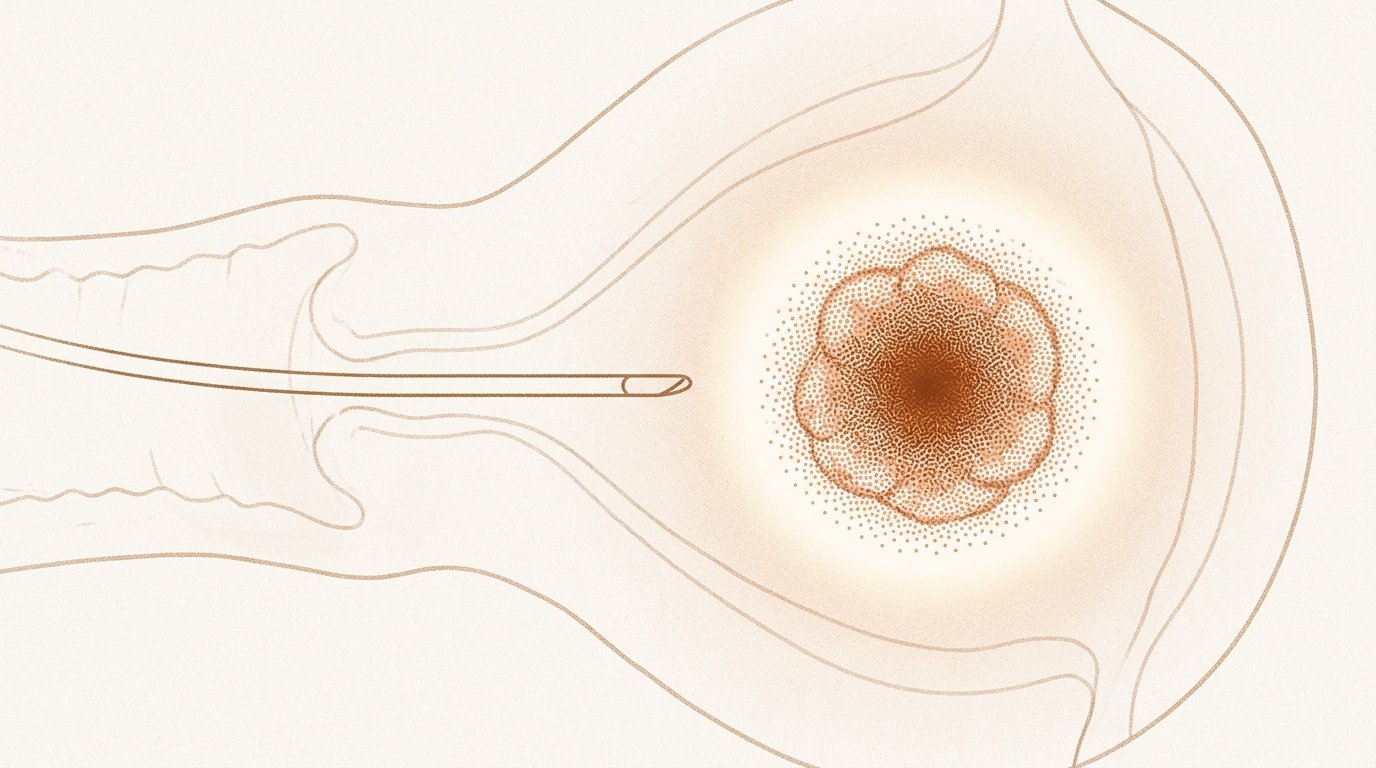
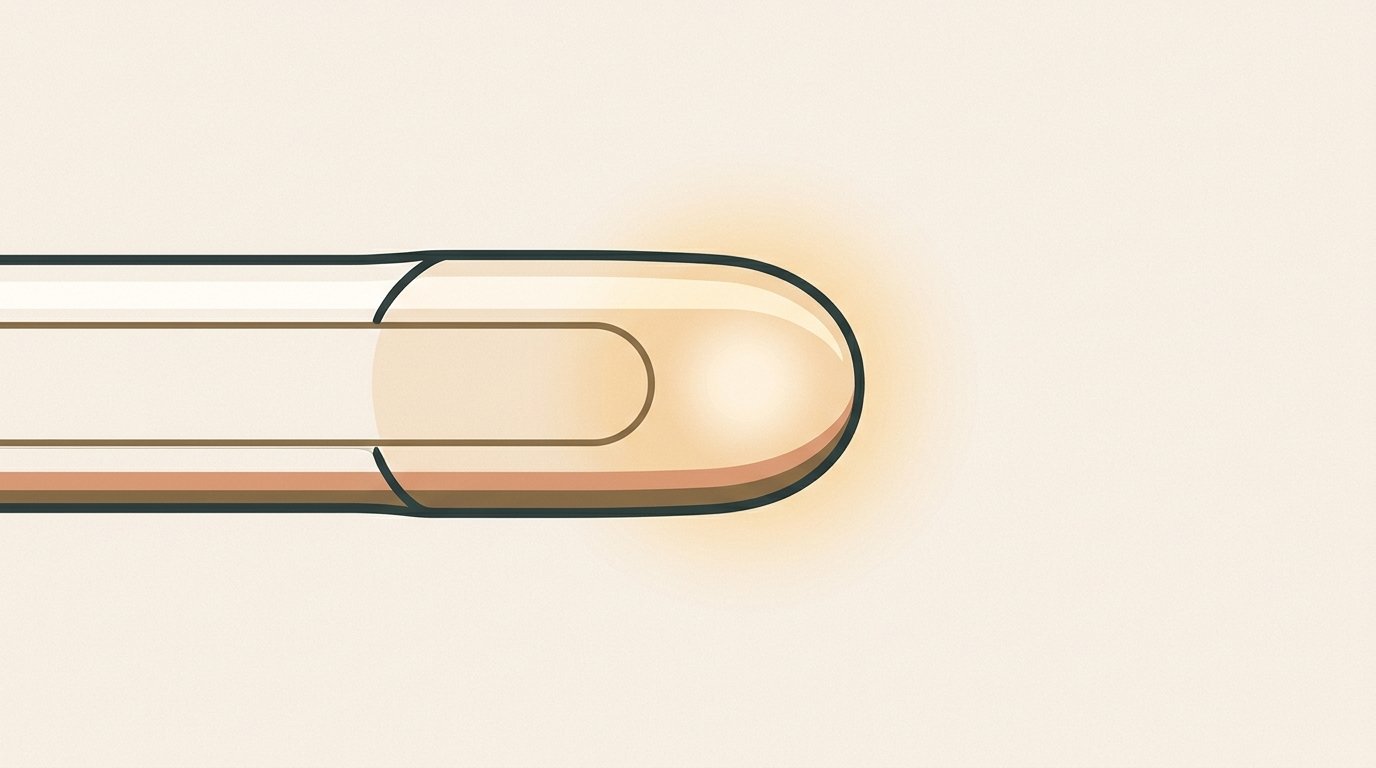
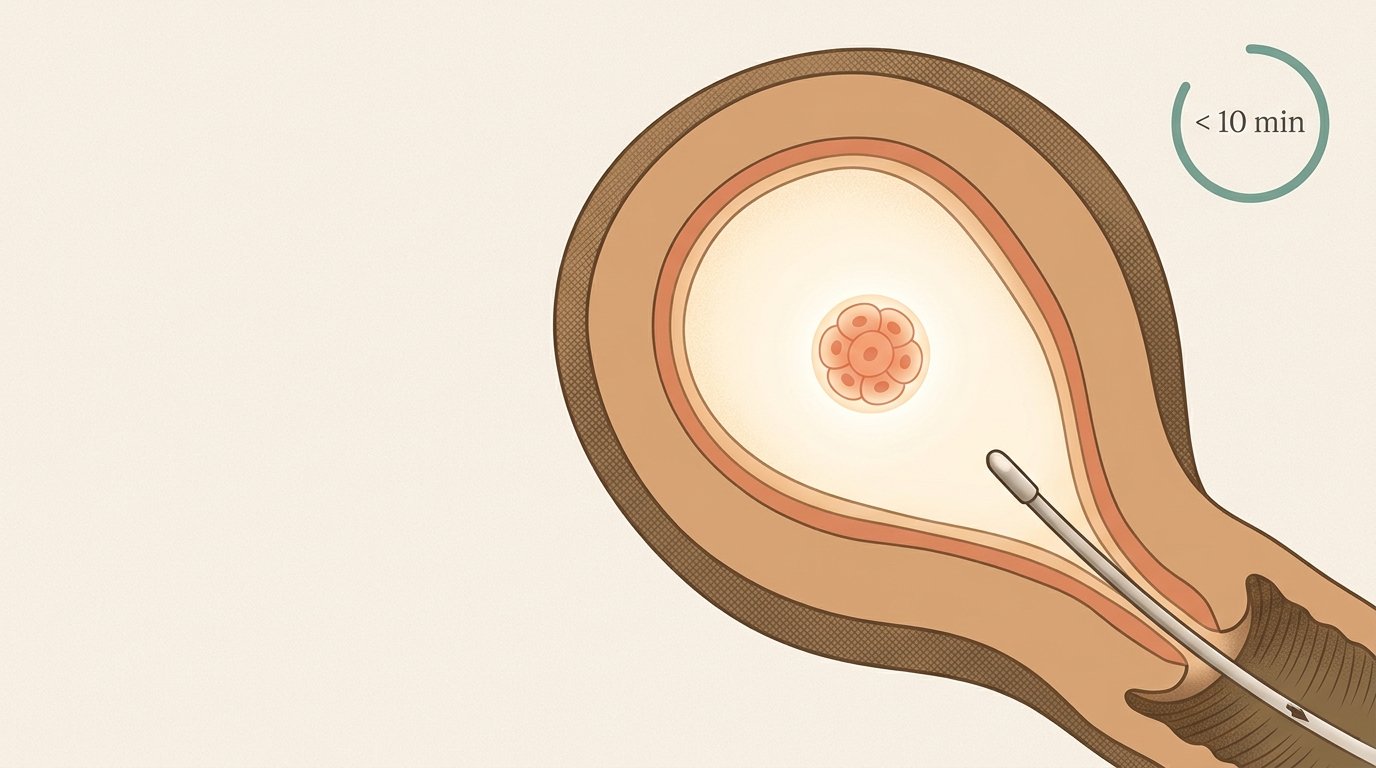
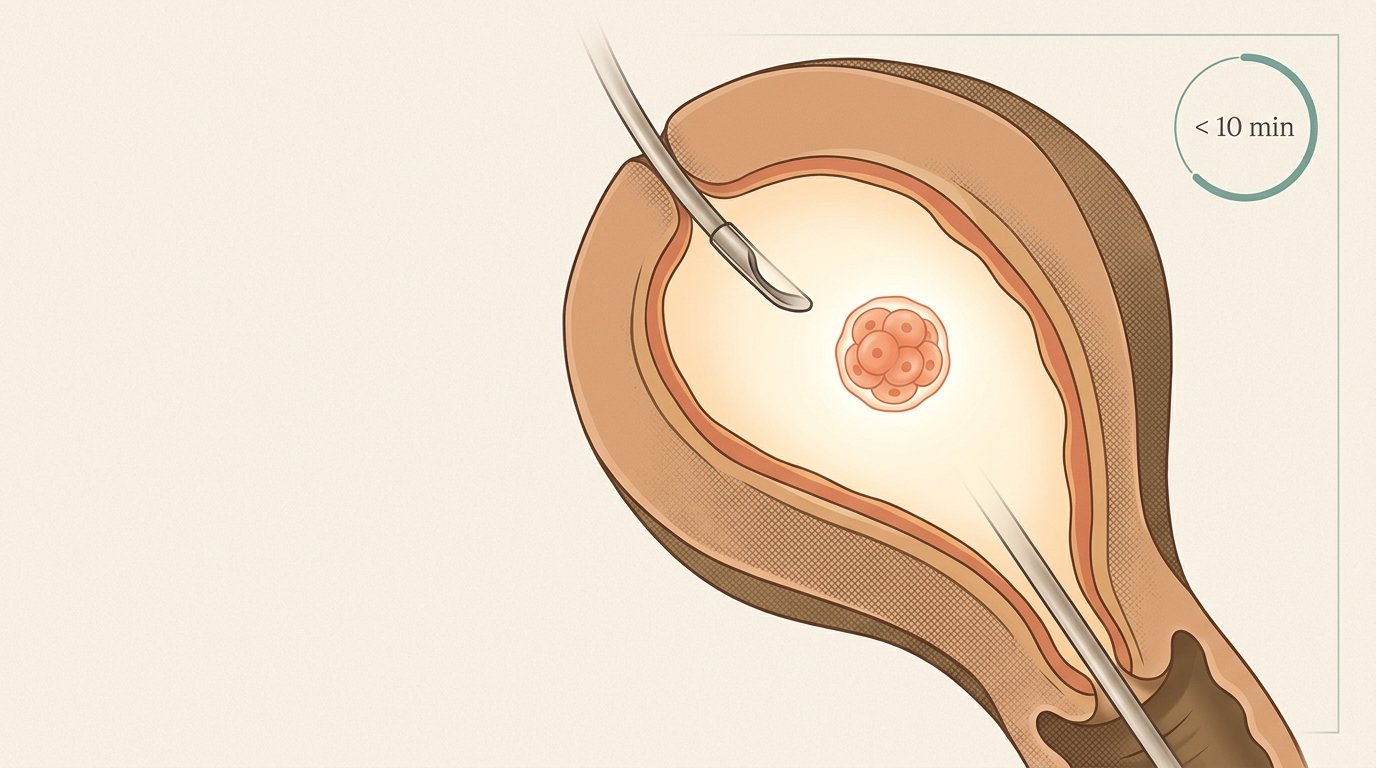
Then the embryo is released into the uterine cavity for implantation. The procedure typically takes less than 10 minutes.
The emotional peak — embryo releases from catheter tip and floats free in the luminous uterine cavity; catheter retreats; time motif arc appears; no hands in frame.

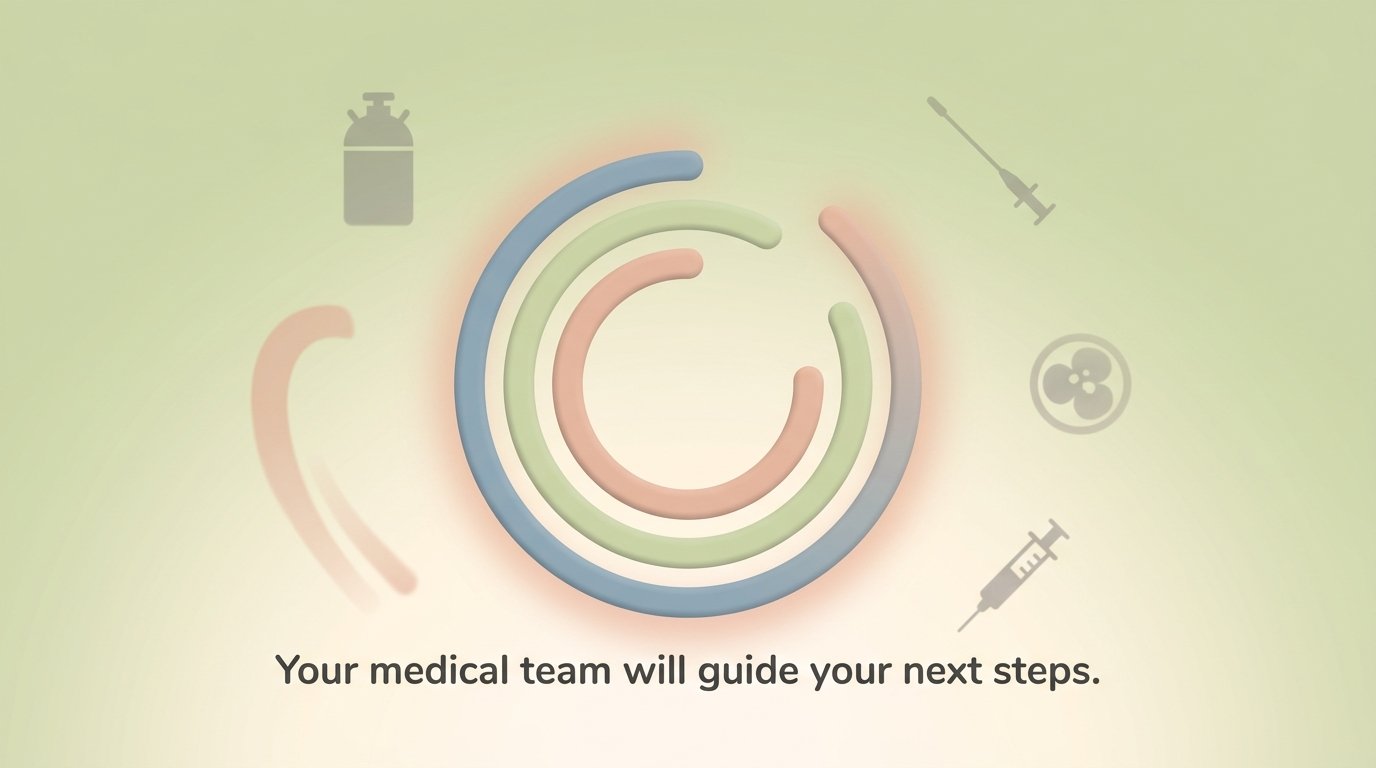
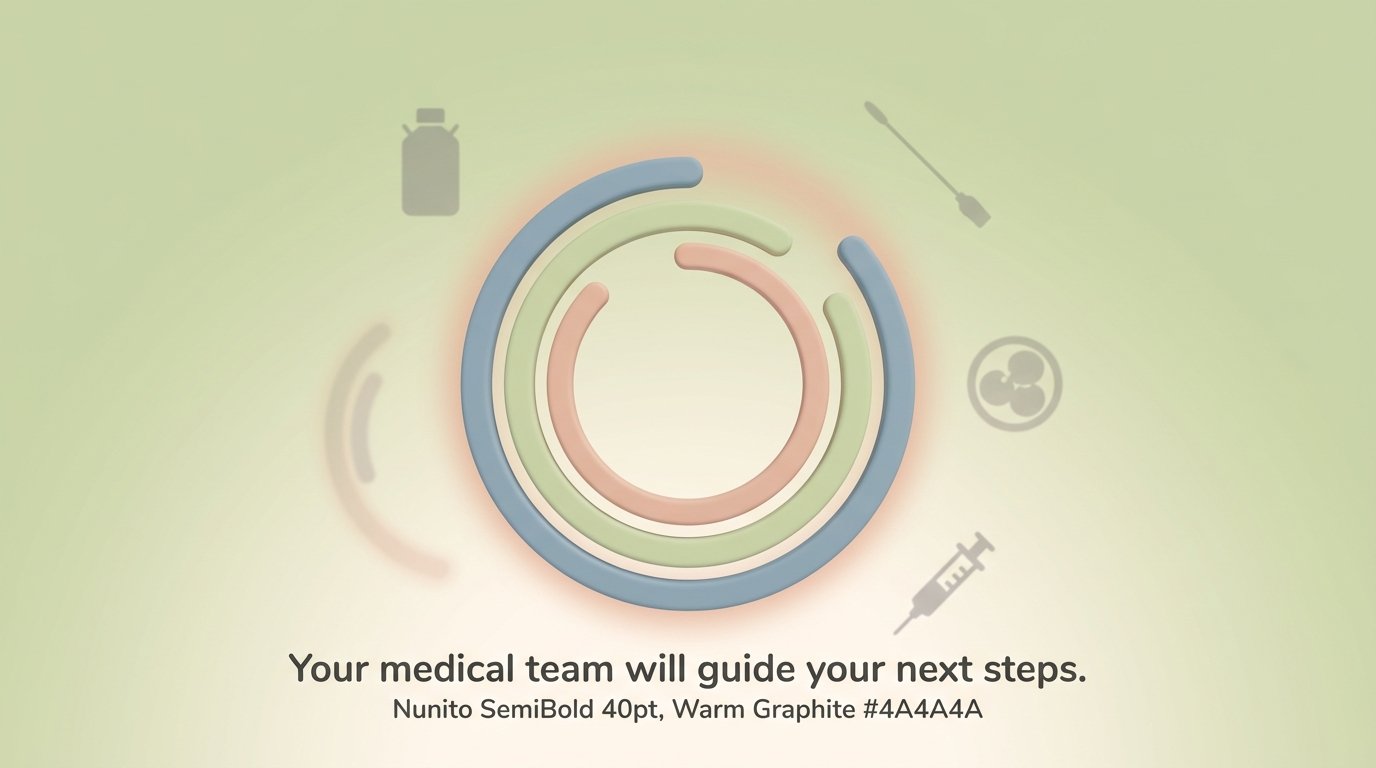
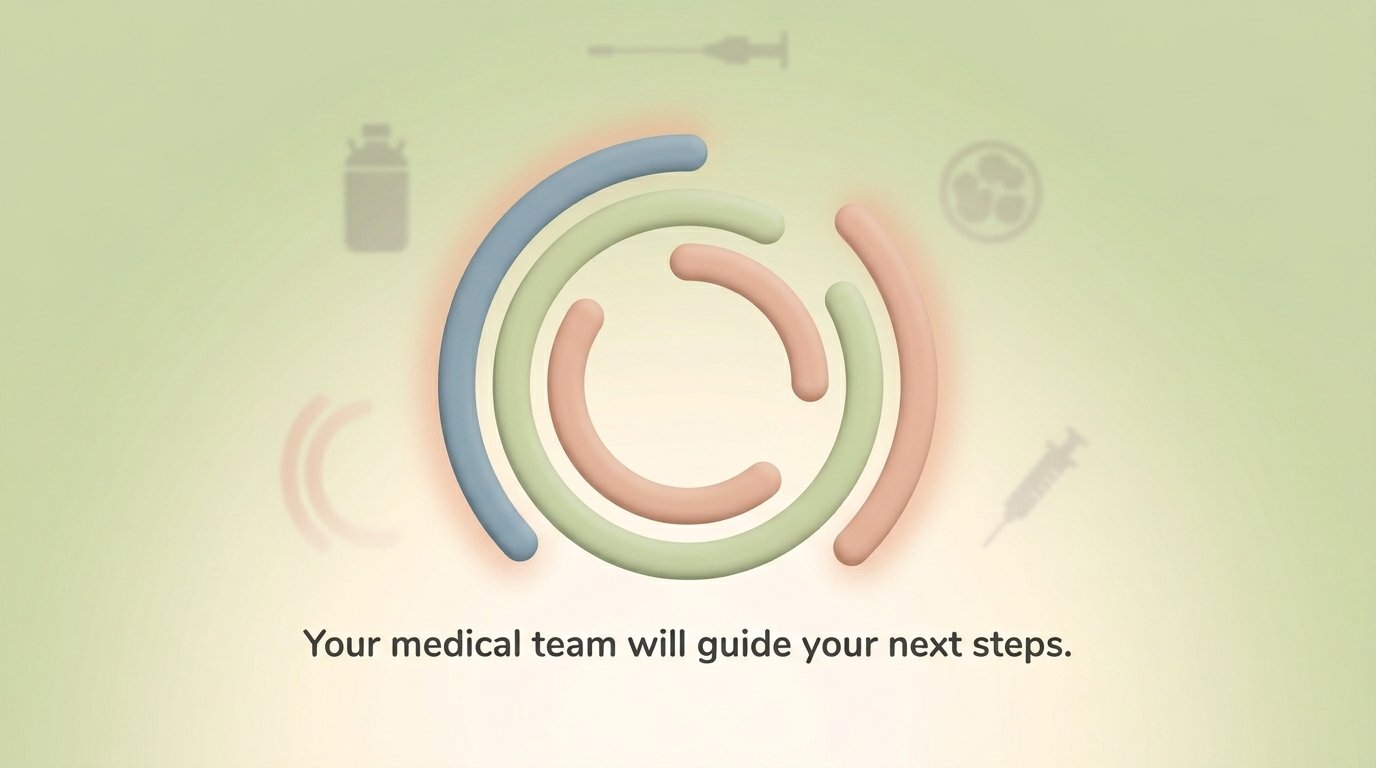
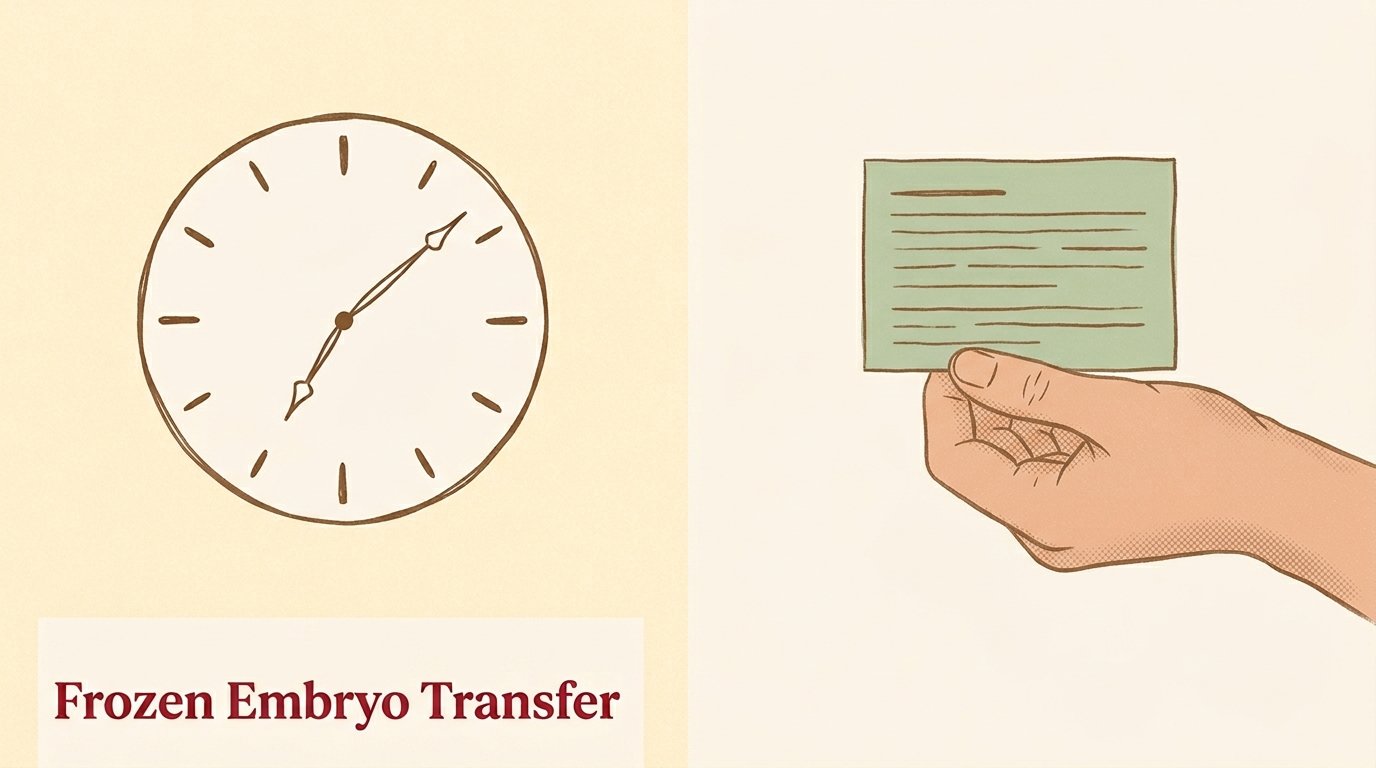
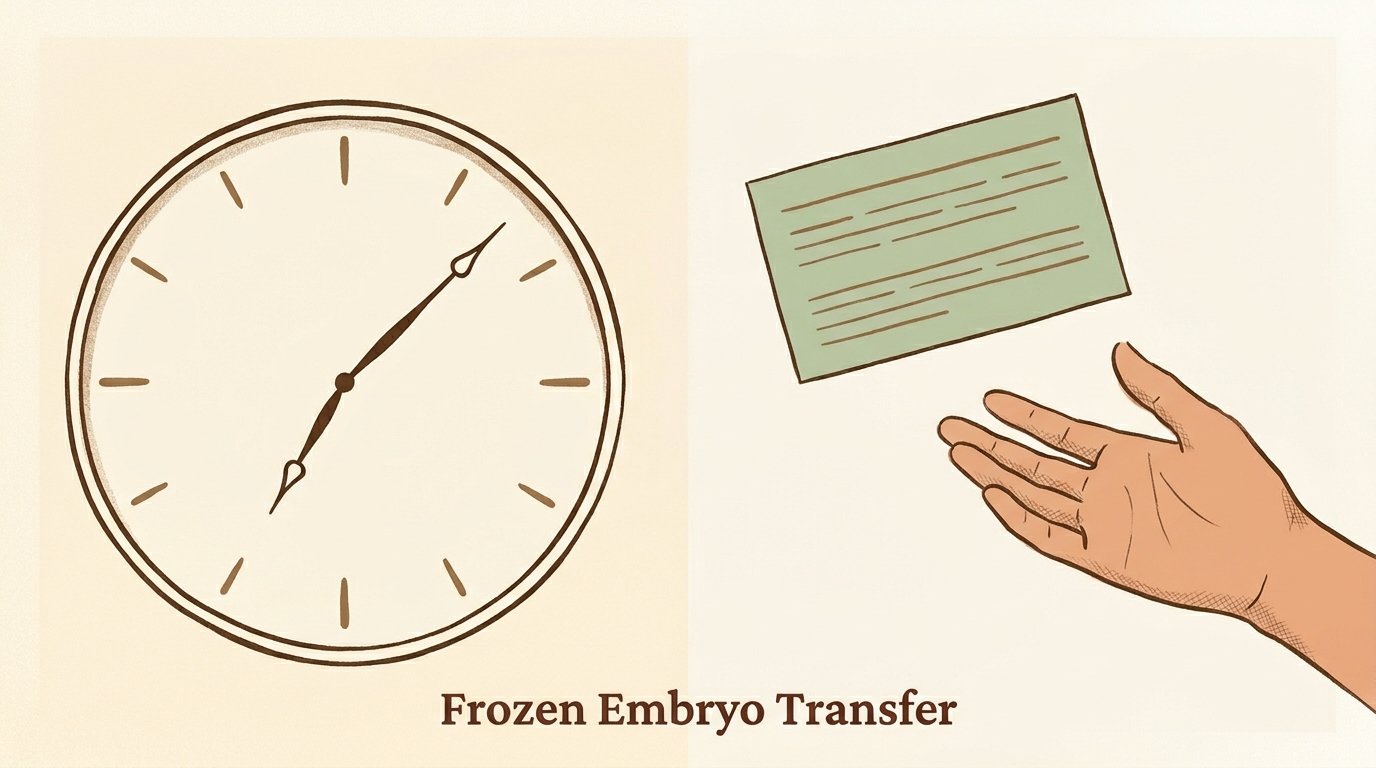
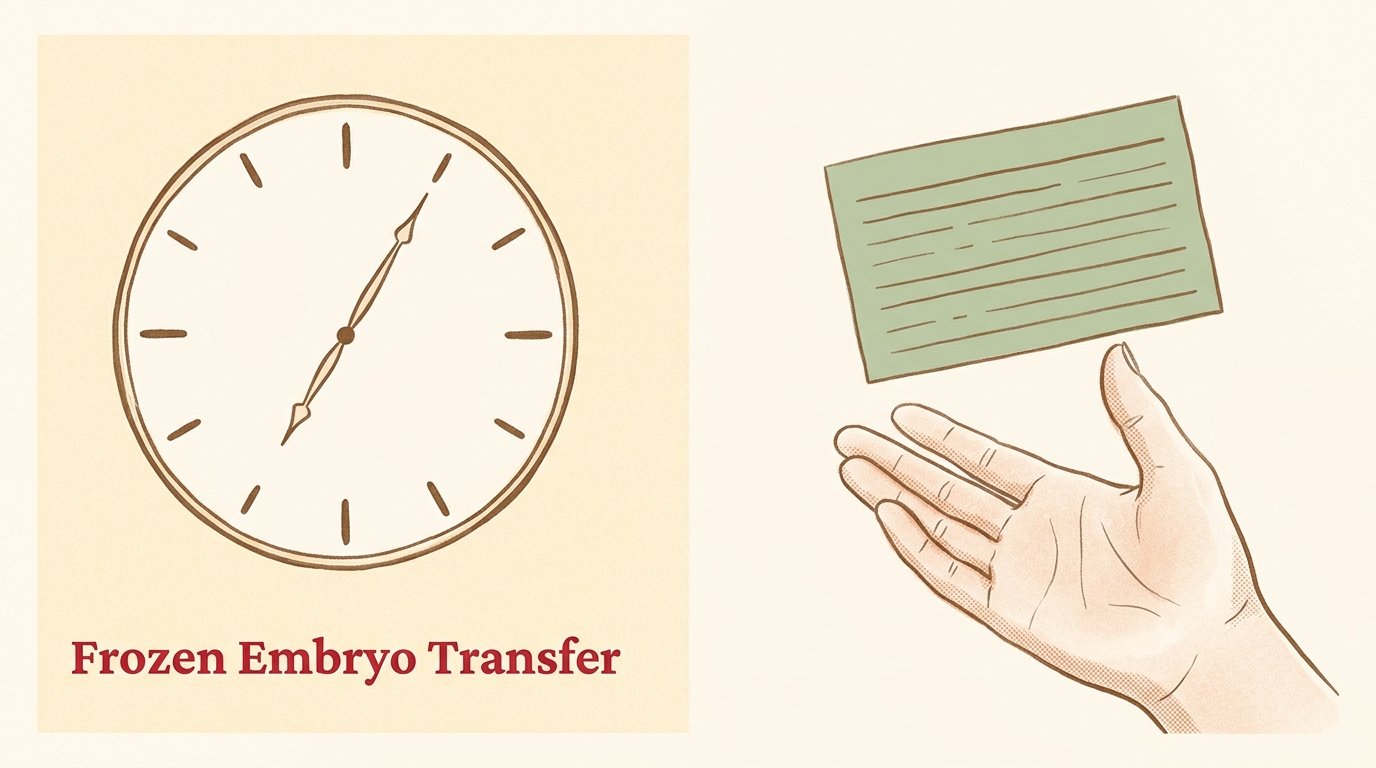
Following the embryo transfer, your medical team will provide comprehensive instructions on next steps leading up to the pregnancy test.
Hopeful, reserved closer — the time motif arc centered with typographic elements only; no anatomy, no instruments; the embryo has been delivered and is no longer the visual subject.